August 1 – August 30: As soon as the exterior of the house was buttoned up against the weather, our “weekend warrior” crew set to work prepping for the house and garage slab pours. We had a lot of steps ahead of us to create an air-sealed, vapor-sealed, and thermally-sealed assembly prior to the Big Day.

For slab insulation, I special ordered several pallets of InsulFoam Type II EPS (expanded polystyrene) sheet foam, in 4″ thickness for the house and 2″ thickness for the garage. Lumber yards and regional suppliers in the Madison area stock XPS (extruded polystyrene), but EPS is an anomaly. For convenience, I’d used XPS on my previous build but this time around, I wanted to do better.
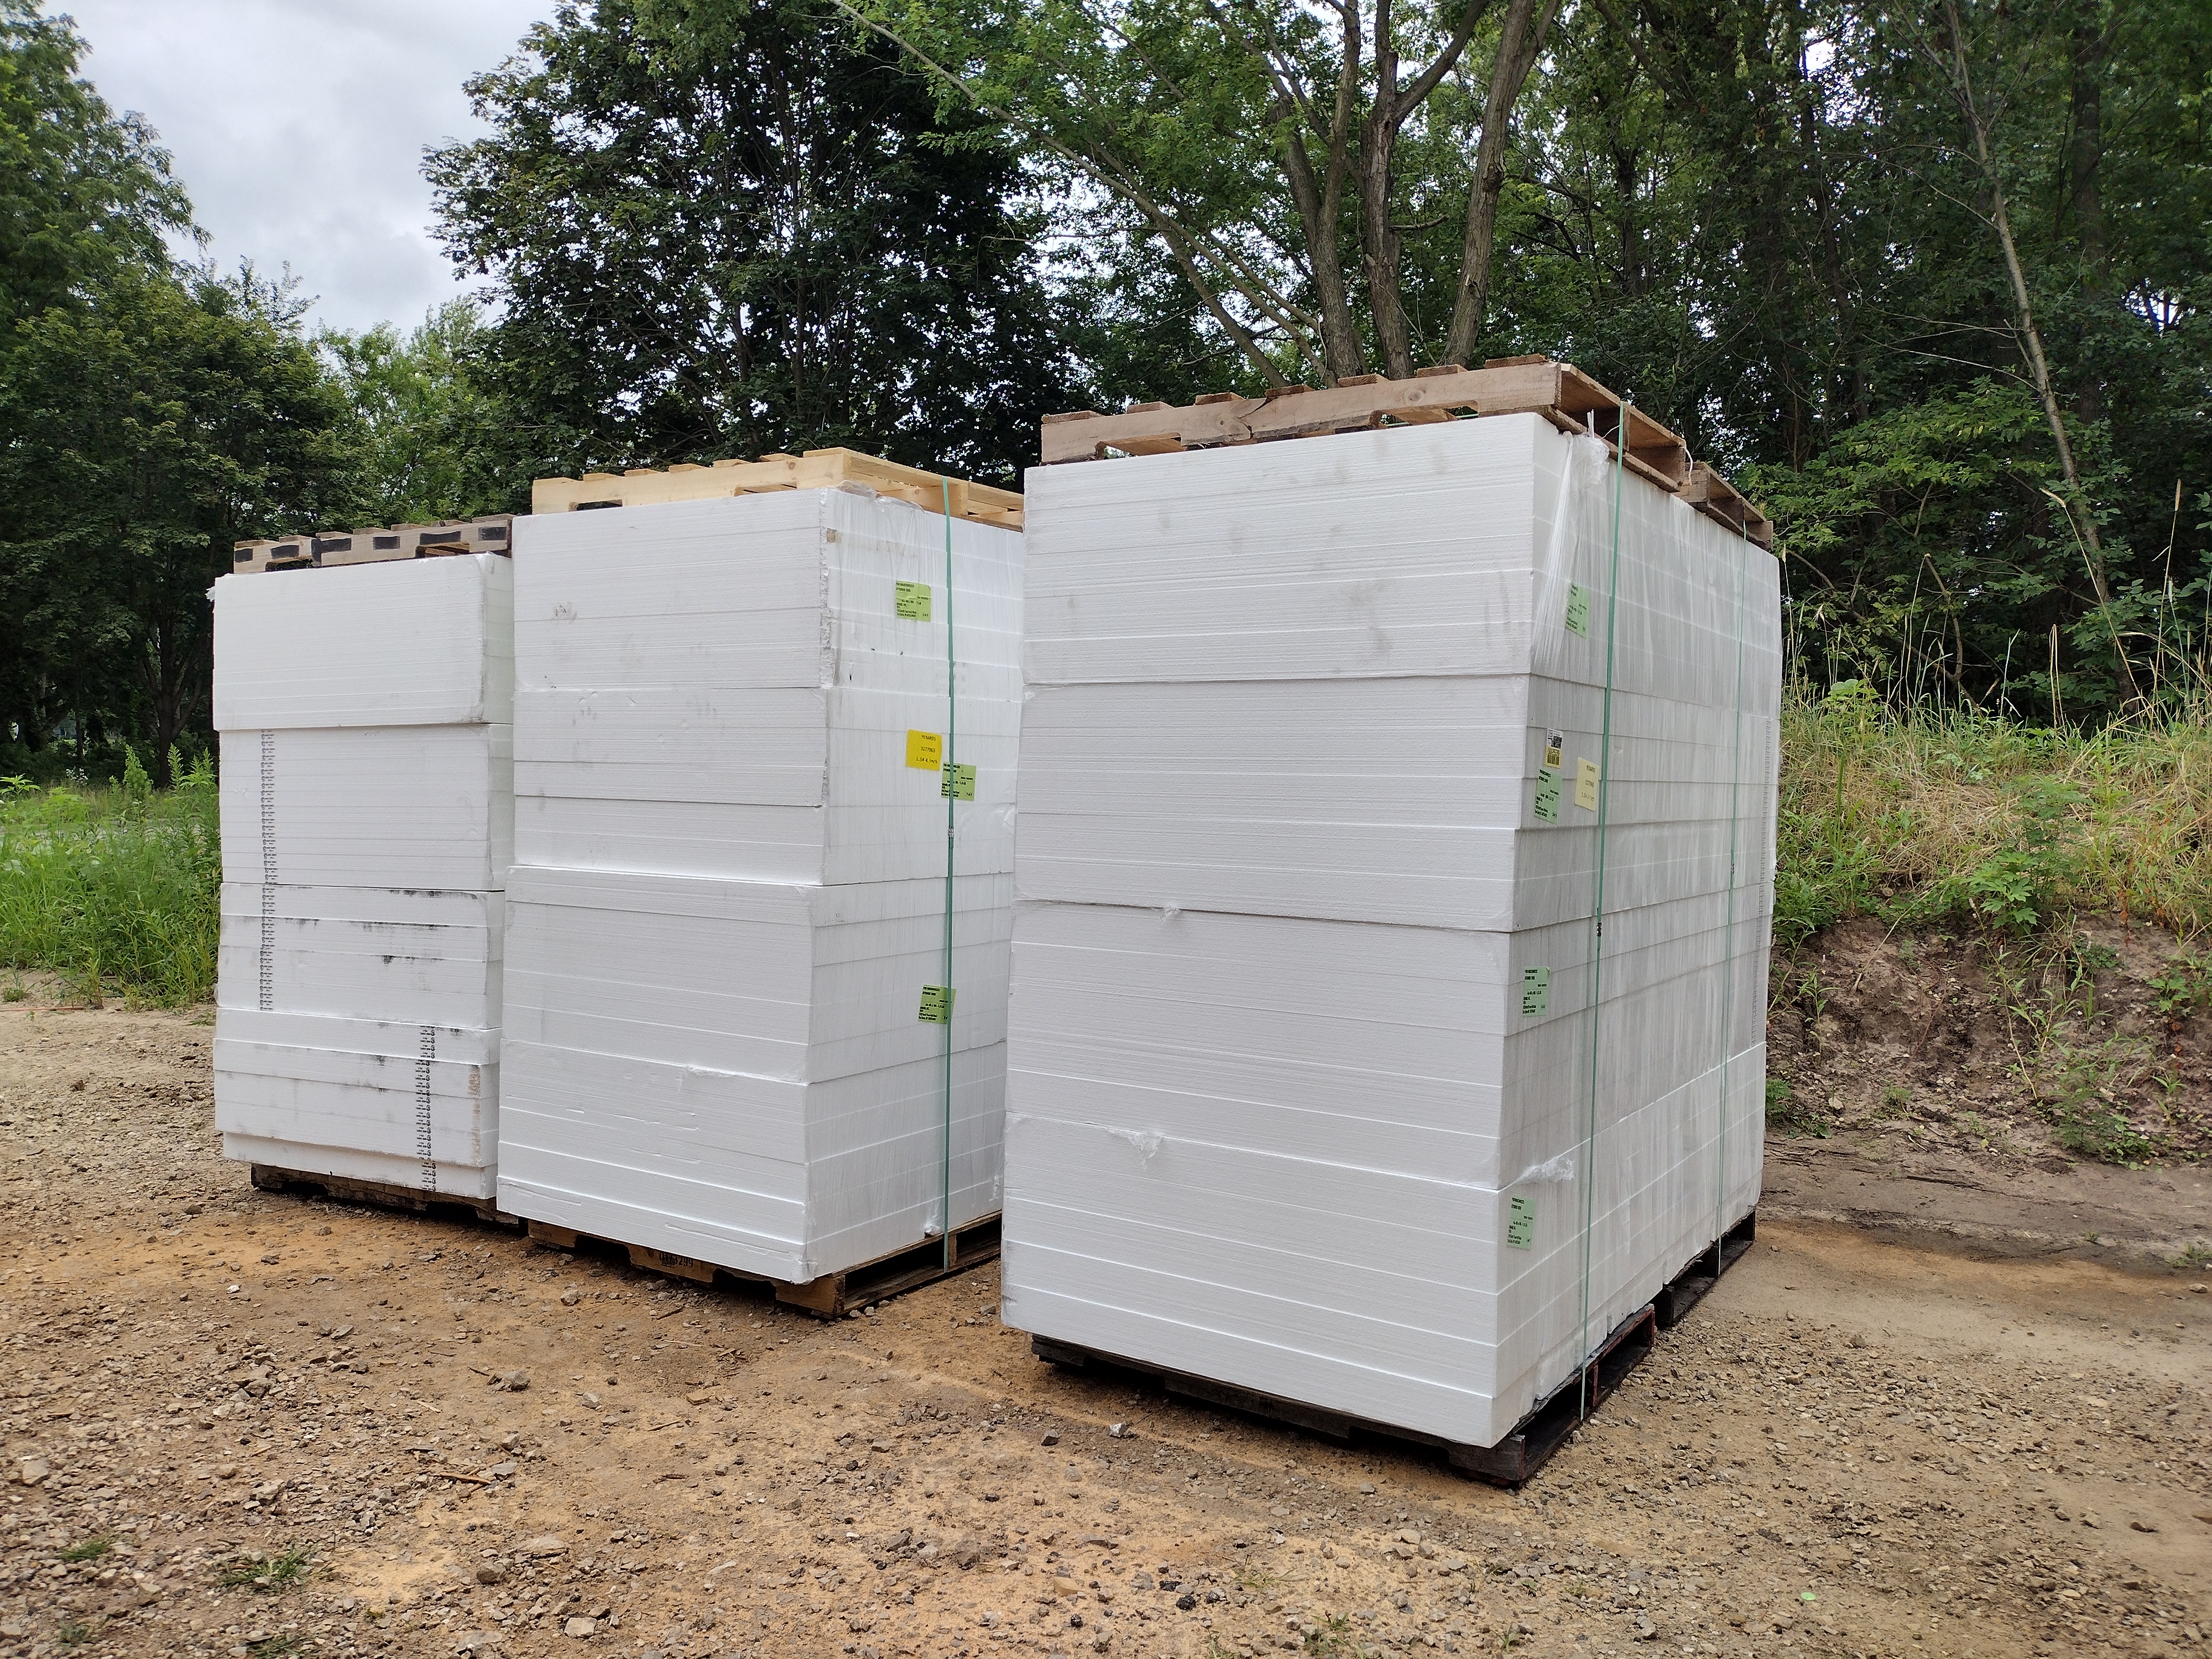
I’m watching my diet: my carbon footprint diet that is. The manufacture of foam, whether in spray or sheet form, places a high toll on the environment. Fortunately, that’s changing. The XPS I used in 2020 has 6 times the carbon footprint of the formula now on the market. Even so, EPS comes out better. According to Builders for Climate Action BEAM carbon estimator and the EPA’s greenhouse gas calculator, using EPS instead of XPS would cut the environmental impact in half:
Owens Corning Foamular NGX 250 = 4008 kilograms of Carbon Dioxide equivalent = driving 10,207 miles
OR
InsulFoam Type II EPS = 1821 kilograms of Carbon Dioxide equivalent = driving 4,367 miles
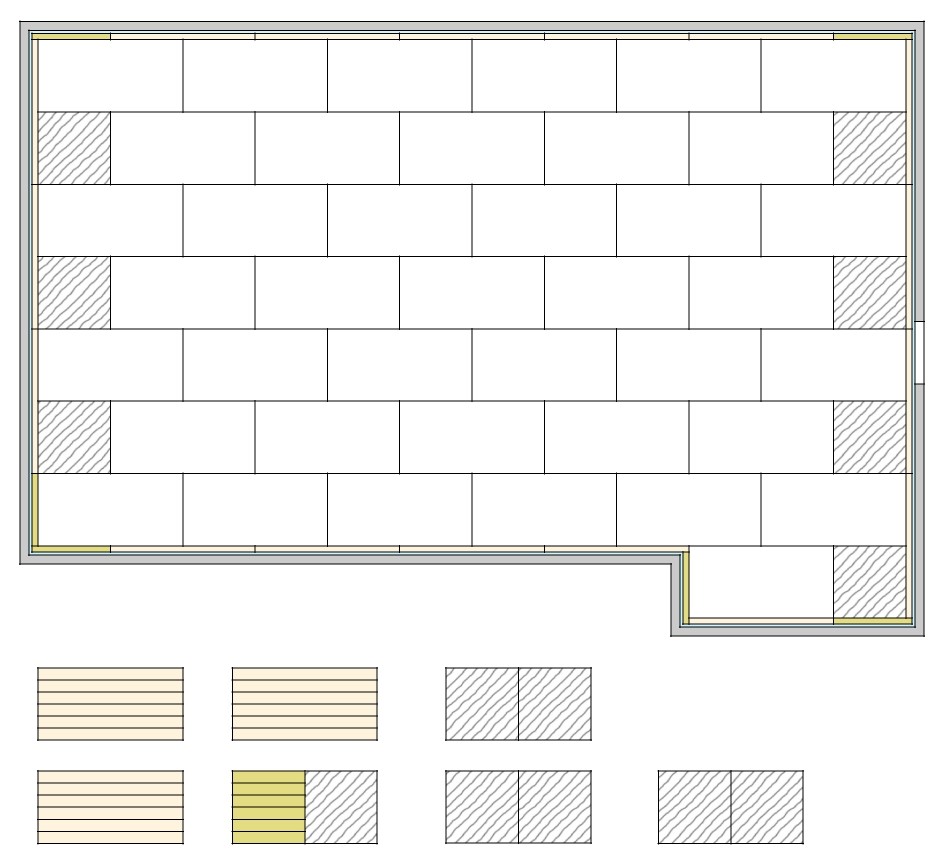
To be sure we didn’t end up with any waste, I prepared a Cut Sheet in SketchUp for the crew to follow (house plan shown). The idea was to rip edge strips out of 3.5 sheets (yellow), use the remainder and cut 3 more sheets for 4 foot x 4 foot starters (hatch), and then lay the full sheets in brick pattern to reduce thermal bridging. If nothing went wrong, I’d need 47 sheets. I ordered 49.
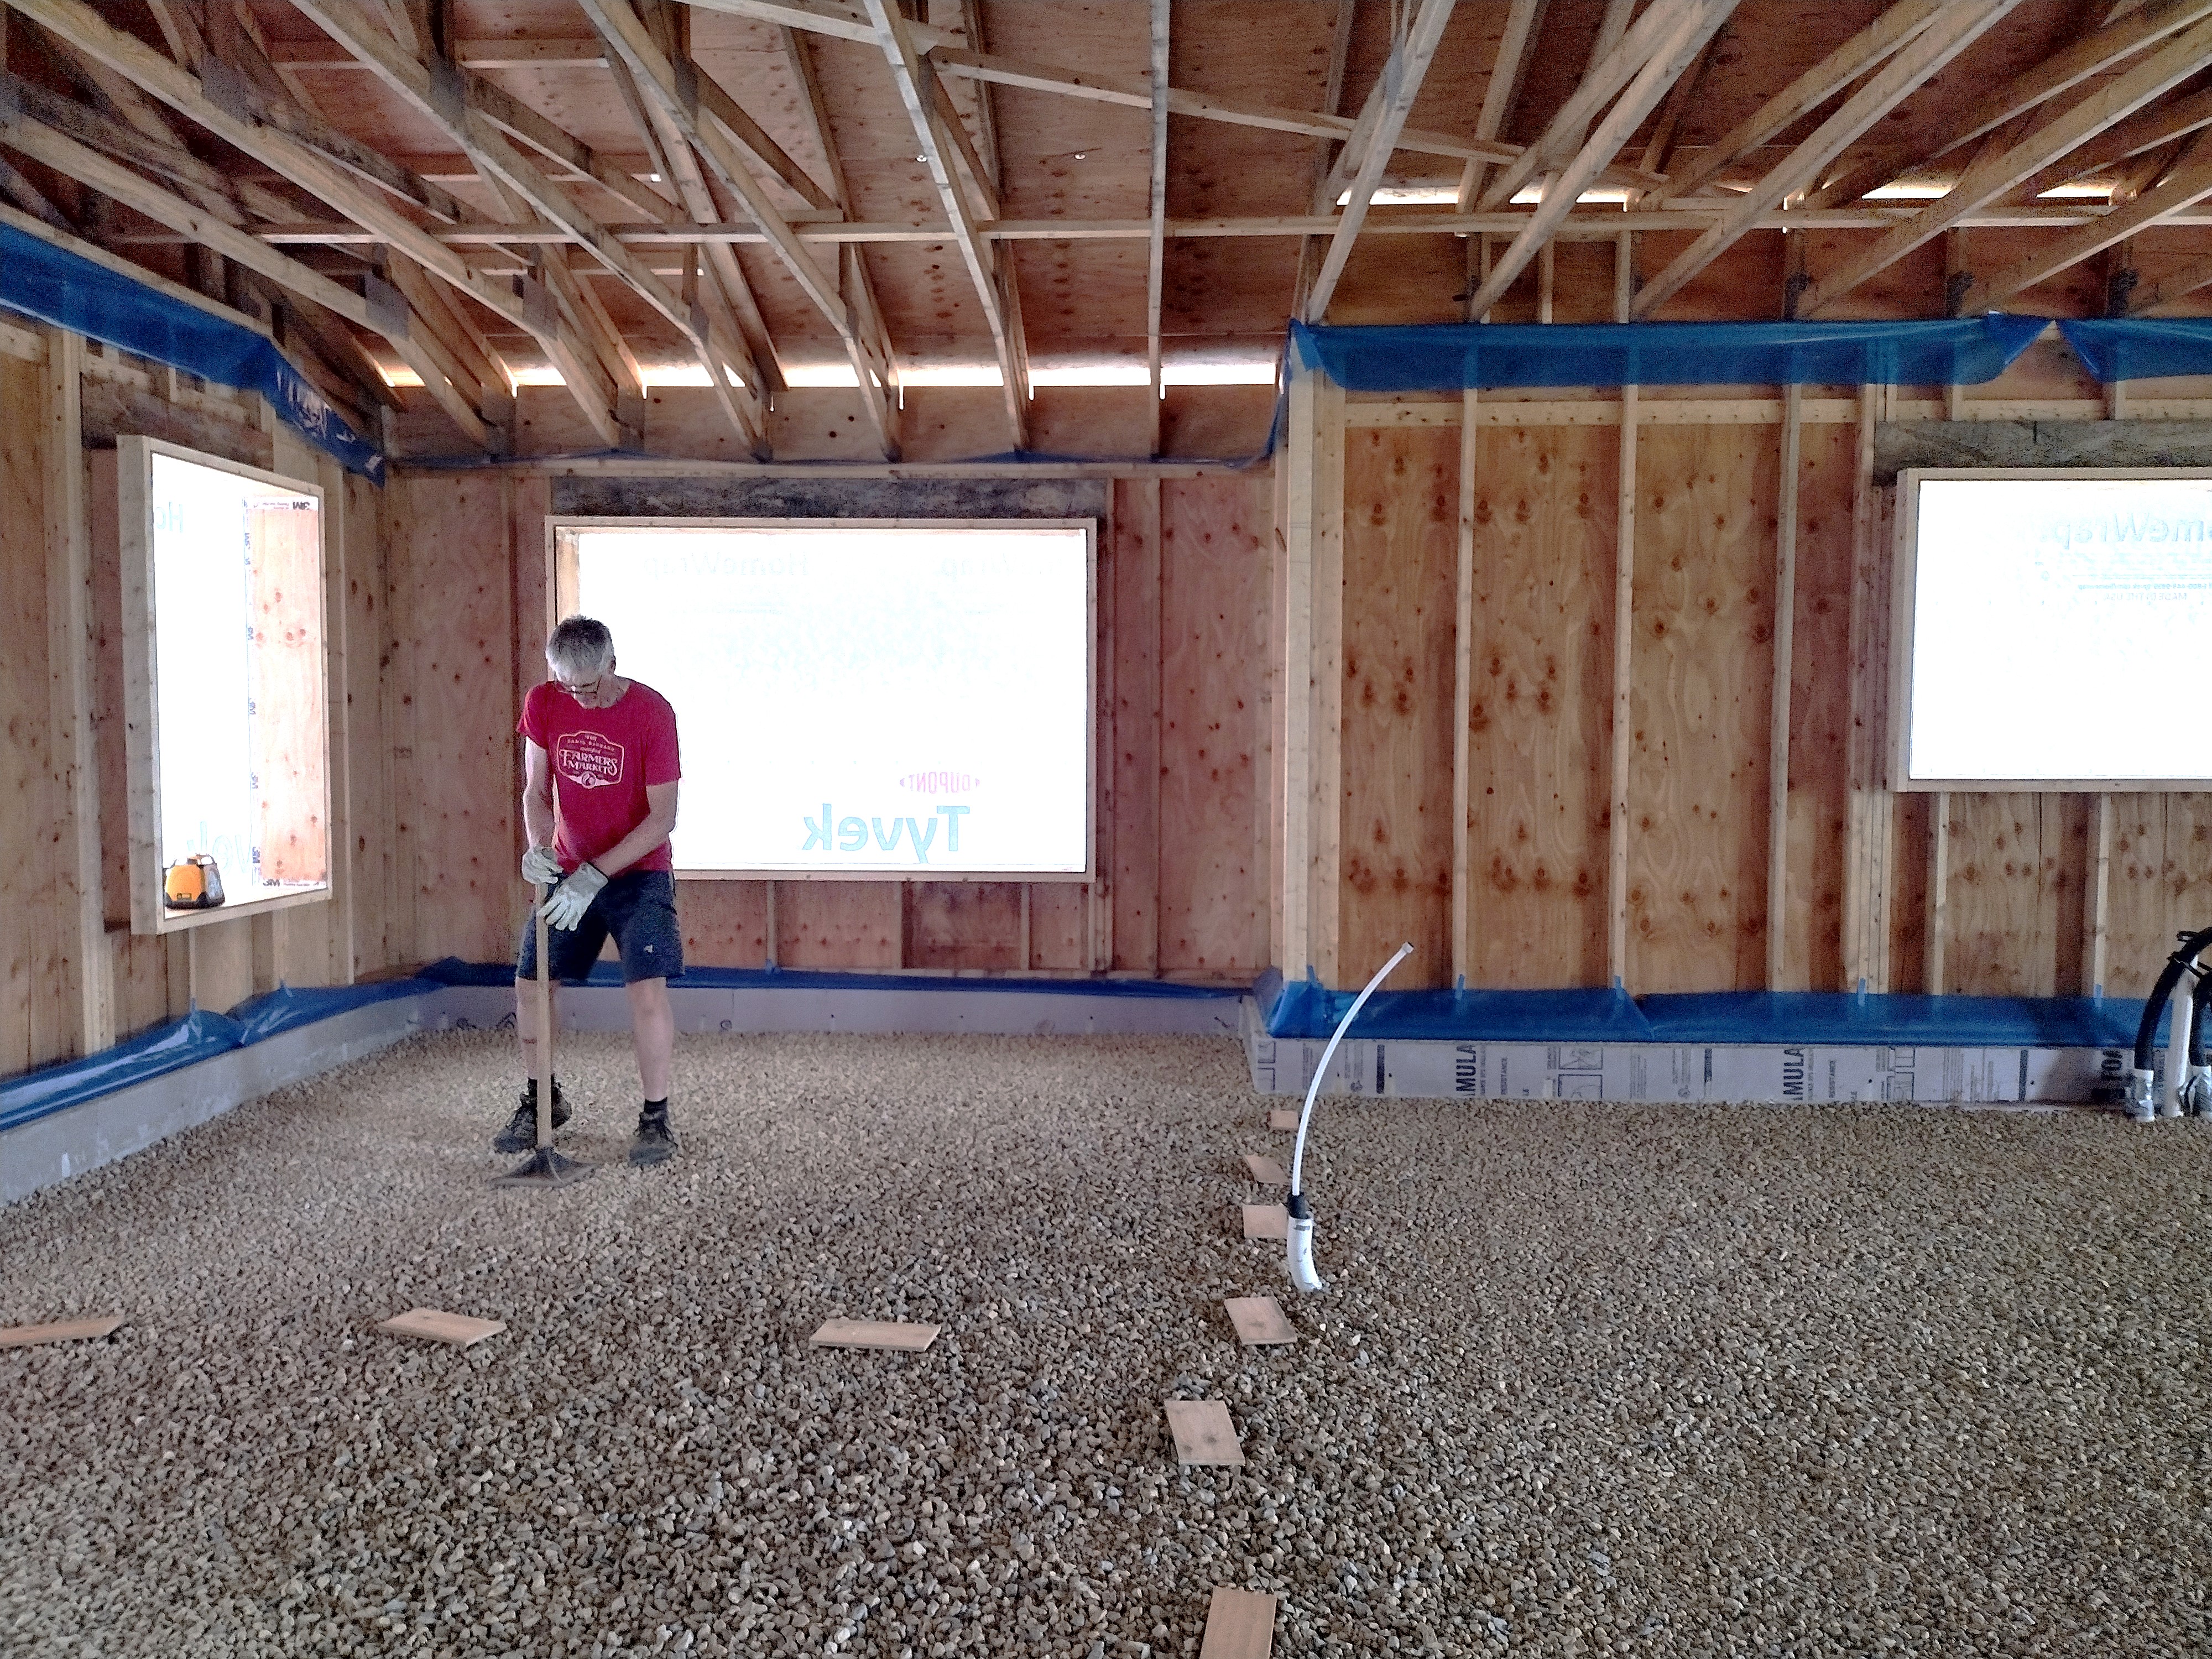
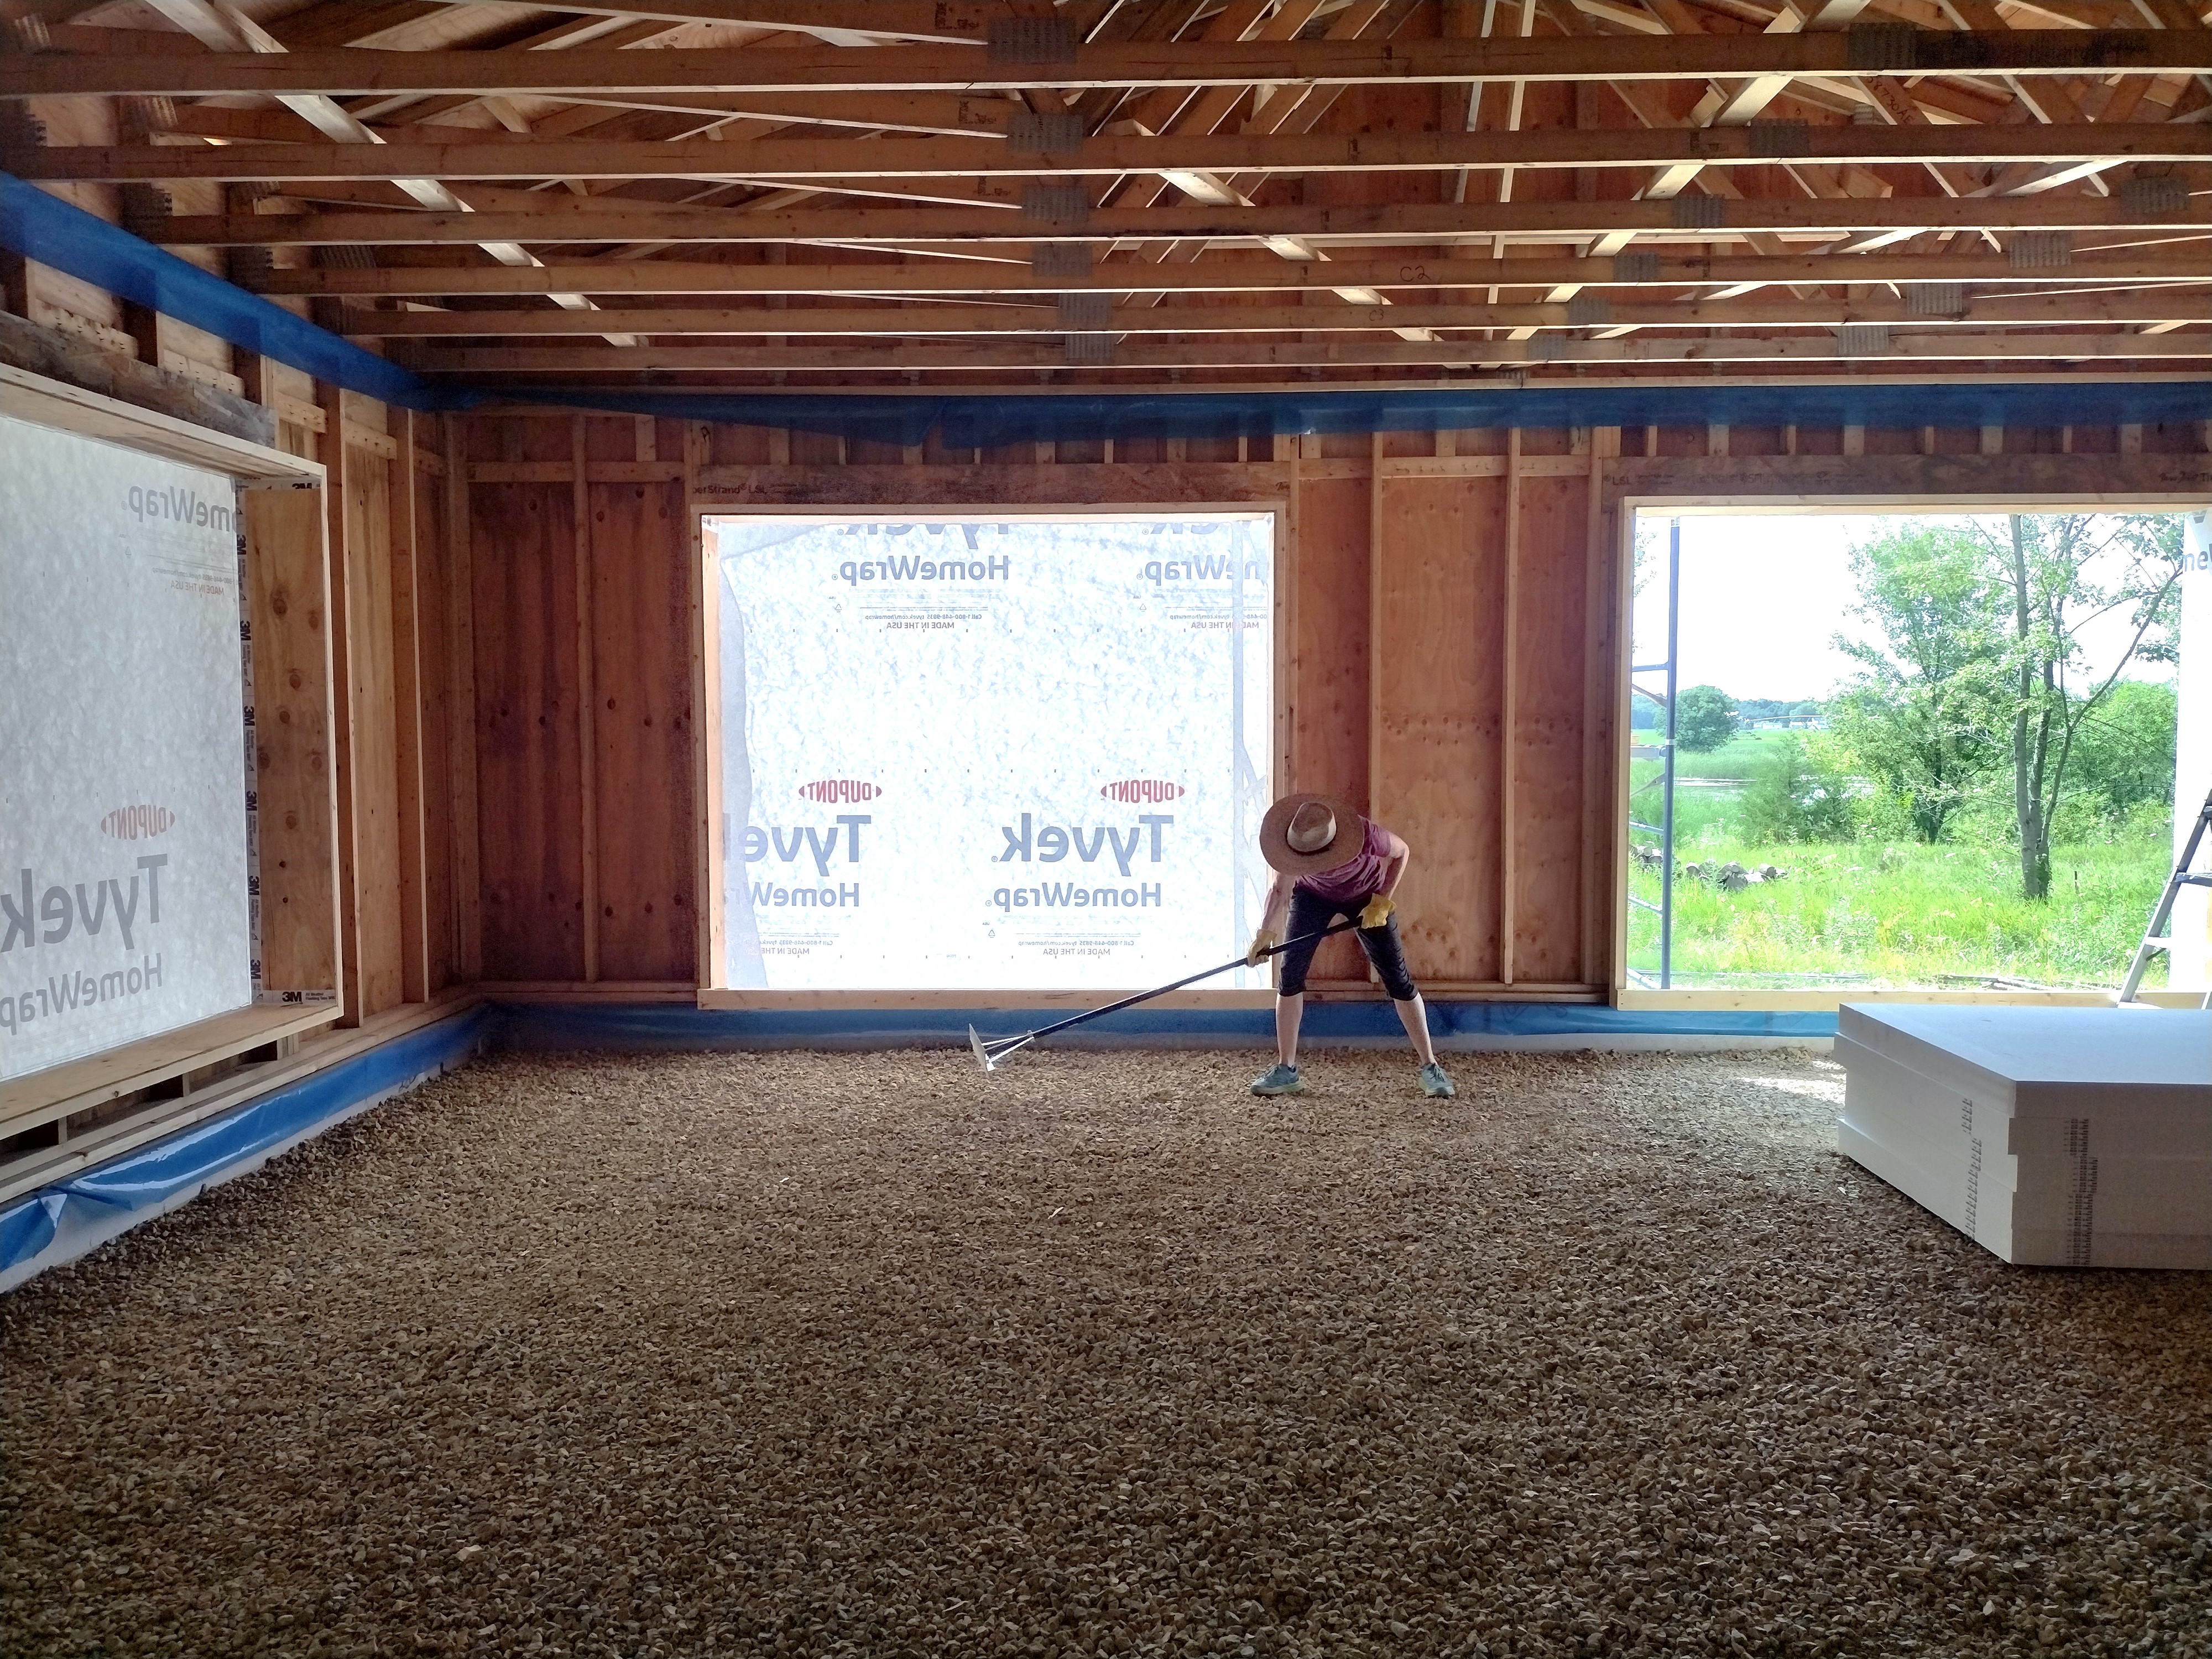
Our crew’s first task was to rake level and smooth out the gravel laid down by the excavator for a radon bed (see previous blog post Up and Out of the Ground). We used a laser level for overall “good”, then our eyes to finesse. Tamping was an essential (and hard) step but necessary to get the sheets to lay flat. I was tempted to order in a load of pea gravel after spreading and raking out a trial batch of it on top of the rough stone. The foam sheets did rest easier, but the extra step and expense was nixed in favor of soldiering on. Later, when laying the 2″ thick sheets for the garage, I found that tamping wasn’t as critical, as the thinner sheets could more easily “ride” the rough stones and occasional dips.

We started with the perimeter strips, then executed our Cut Sheet pattern. To get a nice, clean cut through 4″ thick material, I turned to carpenter Cale Armstrong who happened to own a 16″ saw. He accurately and quickly ripped the strips. For the half sheets, we used a standard 8″ saw, flipping the material over and lining up to our first pass. For holes, hole saw bits chucked into our drill. For other cuts, simple hand saws and rasps. All these cuts produced foam dust that was hard to corrale for disposal.

We had some tricky cuts.
We used wood shims to get everything tight and then spray foamed the gaps using canned spray foam from HandiFoam, a Green Guard Gold certified product low in chemical emissions.


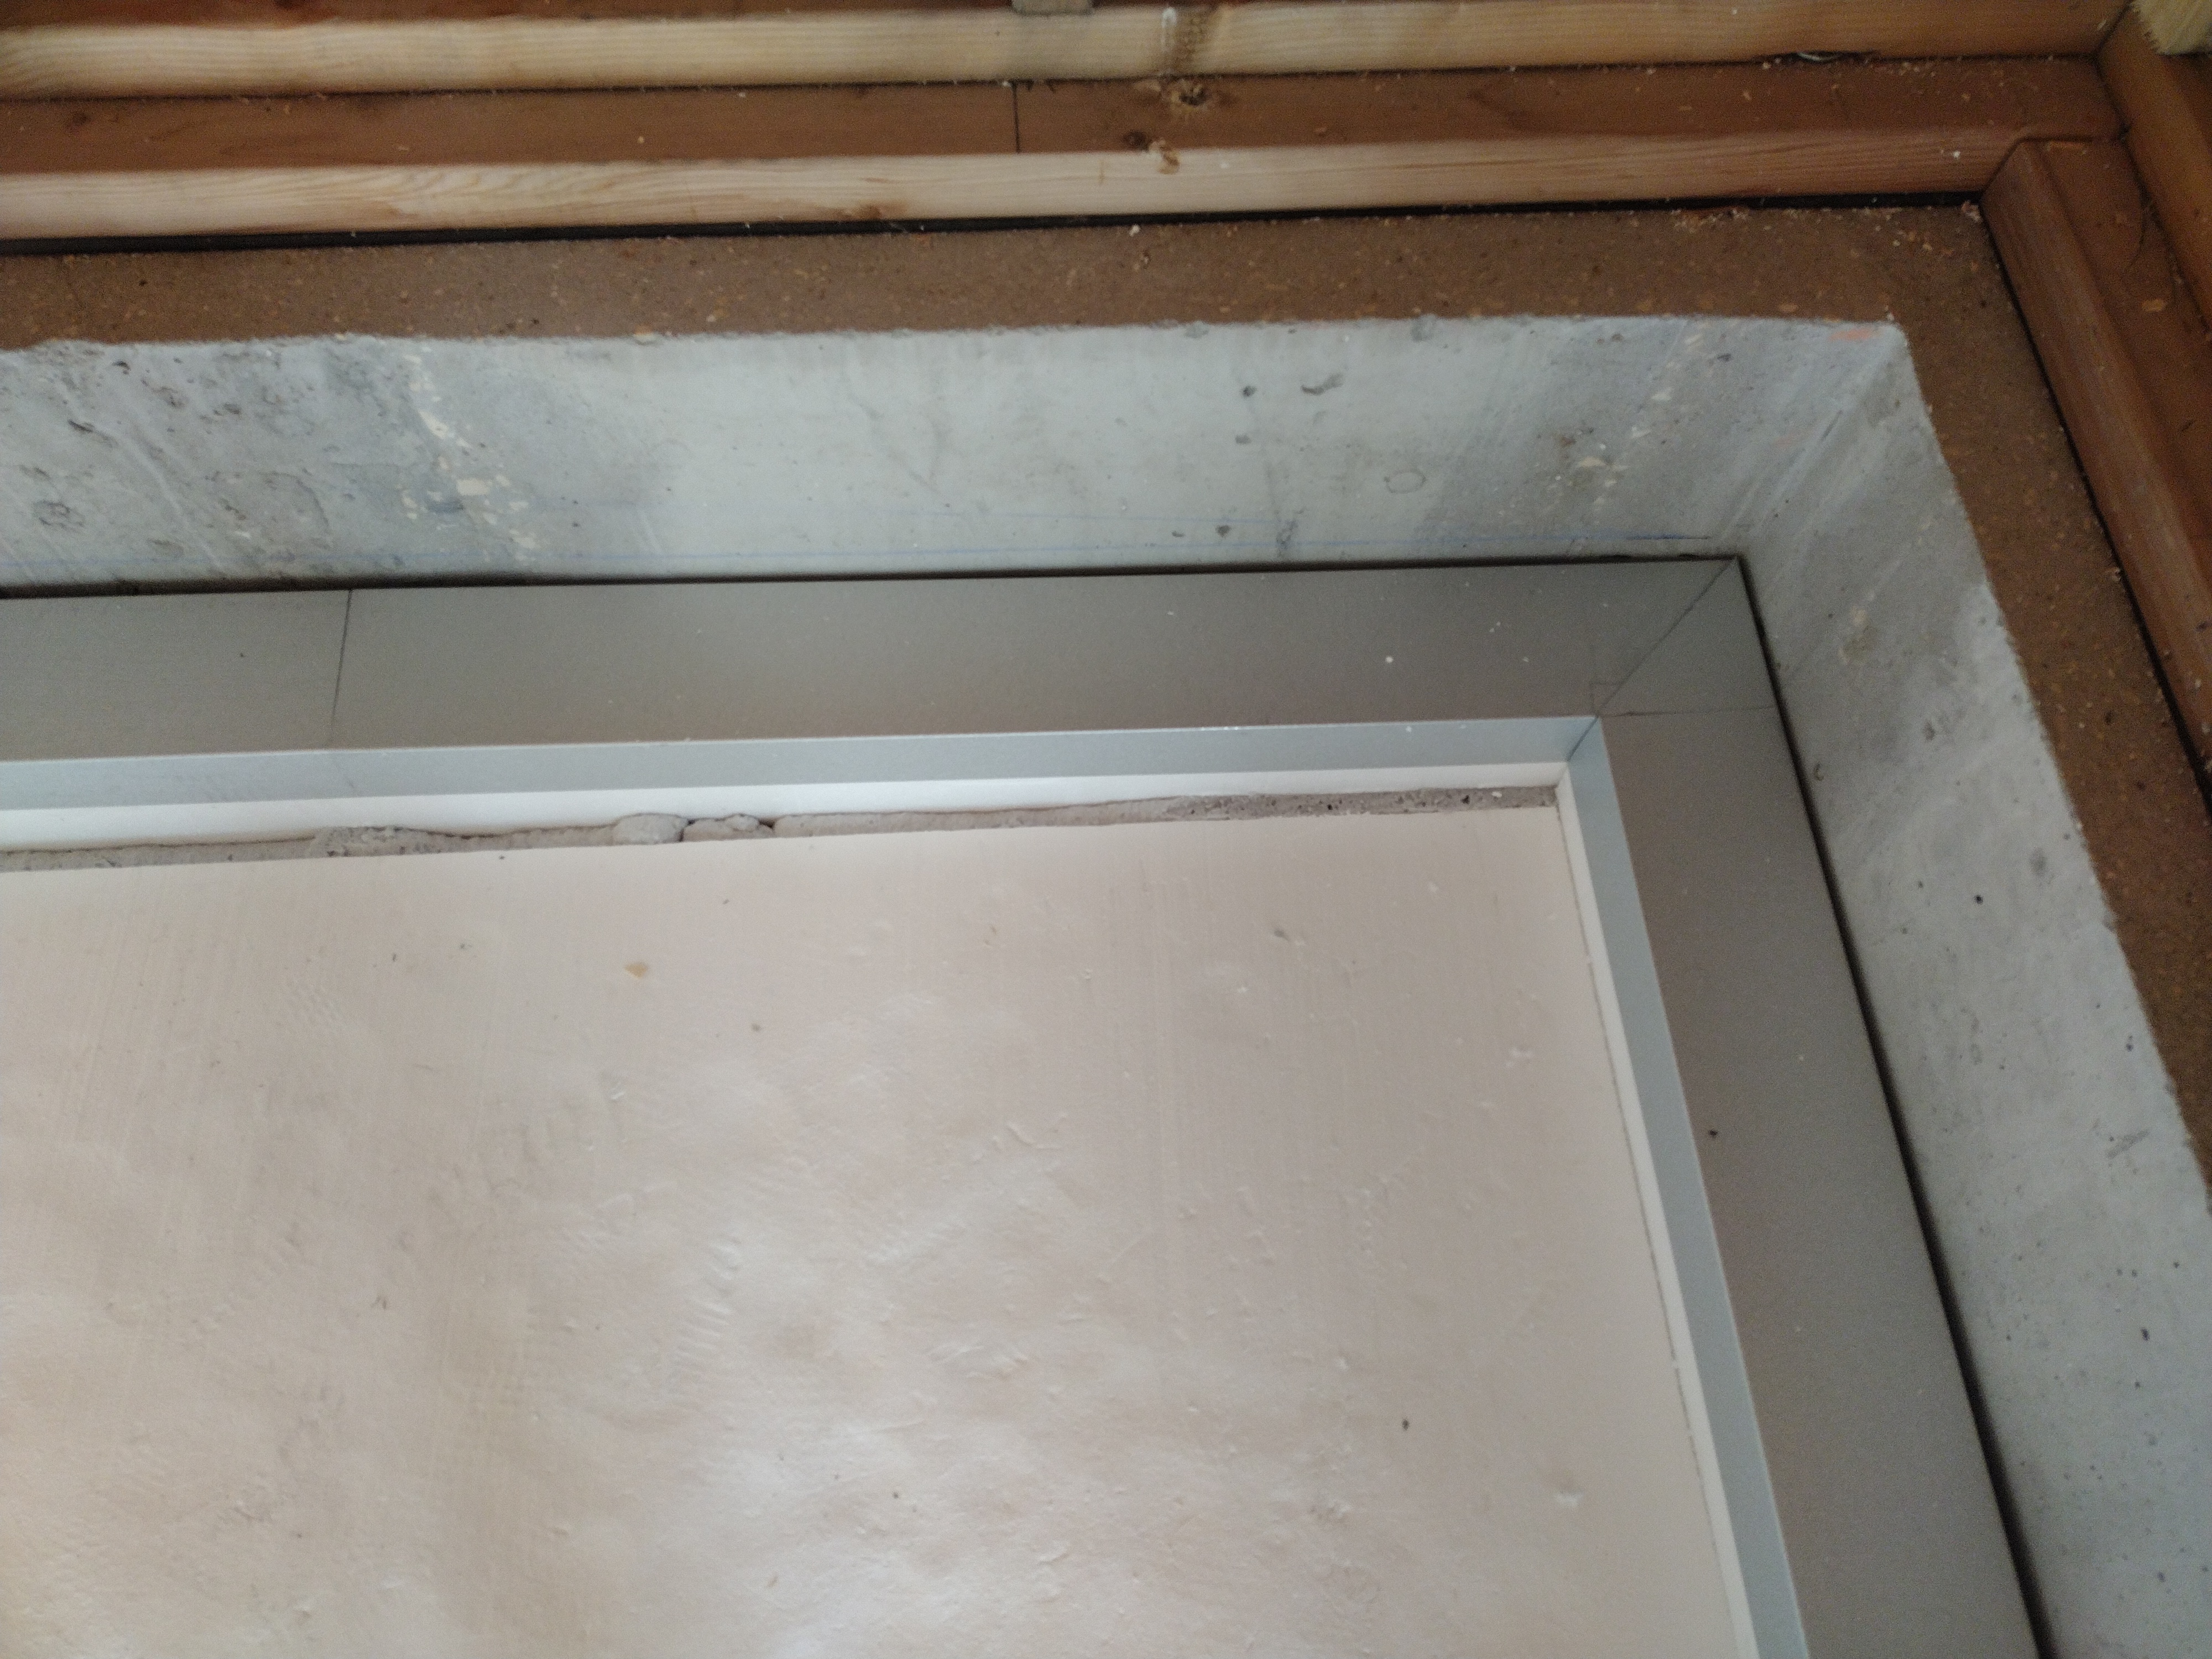
Here you can see the 6 inch thick foam perimeter: 2 inches of pink XPS installed as a reverse brick ledge in the foundation forms (see Footings + Foundations) plus the 4″ EPS strip for a total R-value of 28. This detail is possible because it will be completely covered by the 12″ wide double stud wall we will be building. The 4 inch under-slab foam has an R-value of 19.
Wisconsin is currently enforcing the Uniform Dwelling Code, which is based on the IRC 2009 Code (International Residential Code). Needless to say, we are far behind other states in updating our Code for both energy efficiency and in aligning with current building science, which proves that higher insulation levels and tighter building enclosures ensure more durable, trouble-free homes with healthier indoor air for their owners.
Poem Homes strives for insulation levels that are double Code Minimum. Upgrading the slab-edge from Code Minimum R-15 to R-28 and the under-slab from Code Minimum R-10 to R-19 saves $78/year in heating costs, according to my REM/Rate energy model.
The extra cost of this foam is $1543, so the simple payback, not accounting for inflation or the future cost of energy is: 1543 / 78 = 20 years
The simple ROI (return on investment), not accounting for inflation or the future cost of energy is: 78 / 1543 = 5.0 %
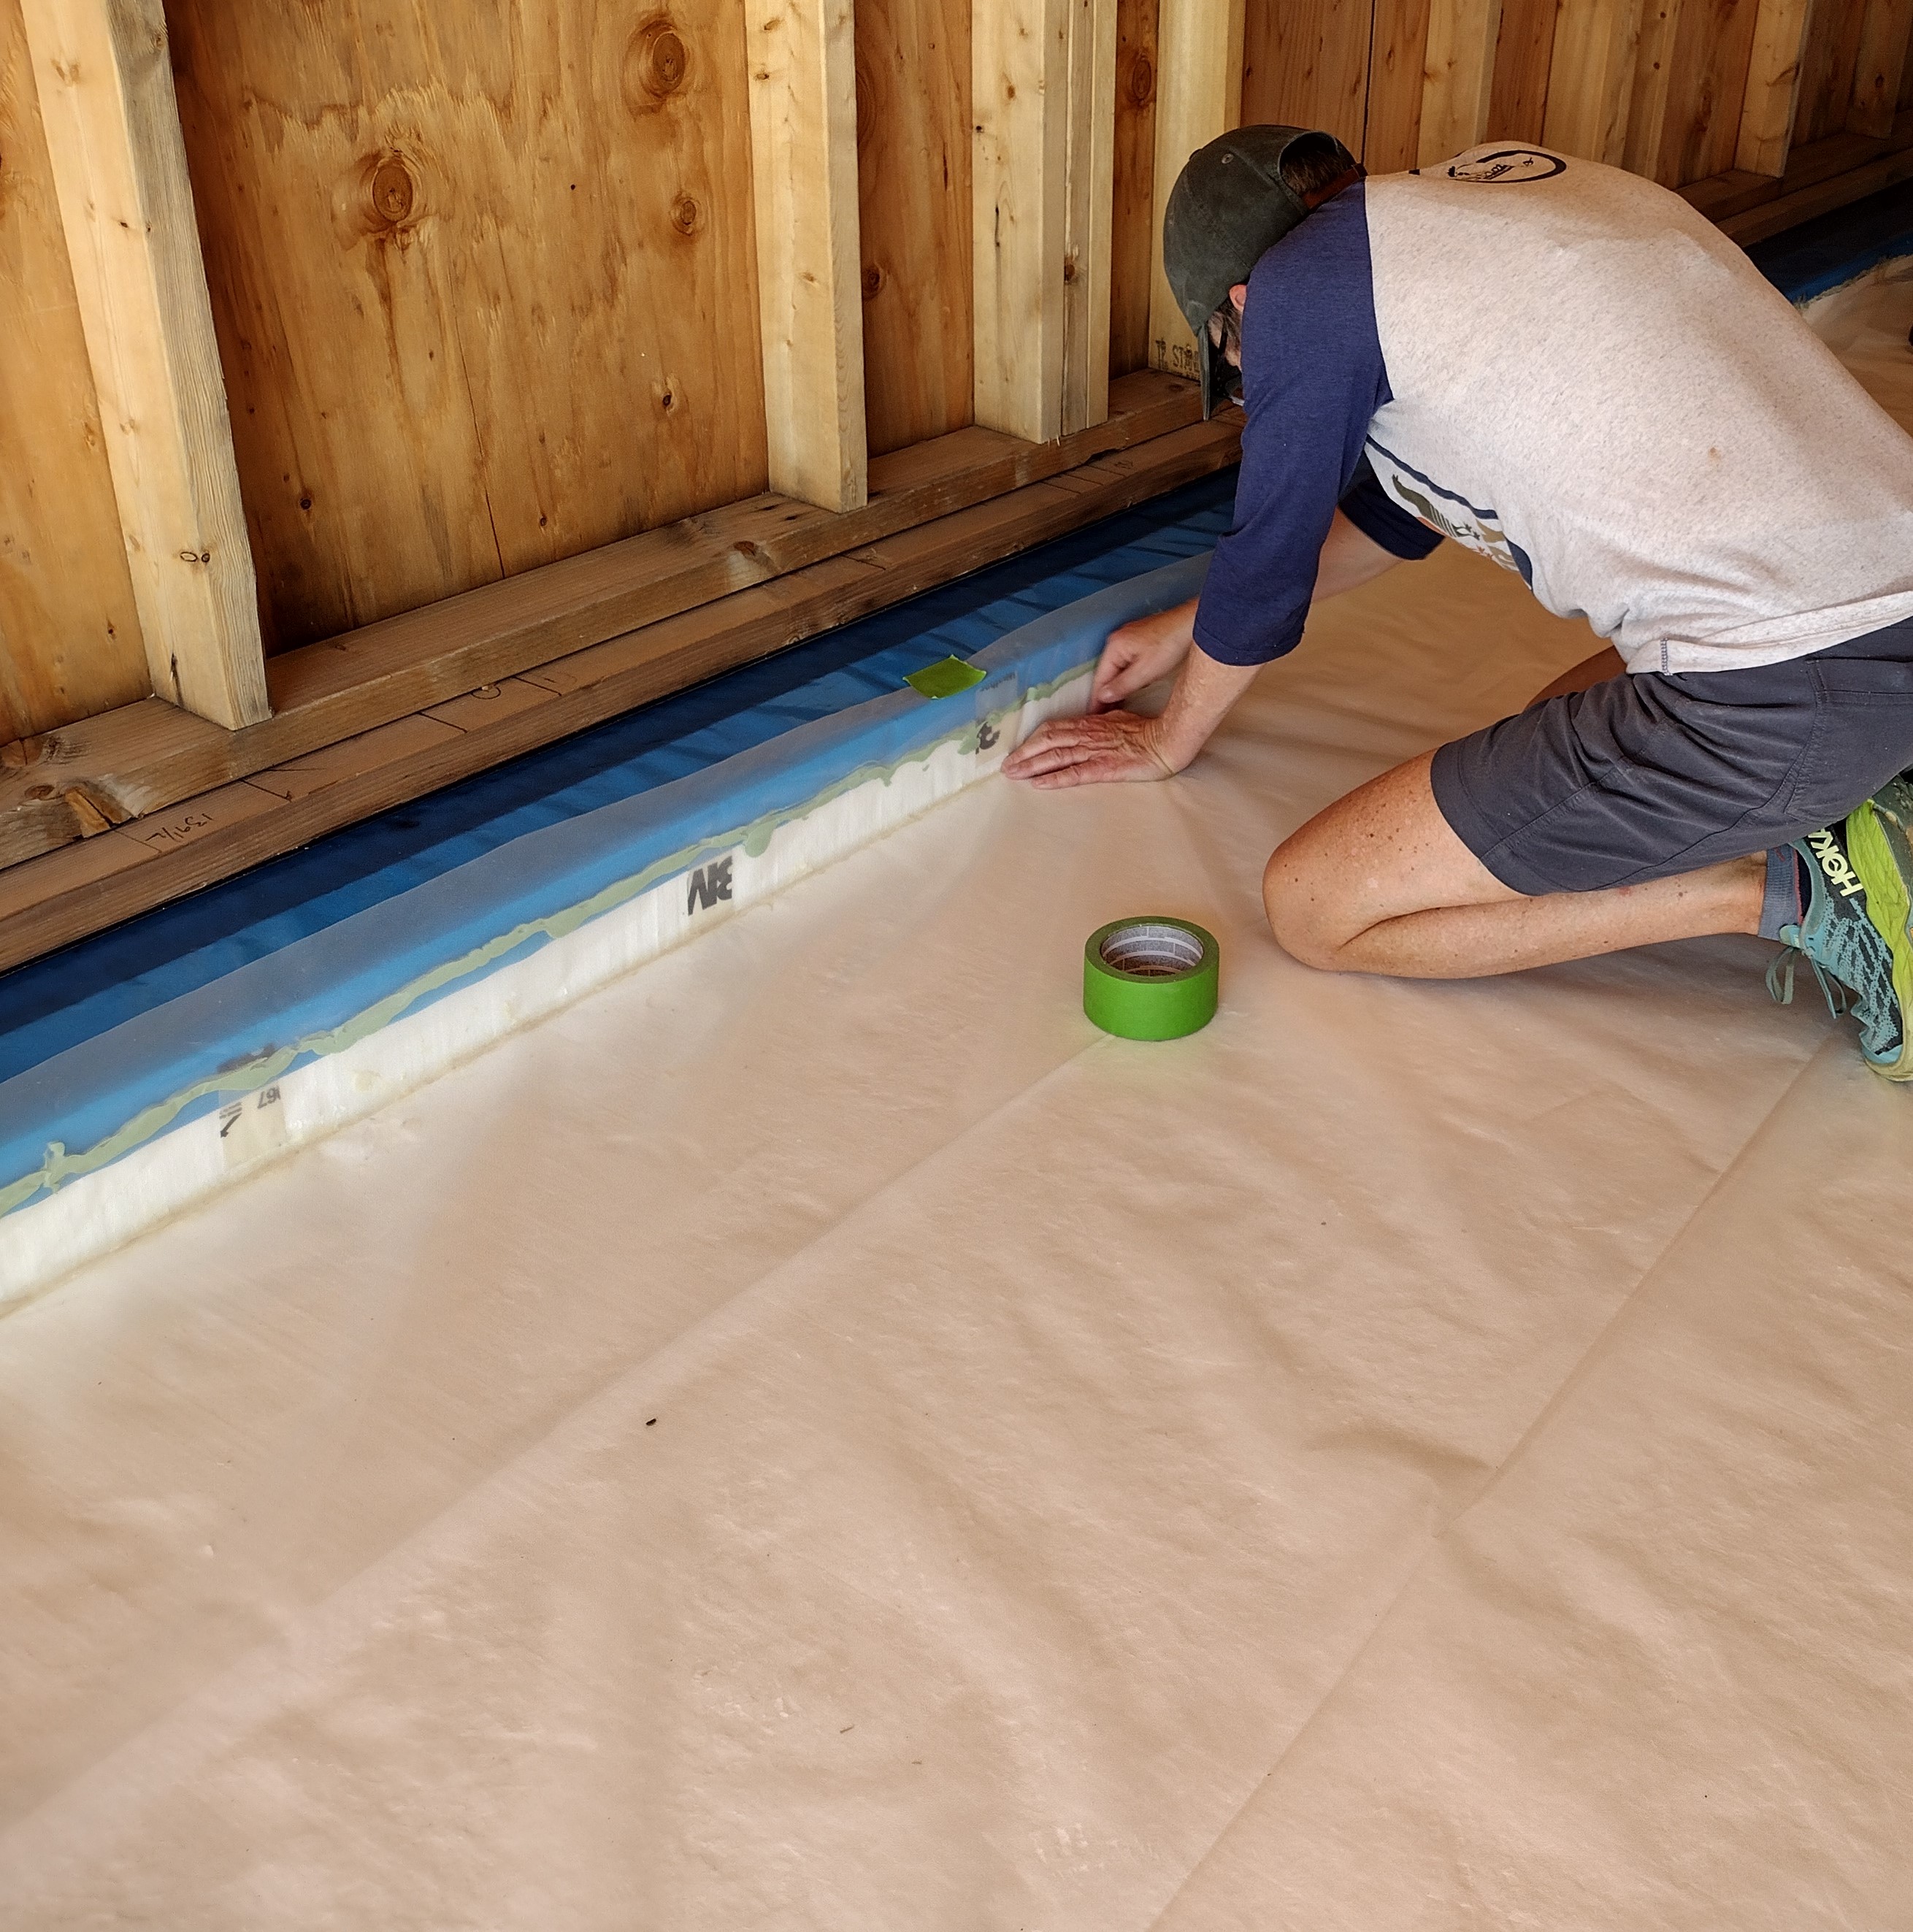
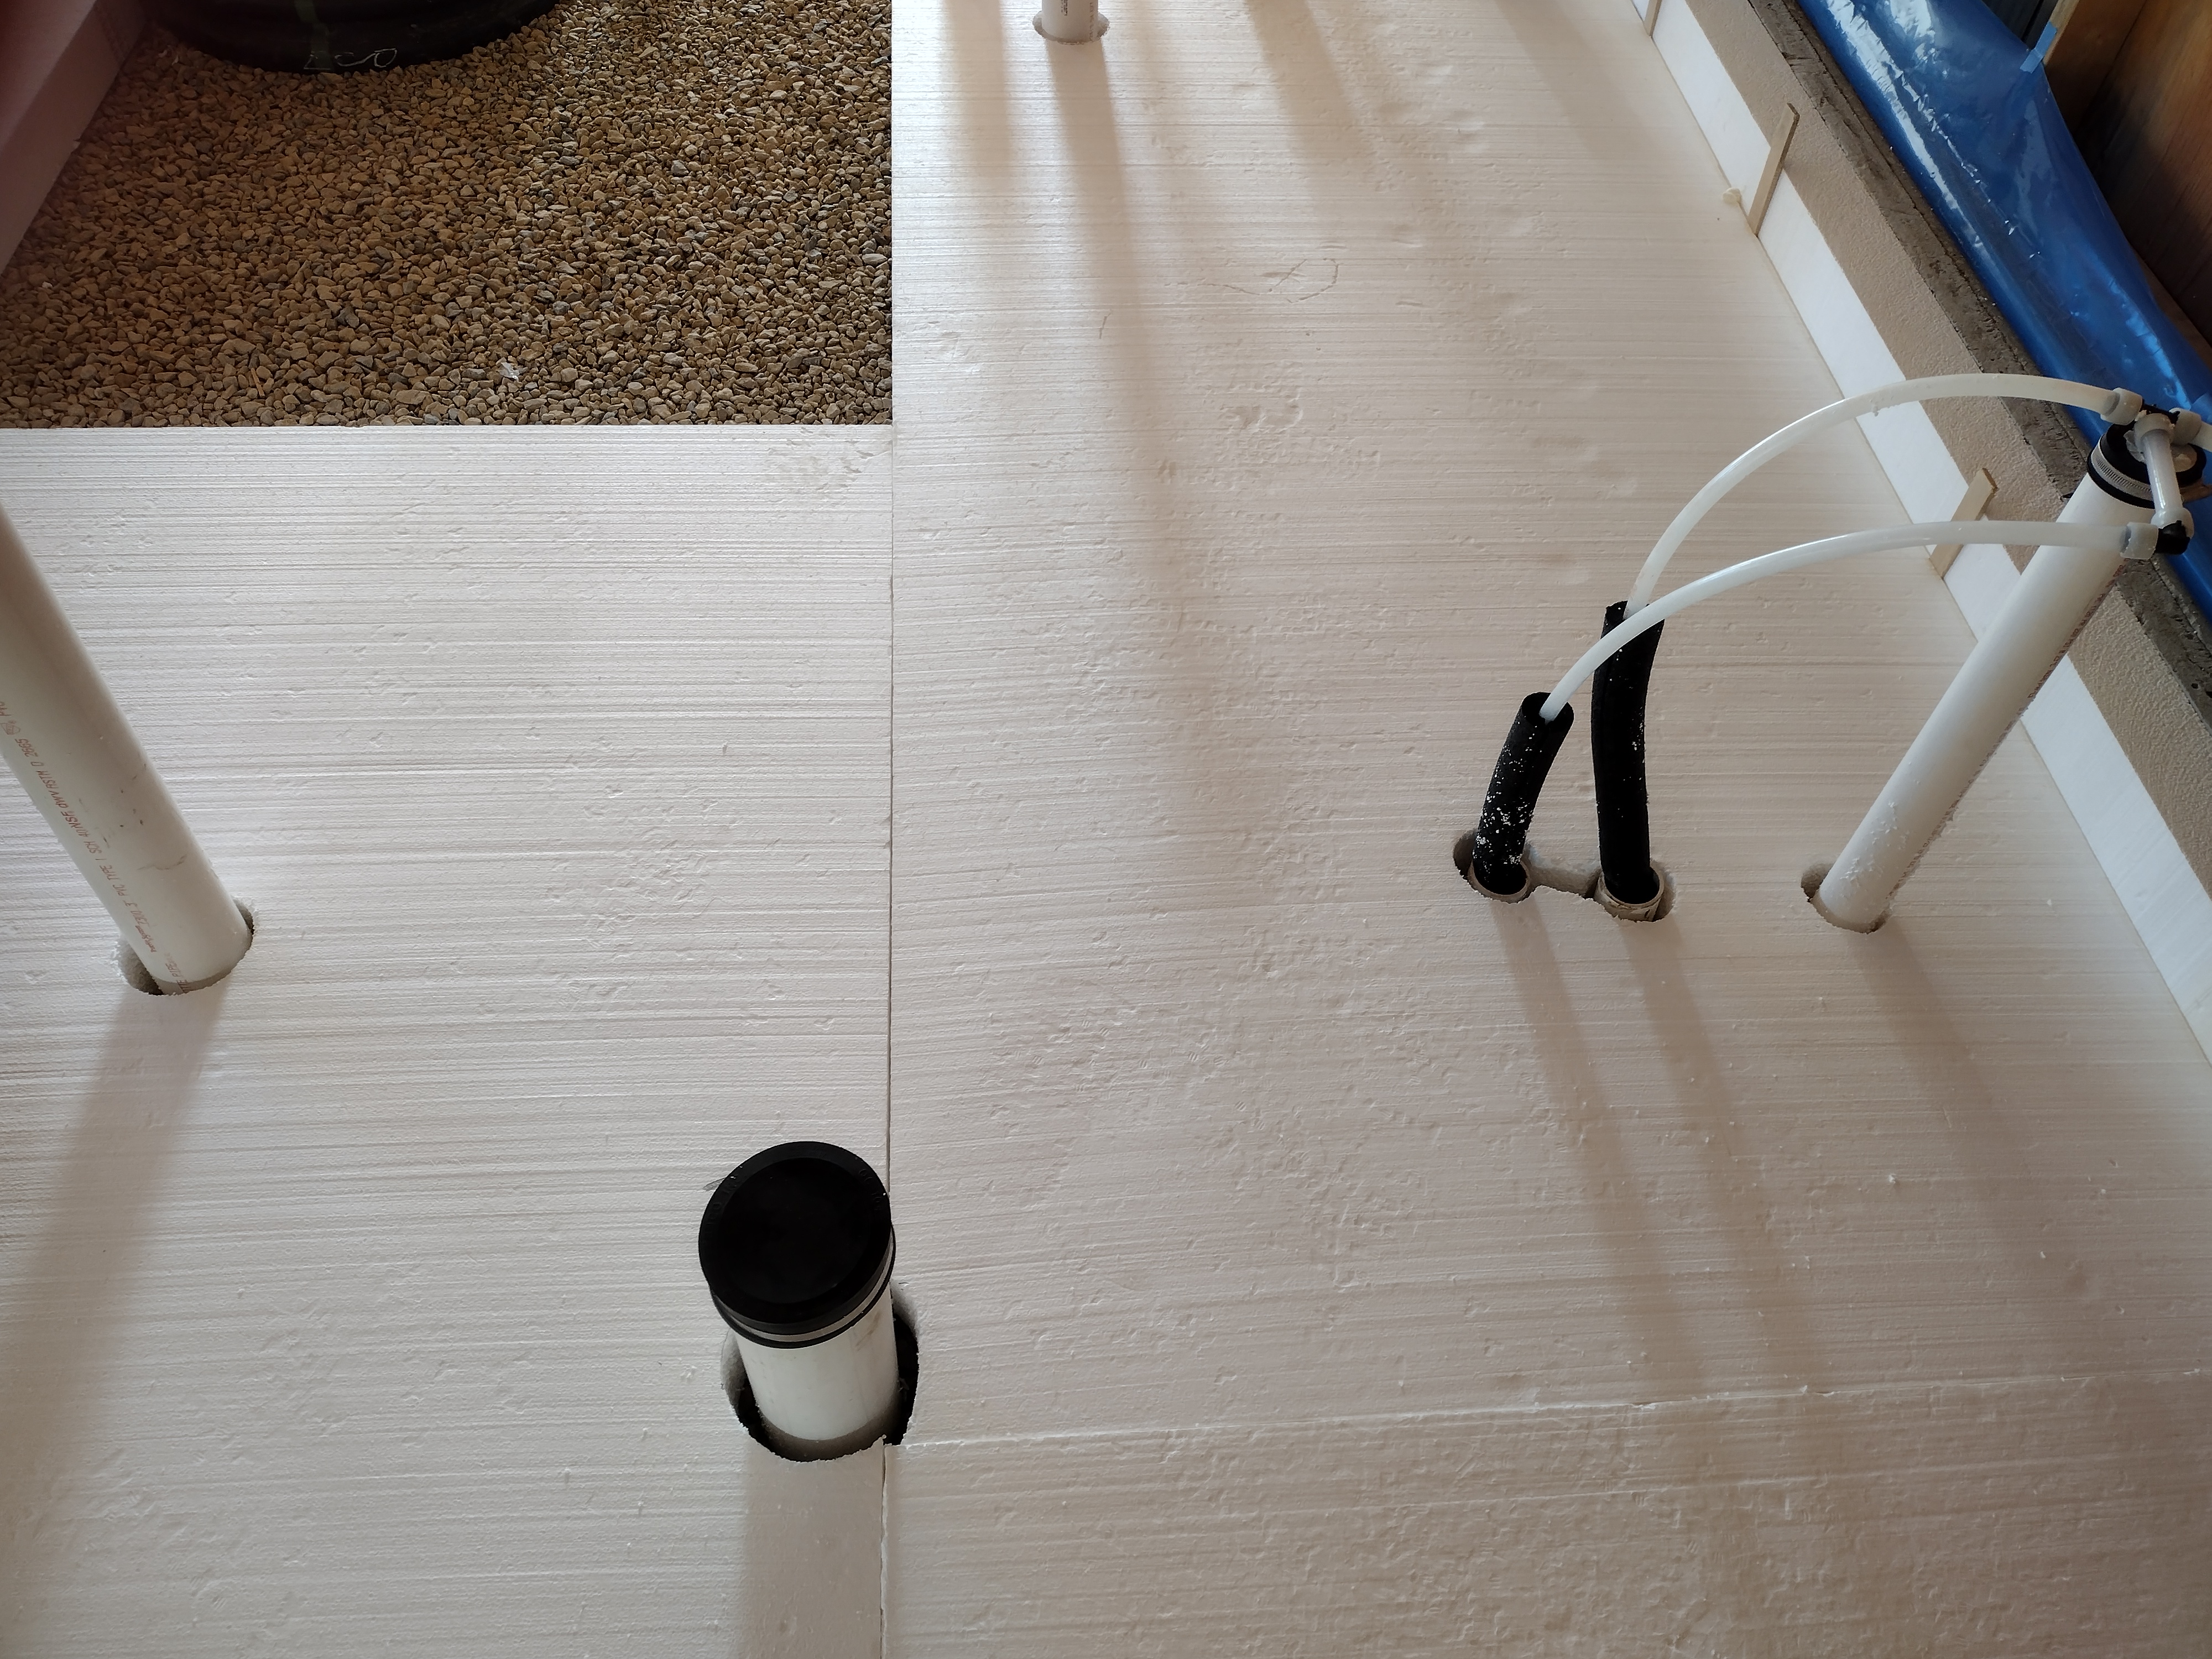
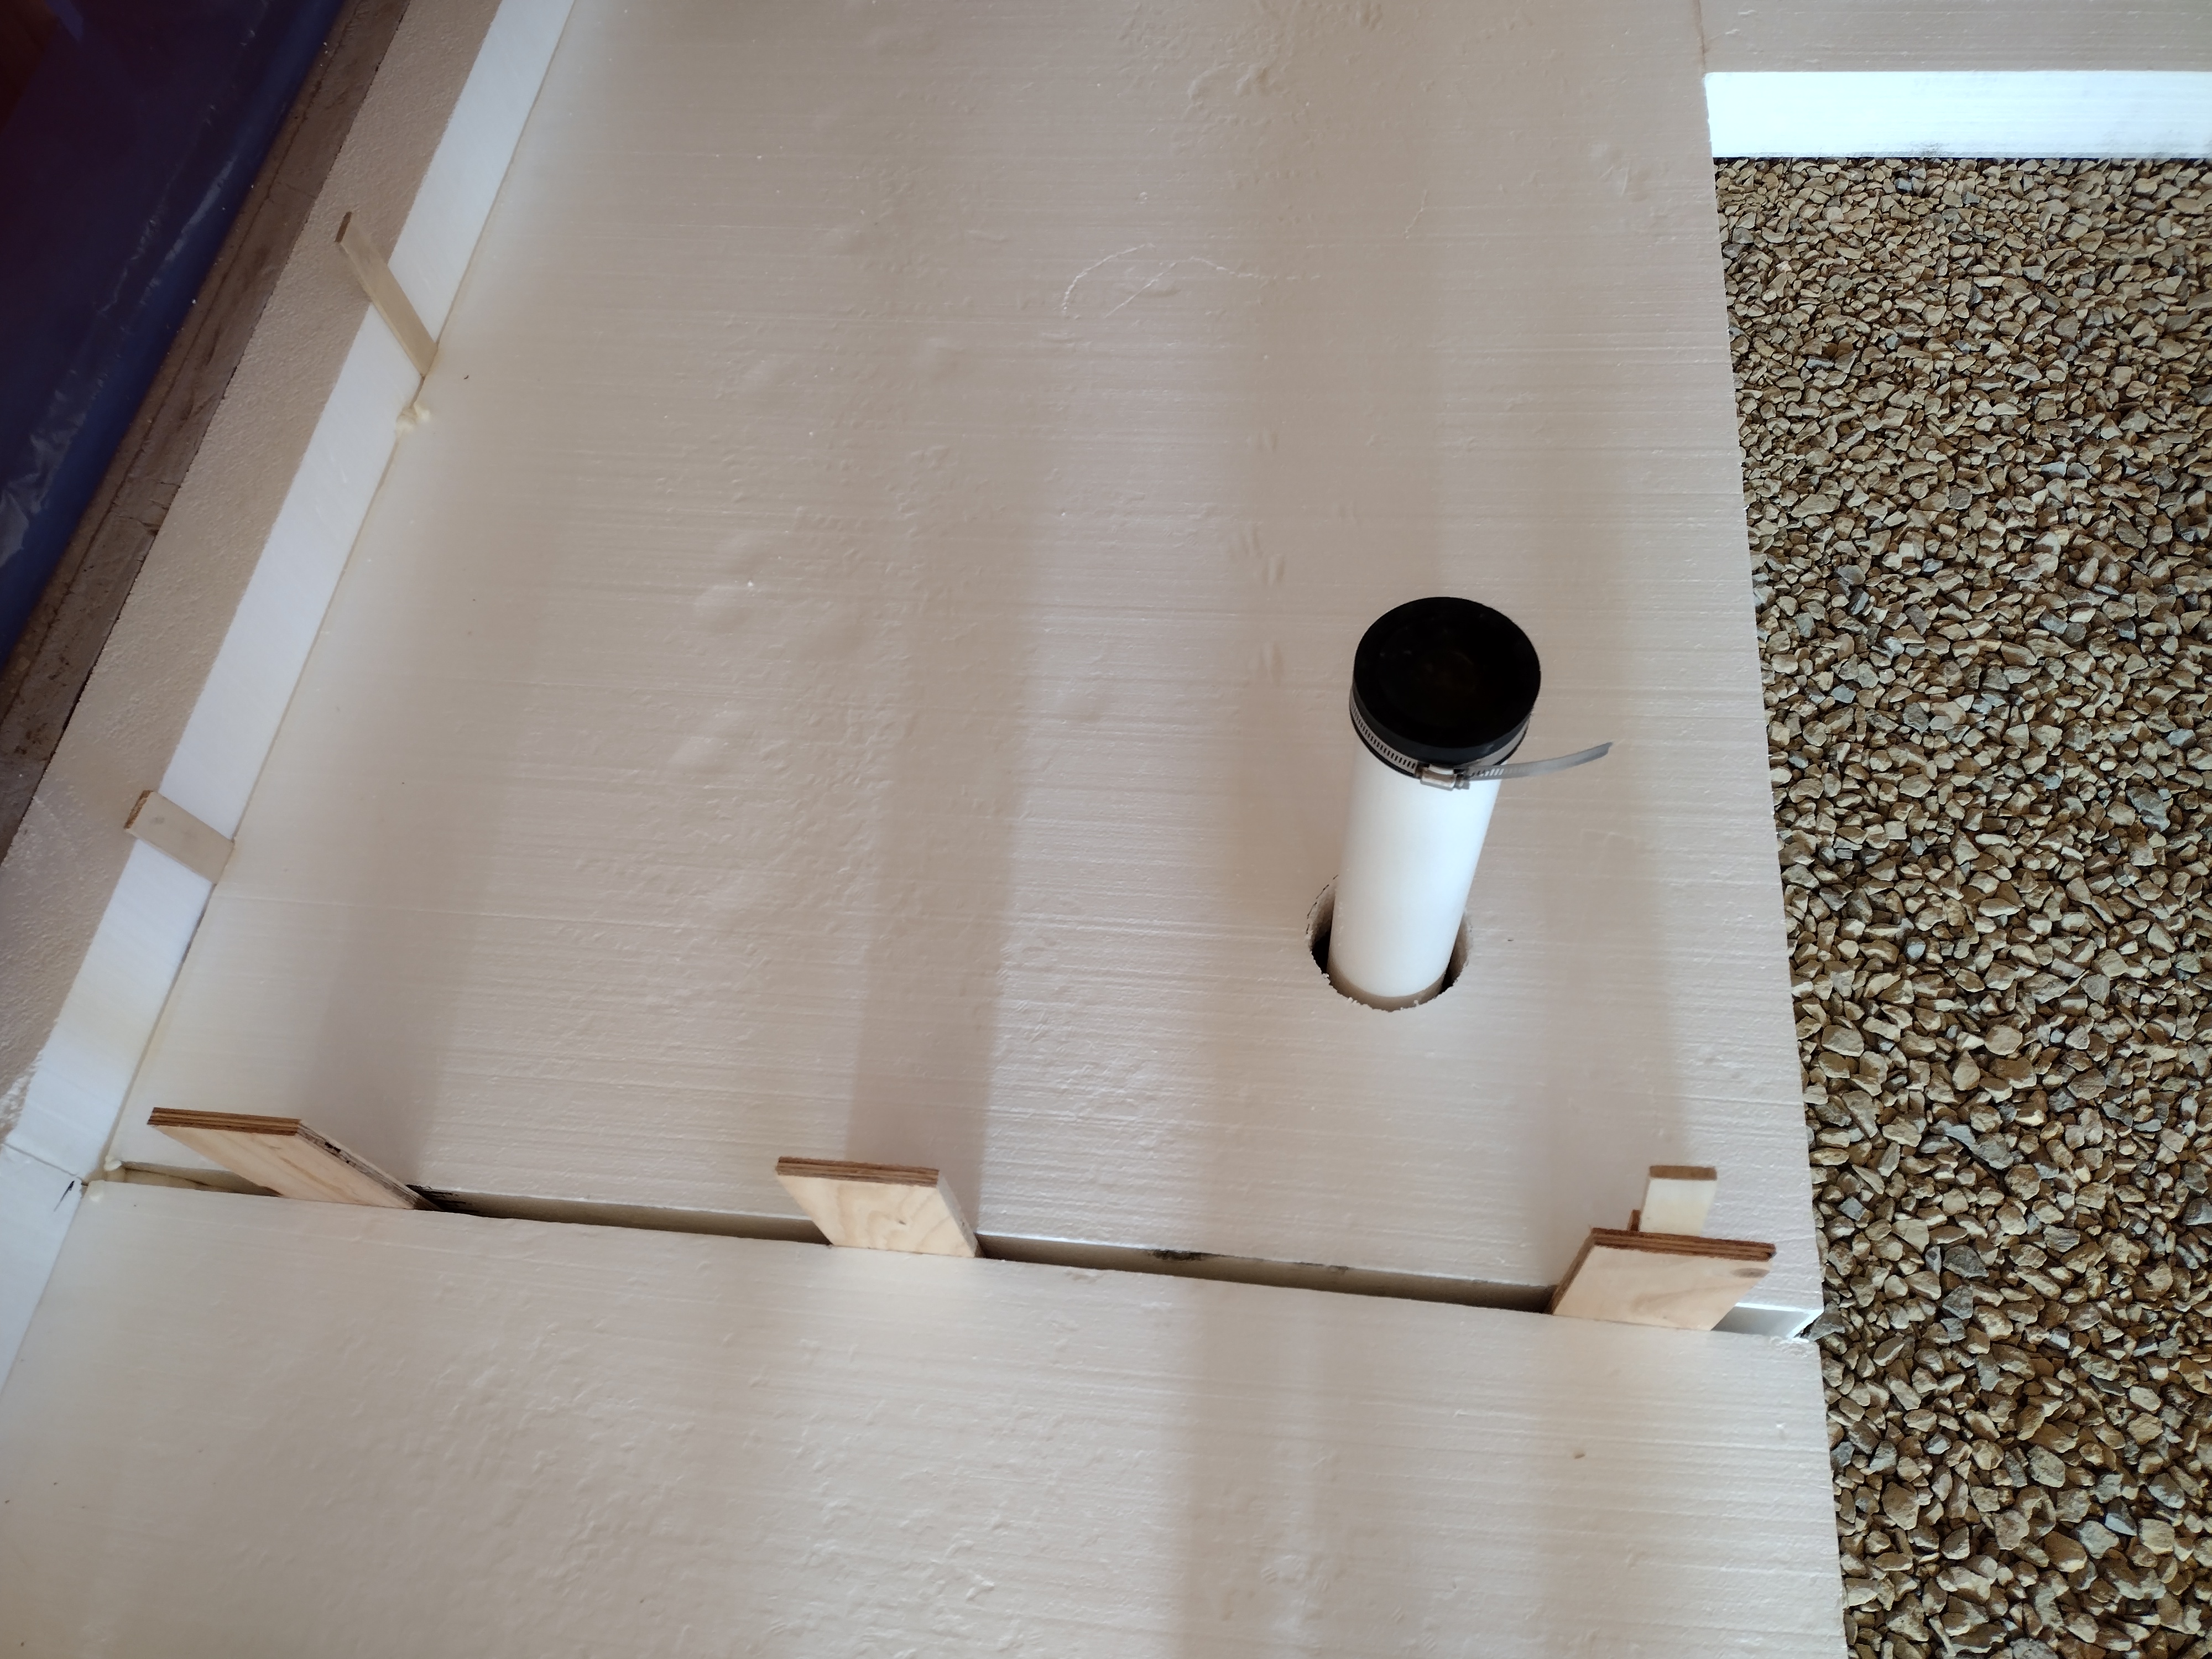
Our next step was to roll out 6 mil polyethylene vapor barrier and caulk or tape it to the previously installed strip of blue vapor barrier (see Sill Plates). Together with the taped plywood wall sheathing, this creates the home’s exterior air barrier (see Exterior Air + Water Barriers).
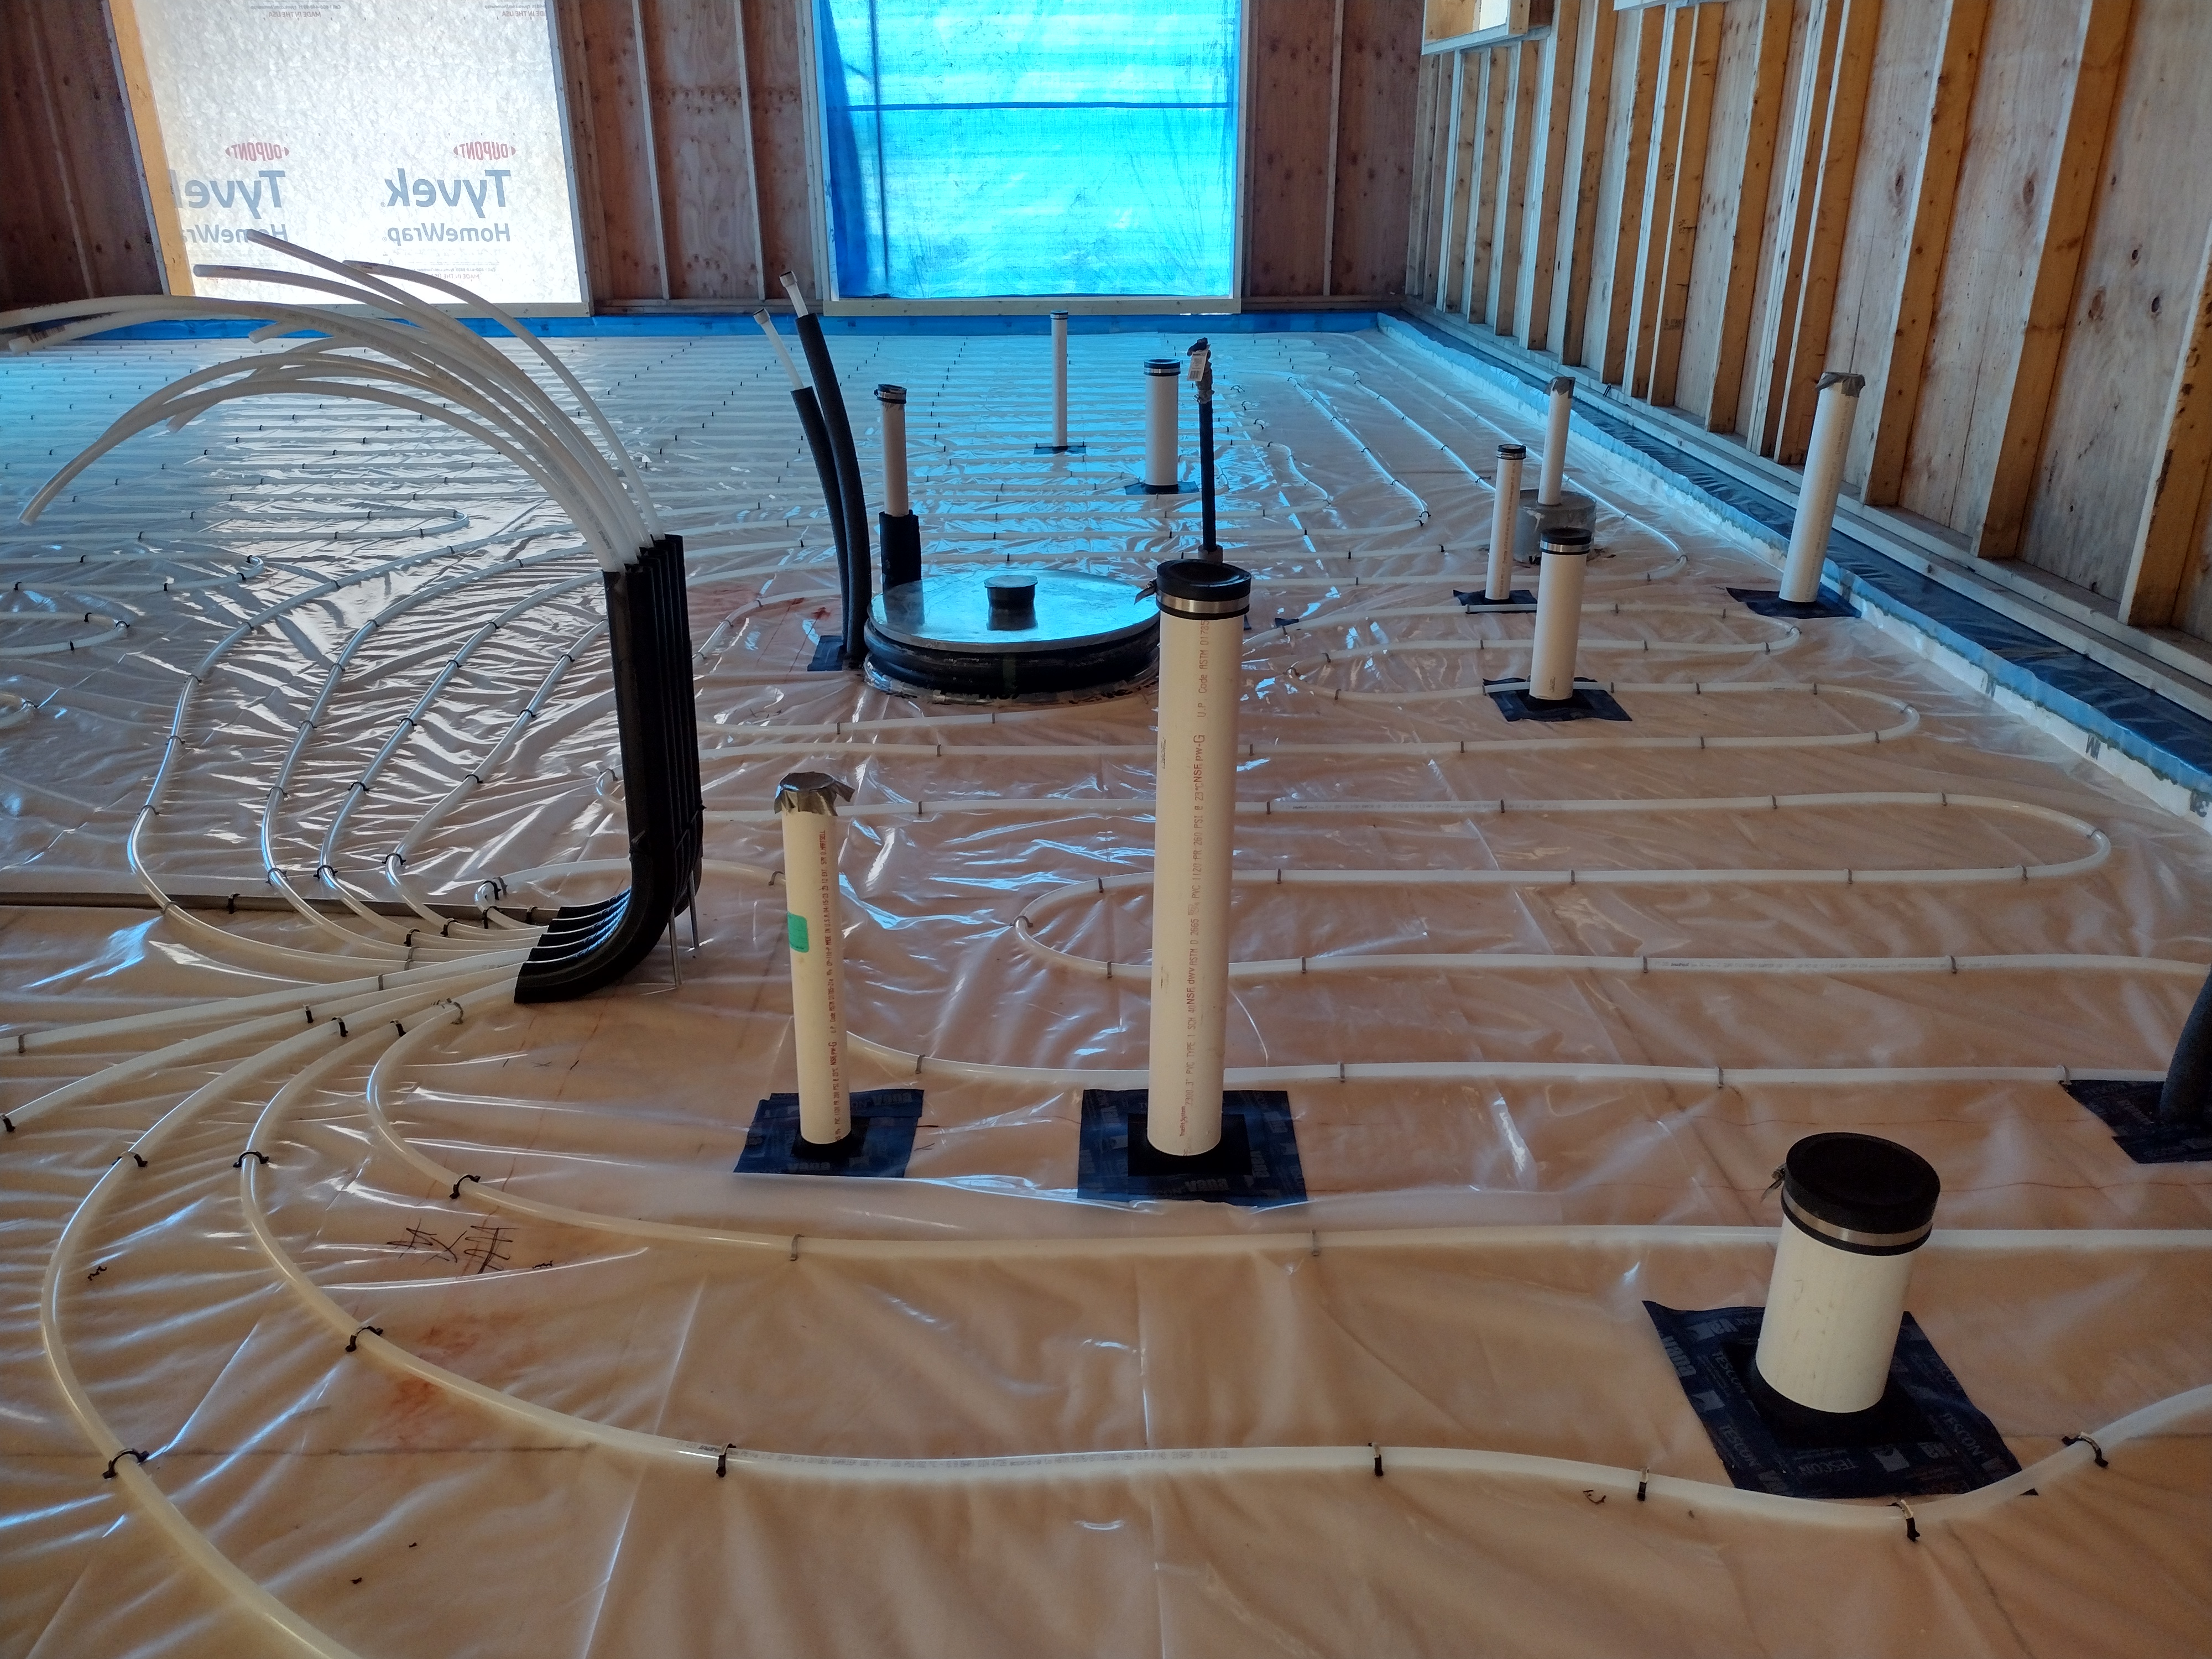
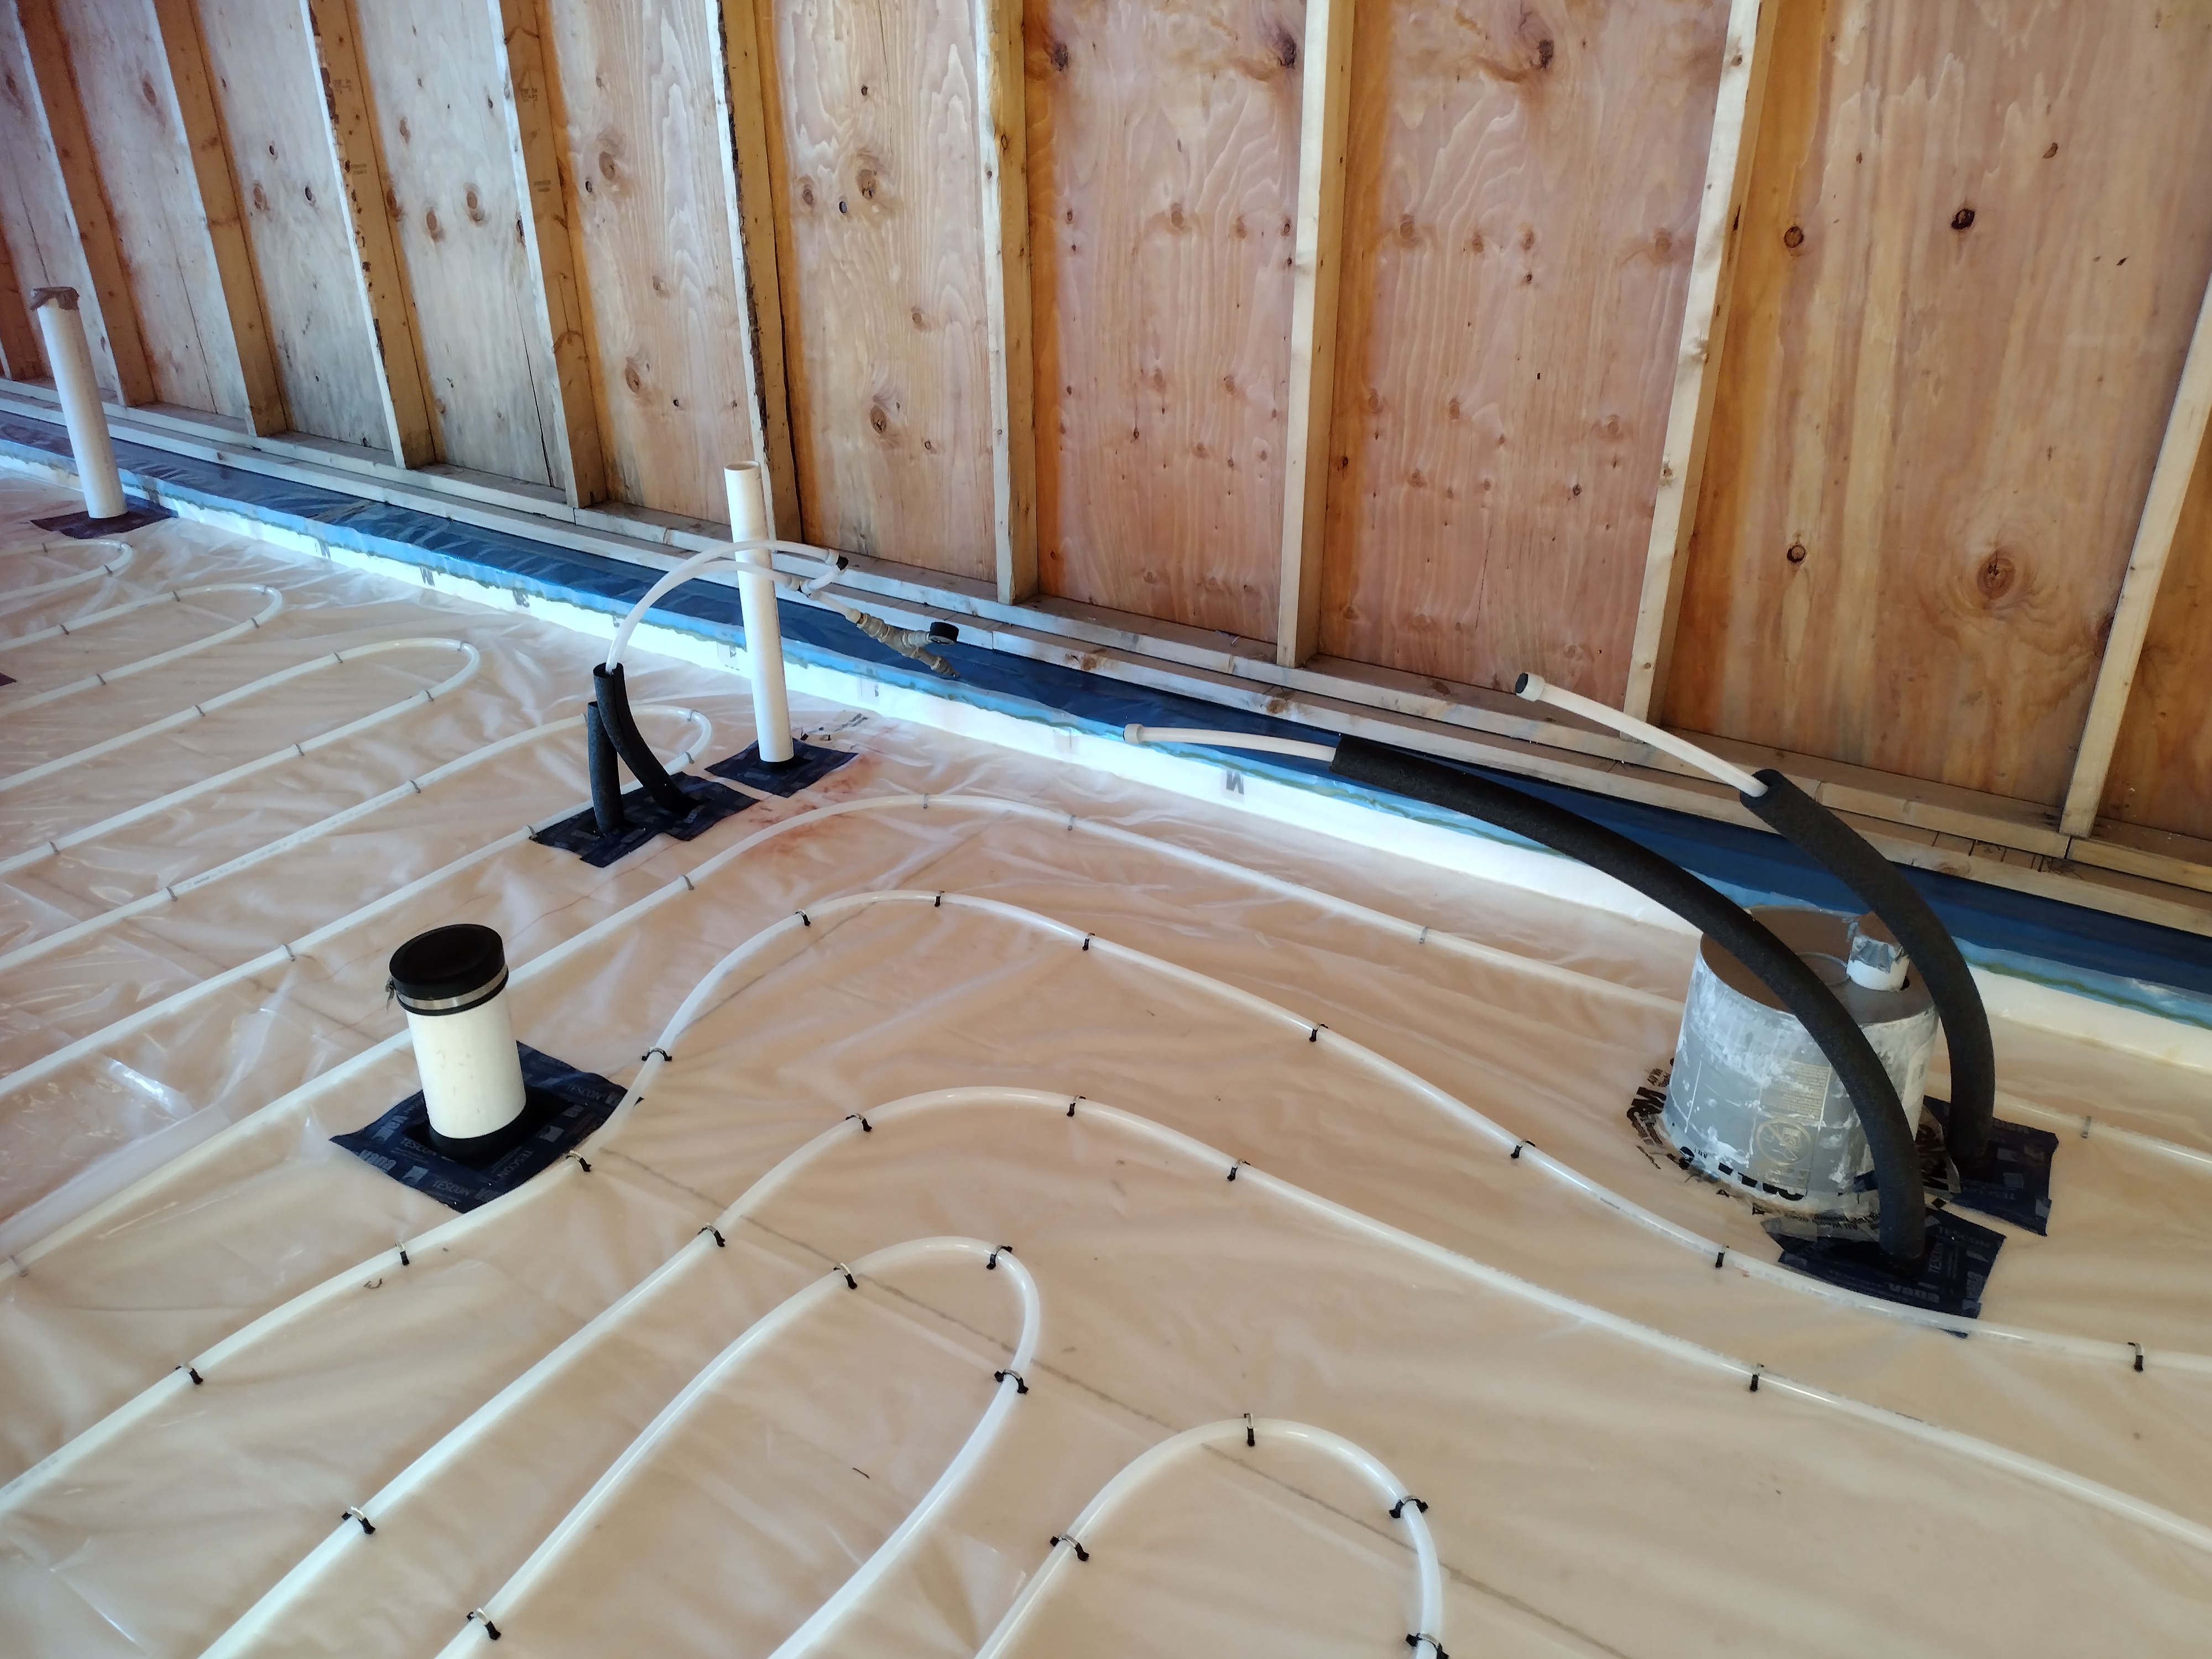
We lapped the polyethylene seams and air-sealed all the mechanical penetrations to it with snug fitting gaskets or tape. In this way, the poly acts as an air barrier (in conjunction with the slab) against radon gas. It also acts as an effective vapor barrier, even accounting for the numerous stab holes from the PEX staples. For a lively discussion on this topic see “Poly Under Concrete Slab” on the Green Building Advisor website.
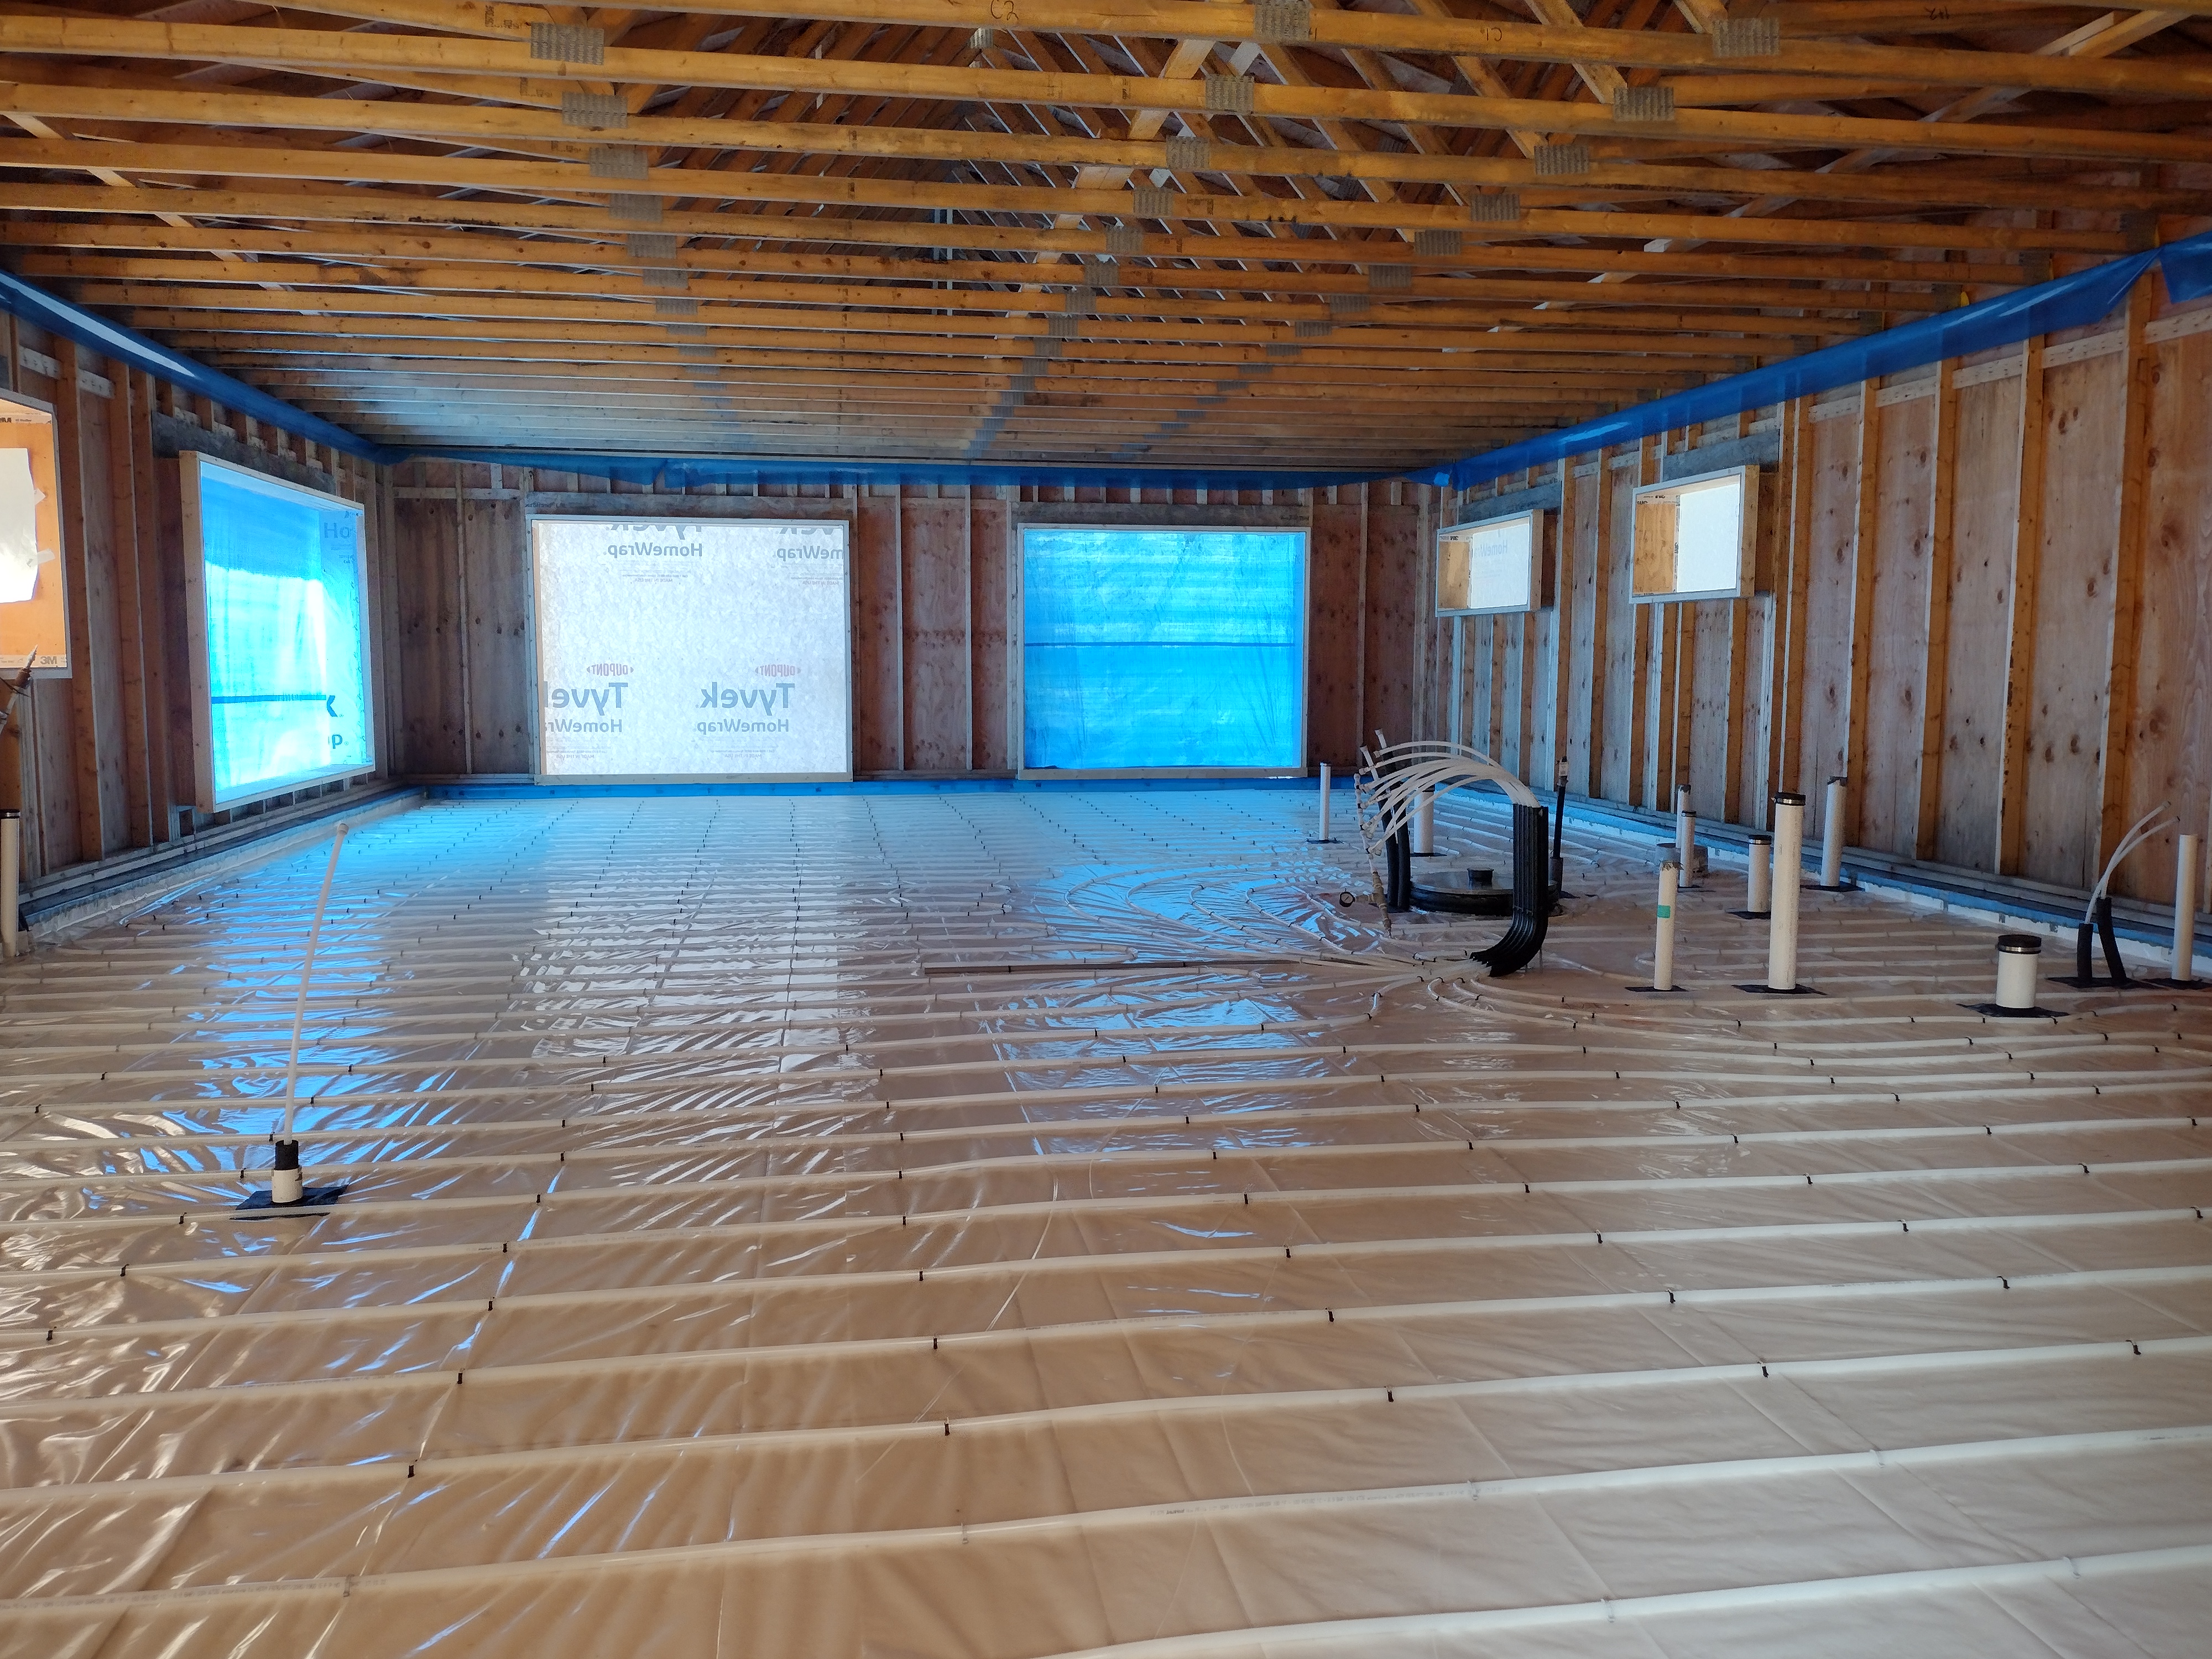
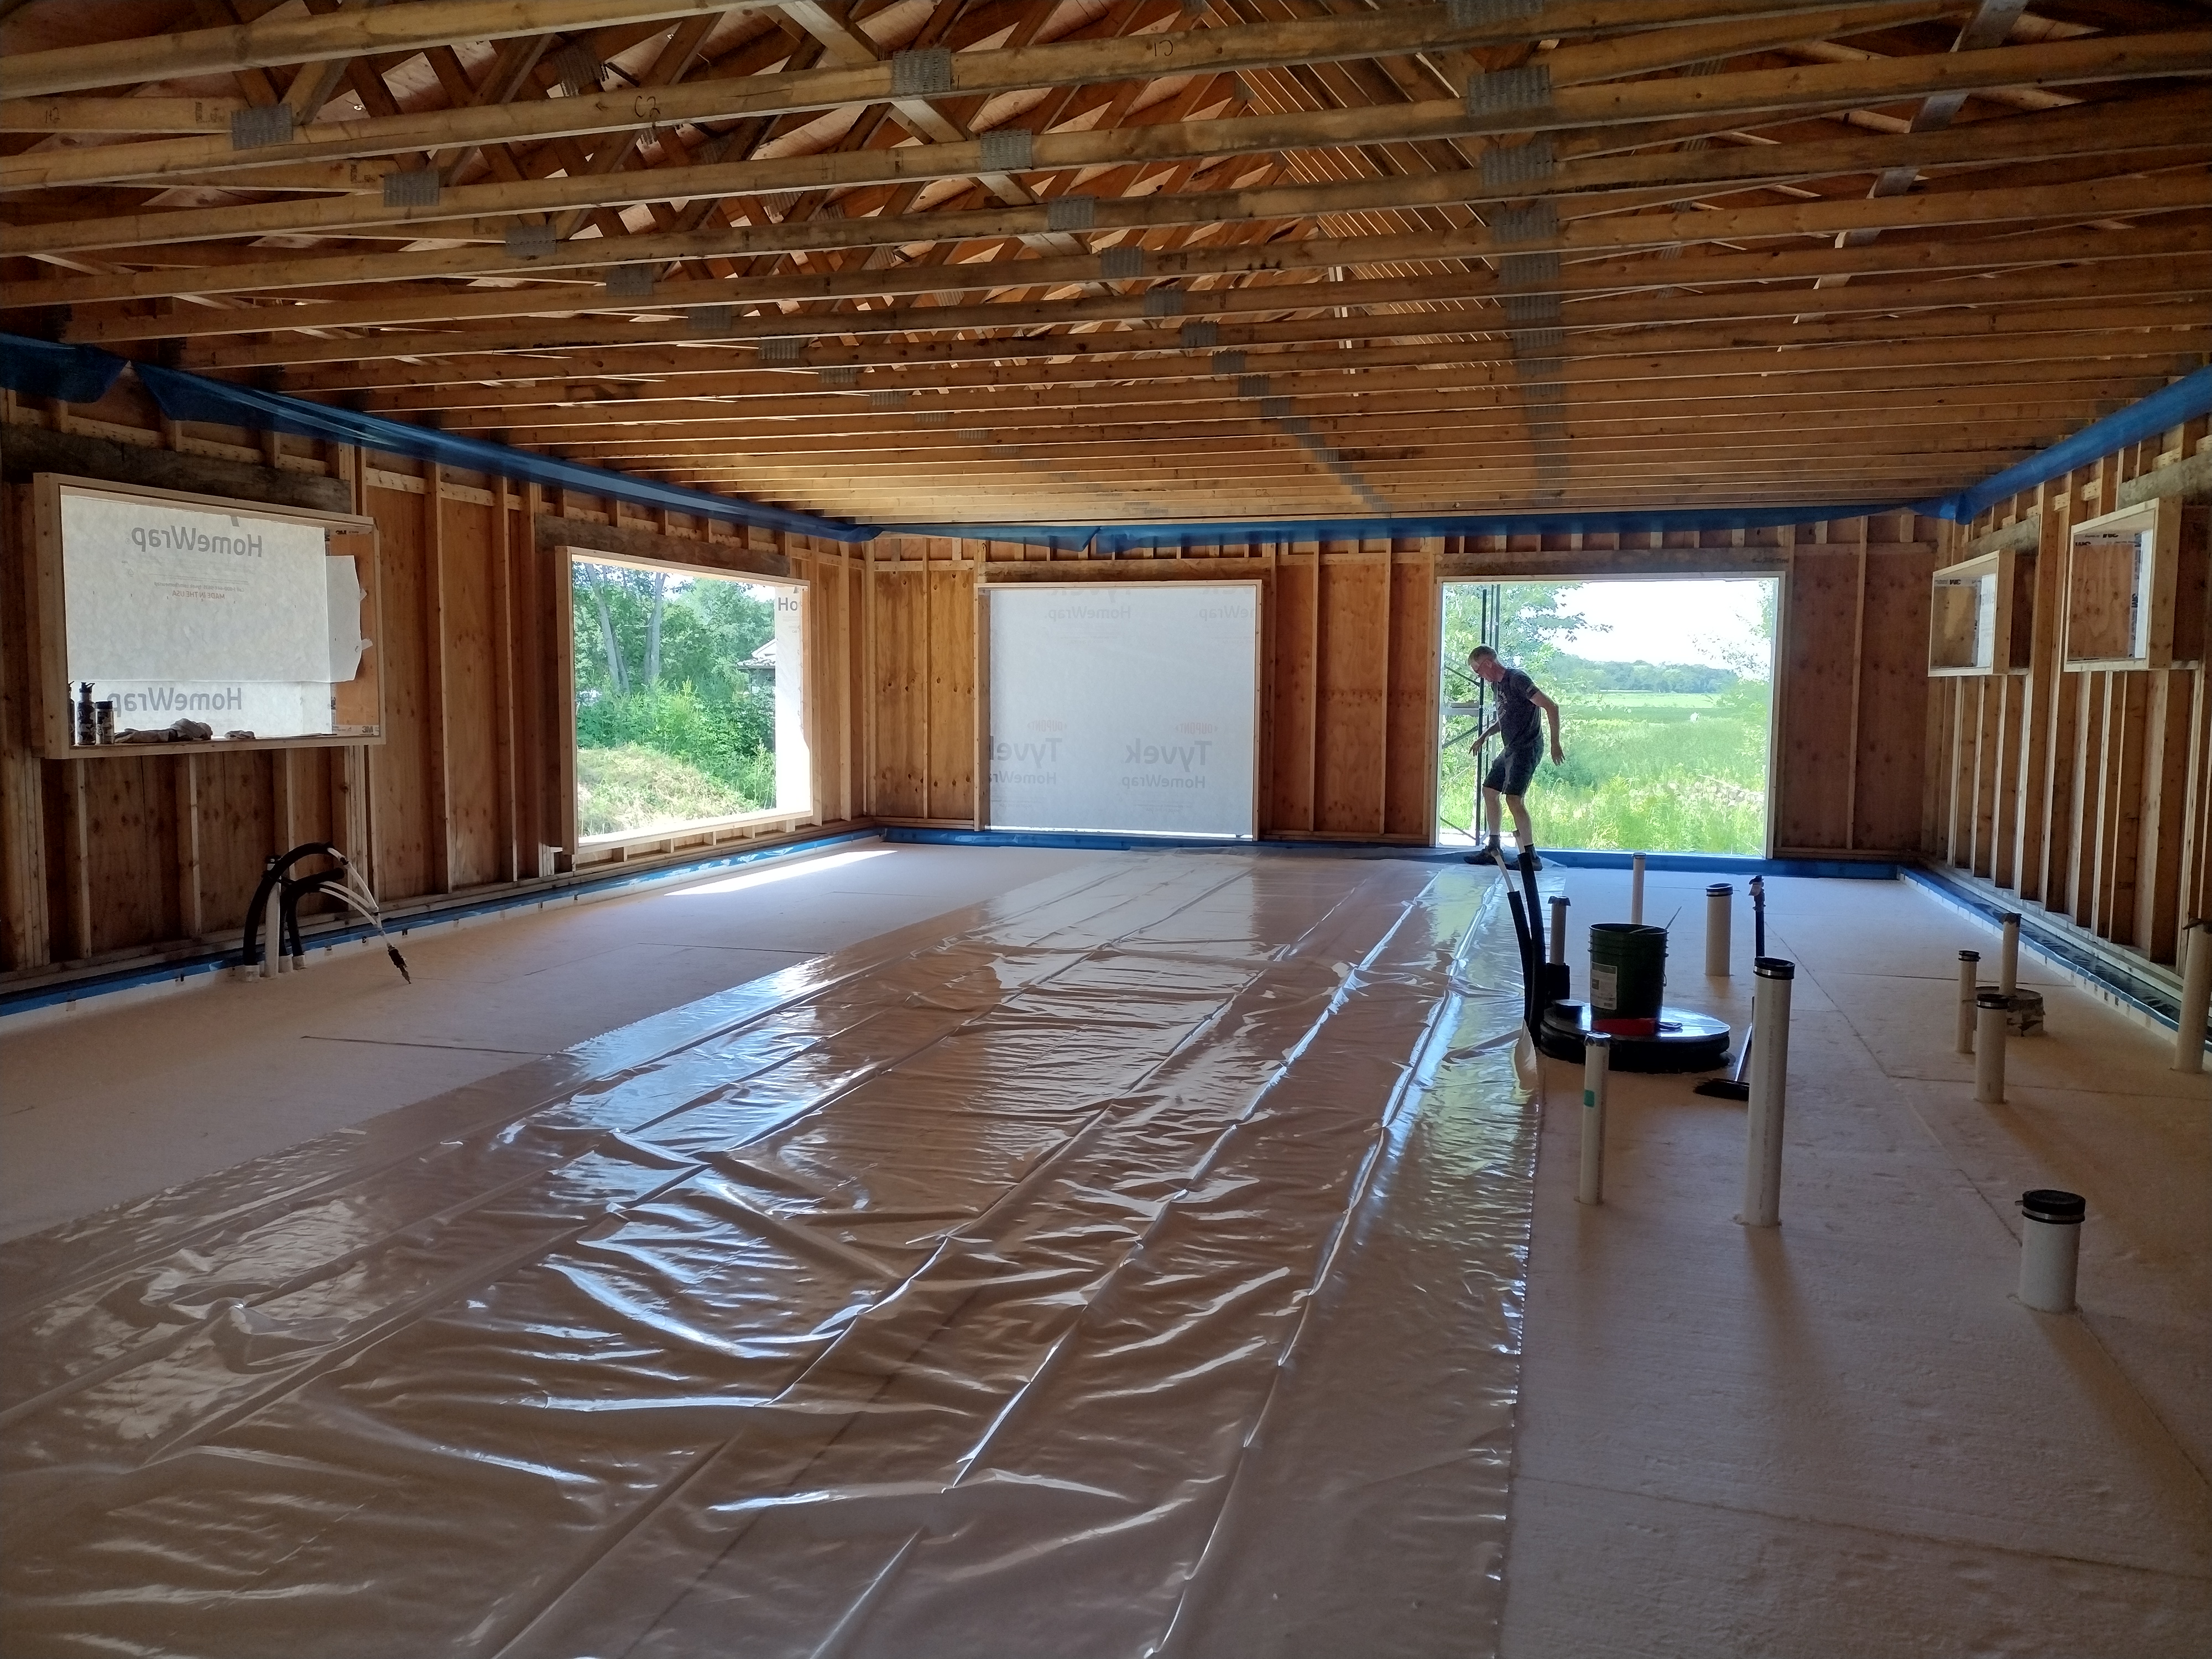
Our local HVAC company, Collins + Hying in nearby Dodgeville, did a neat job of installing the PEX tubing for the hydronic heating system.
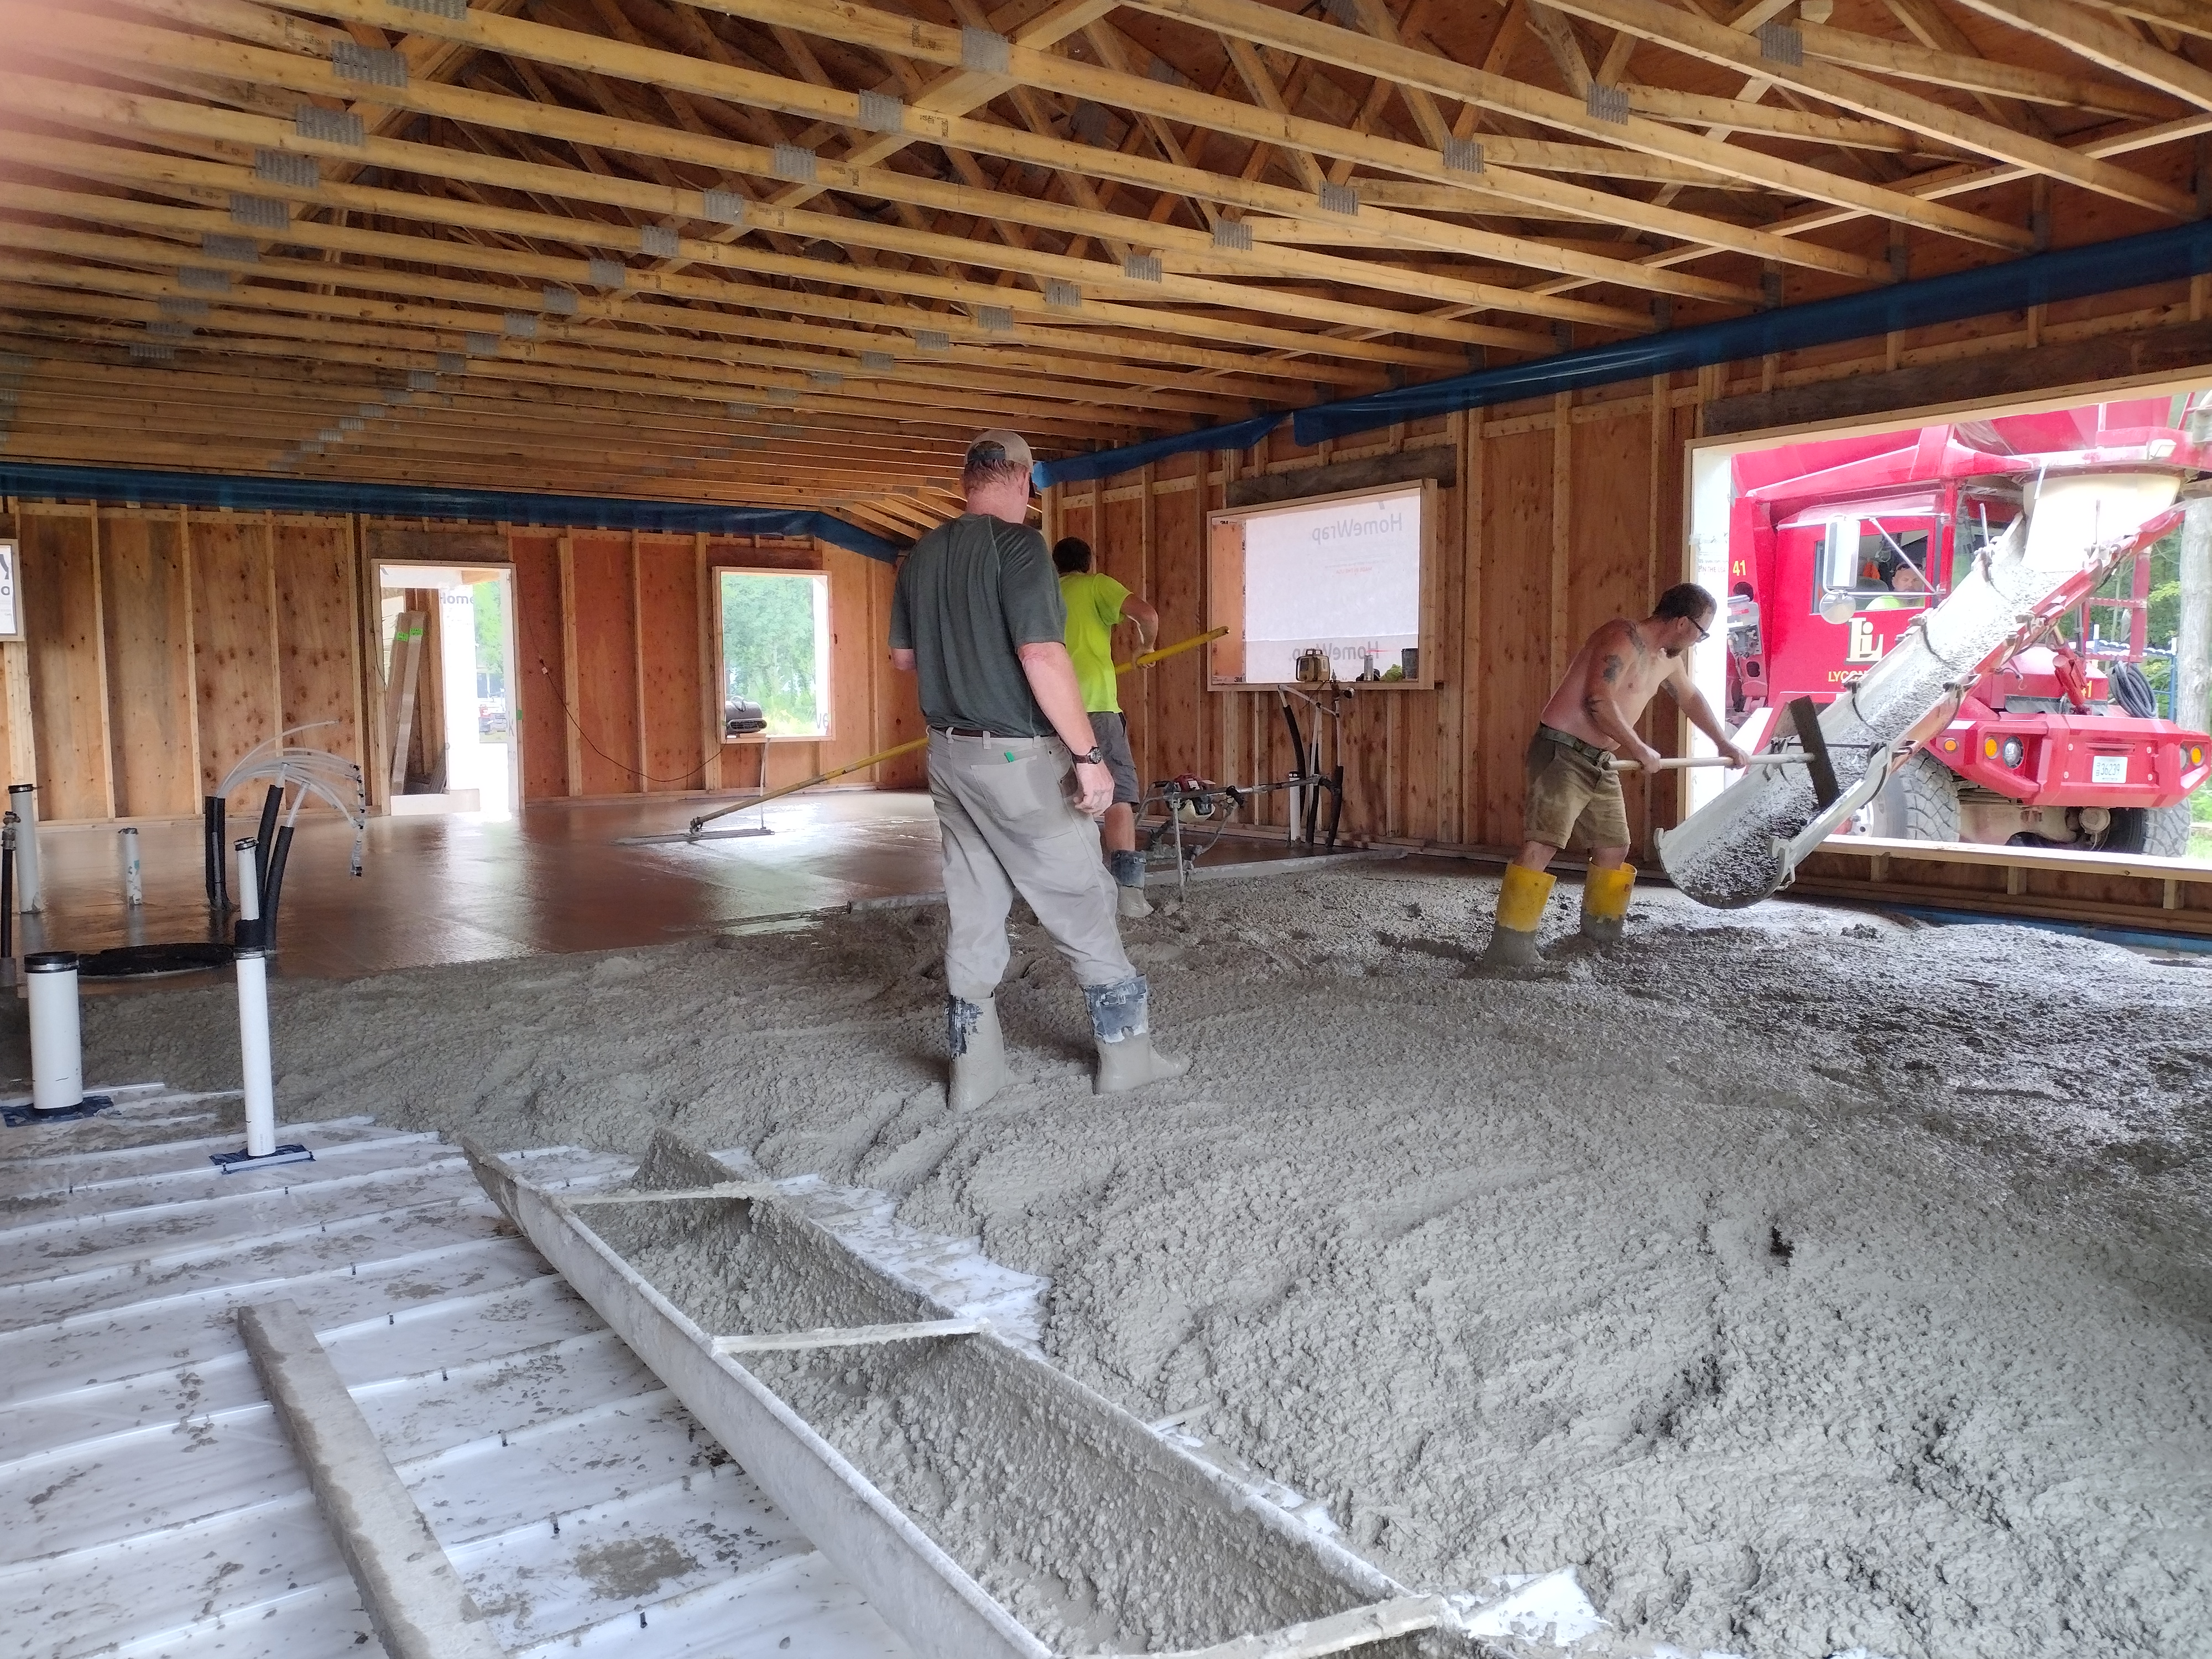
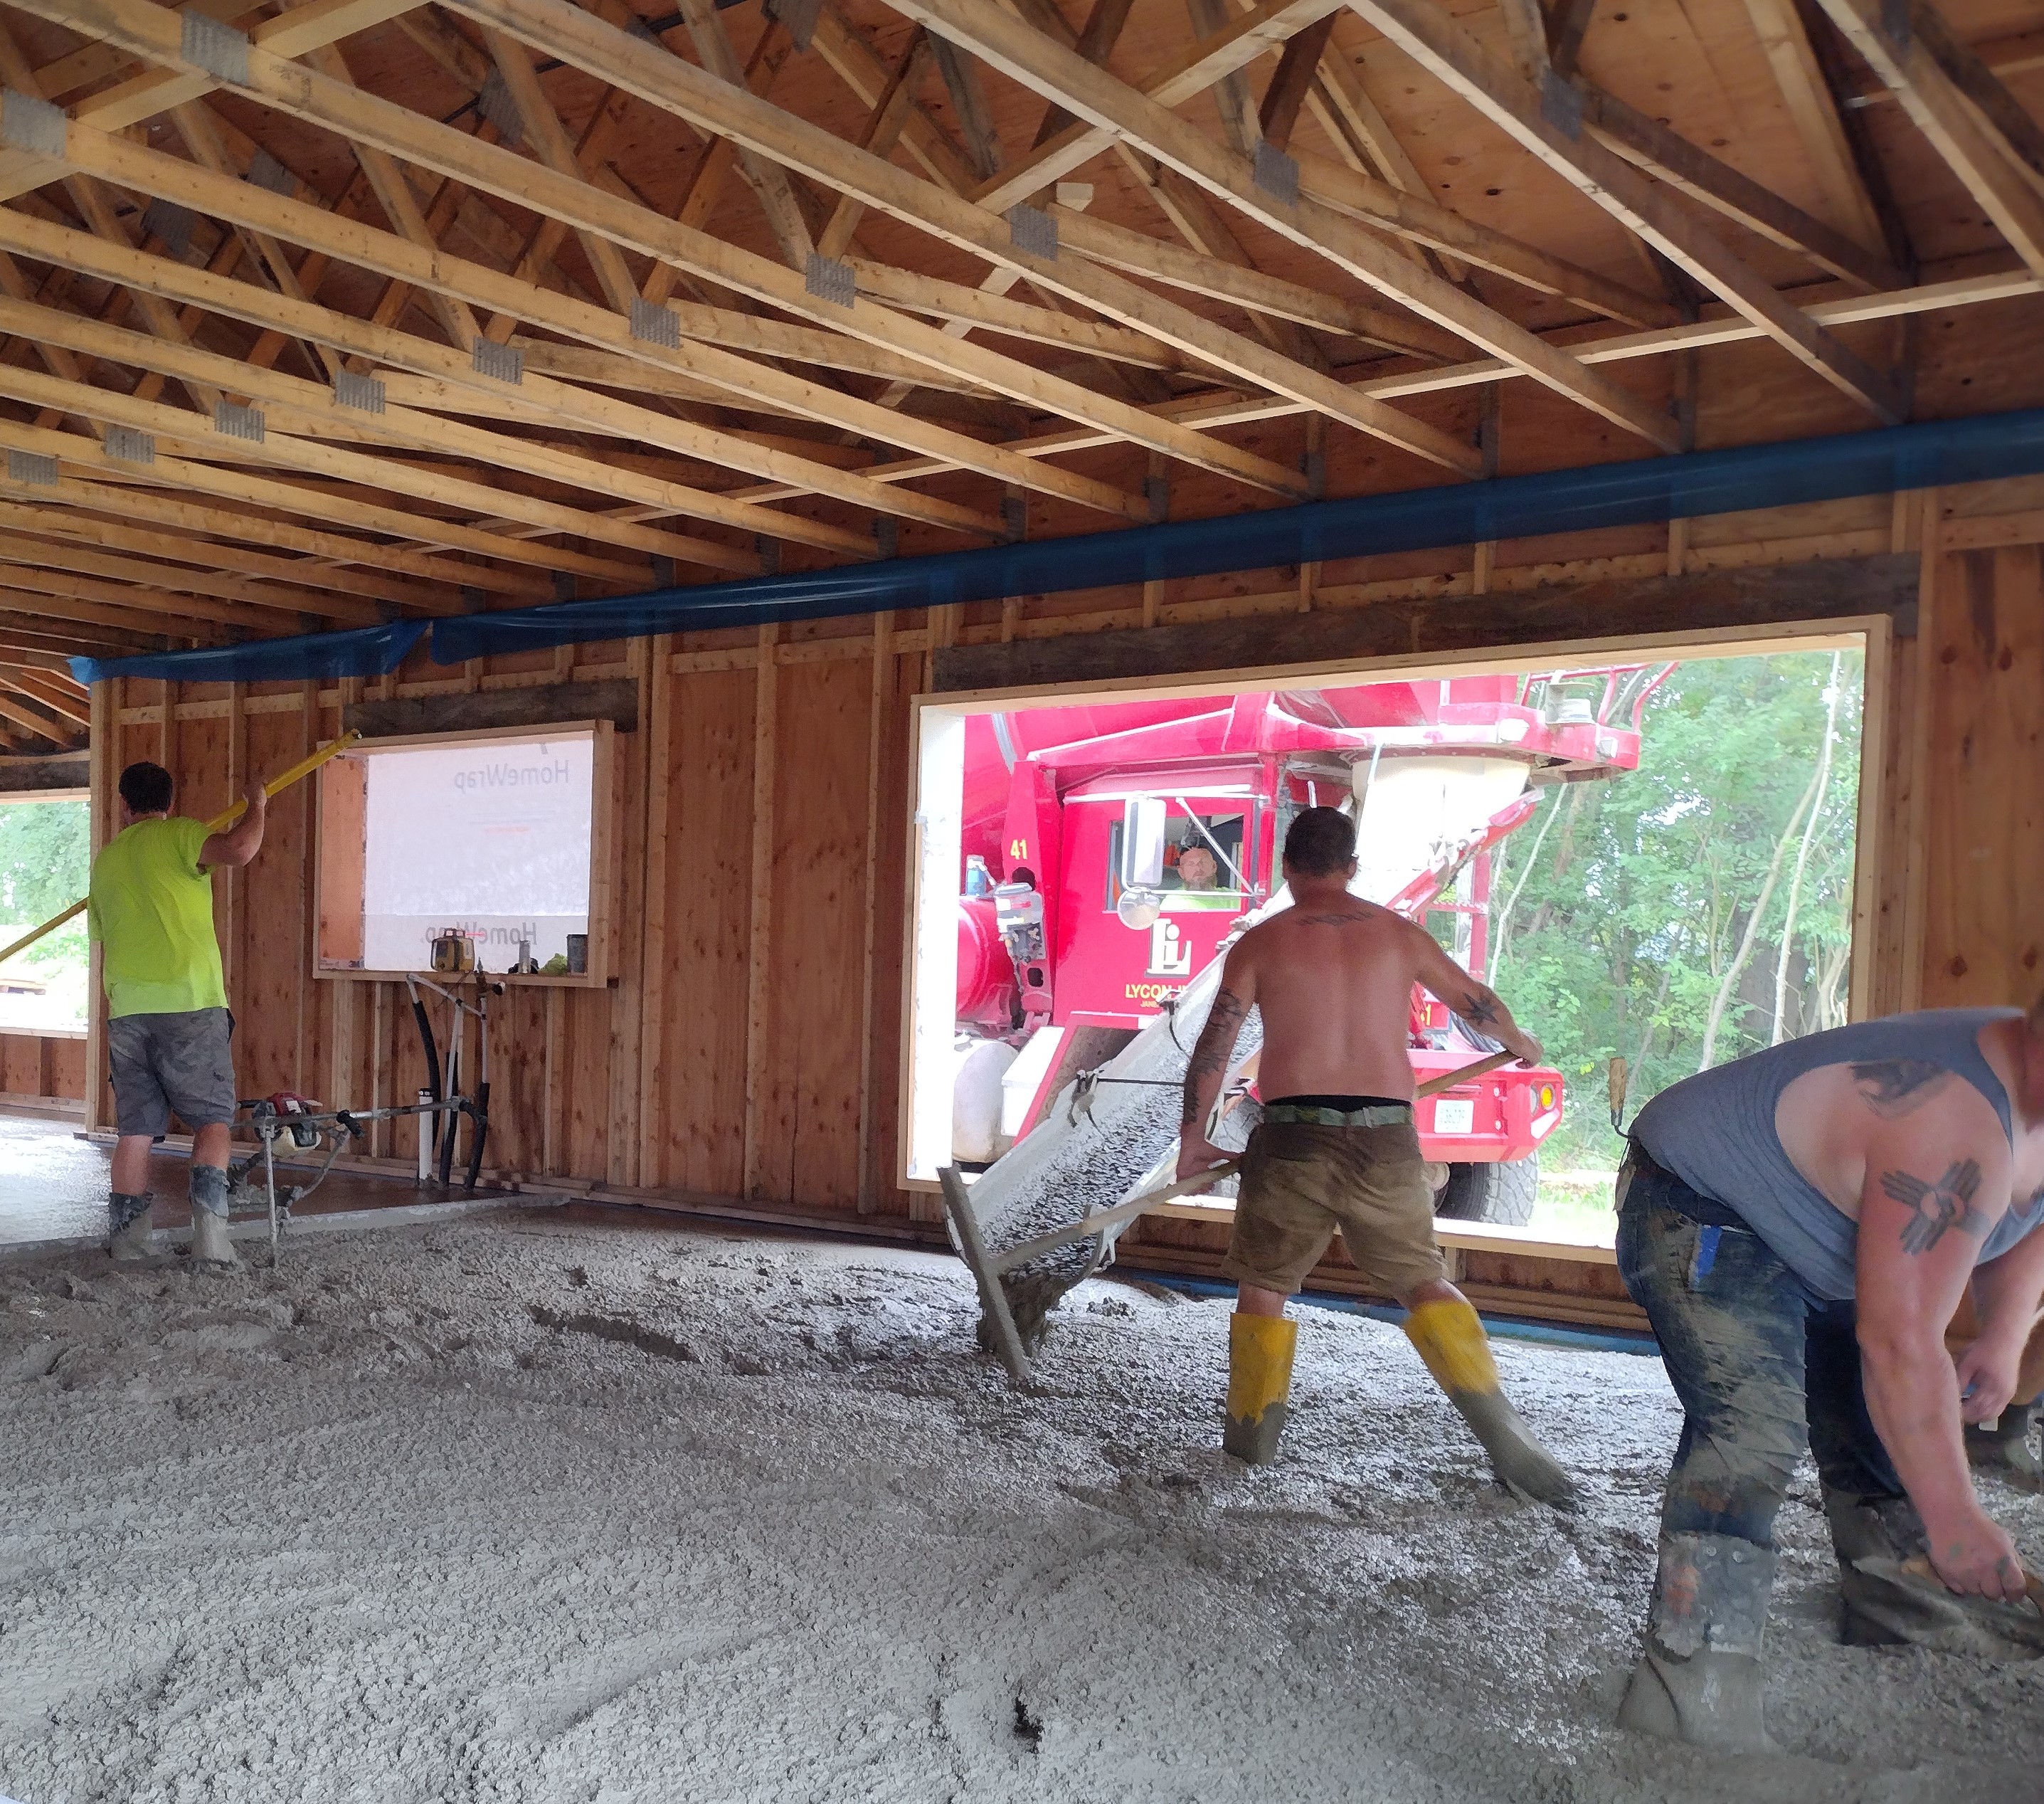
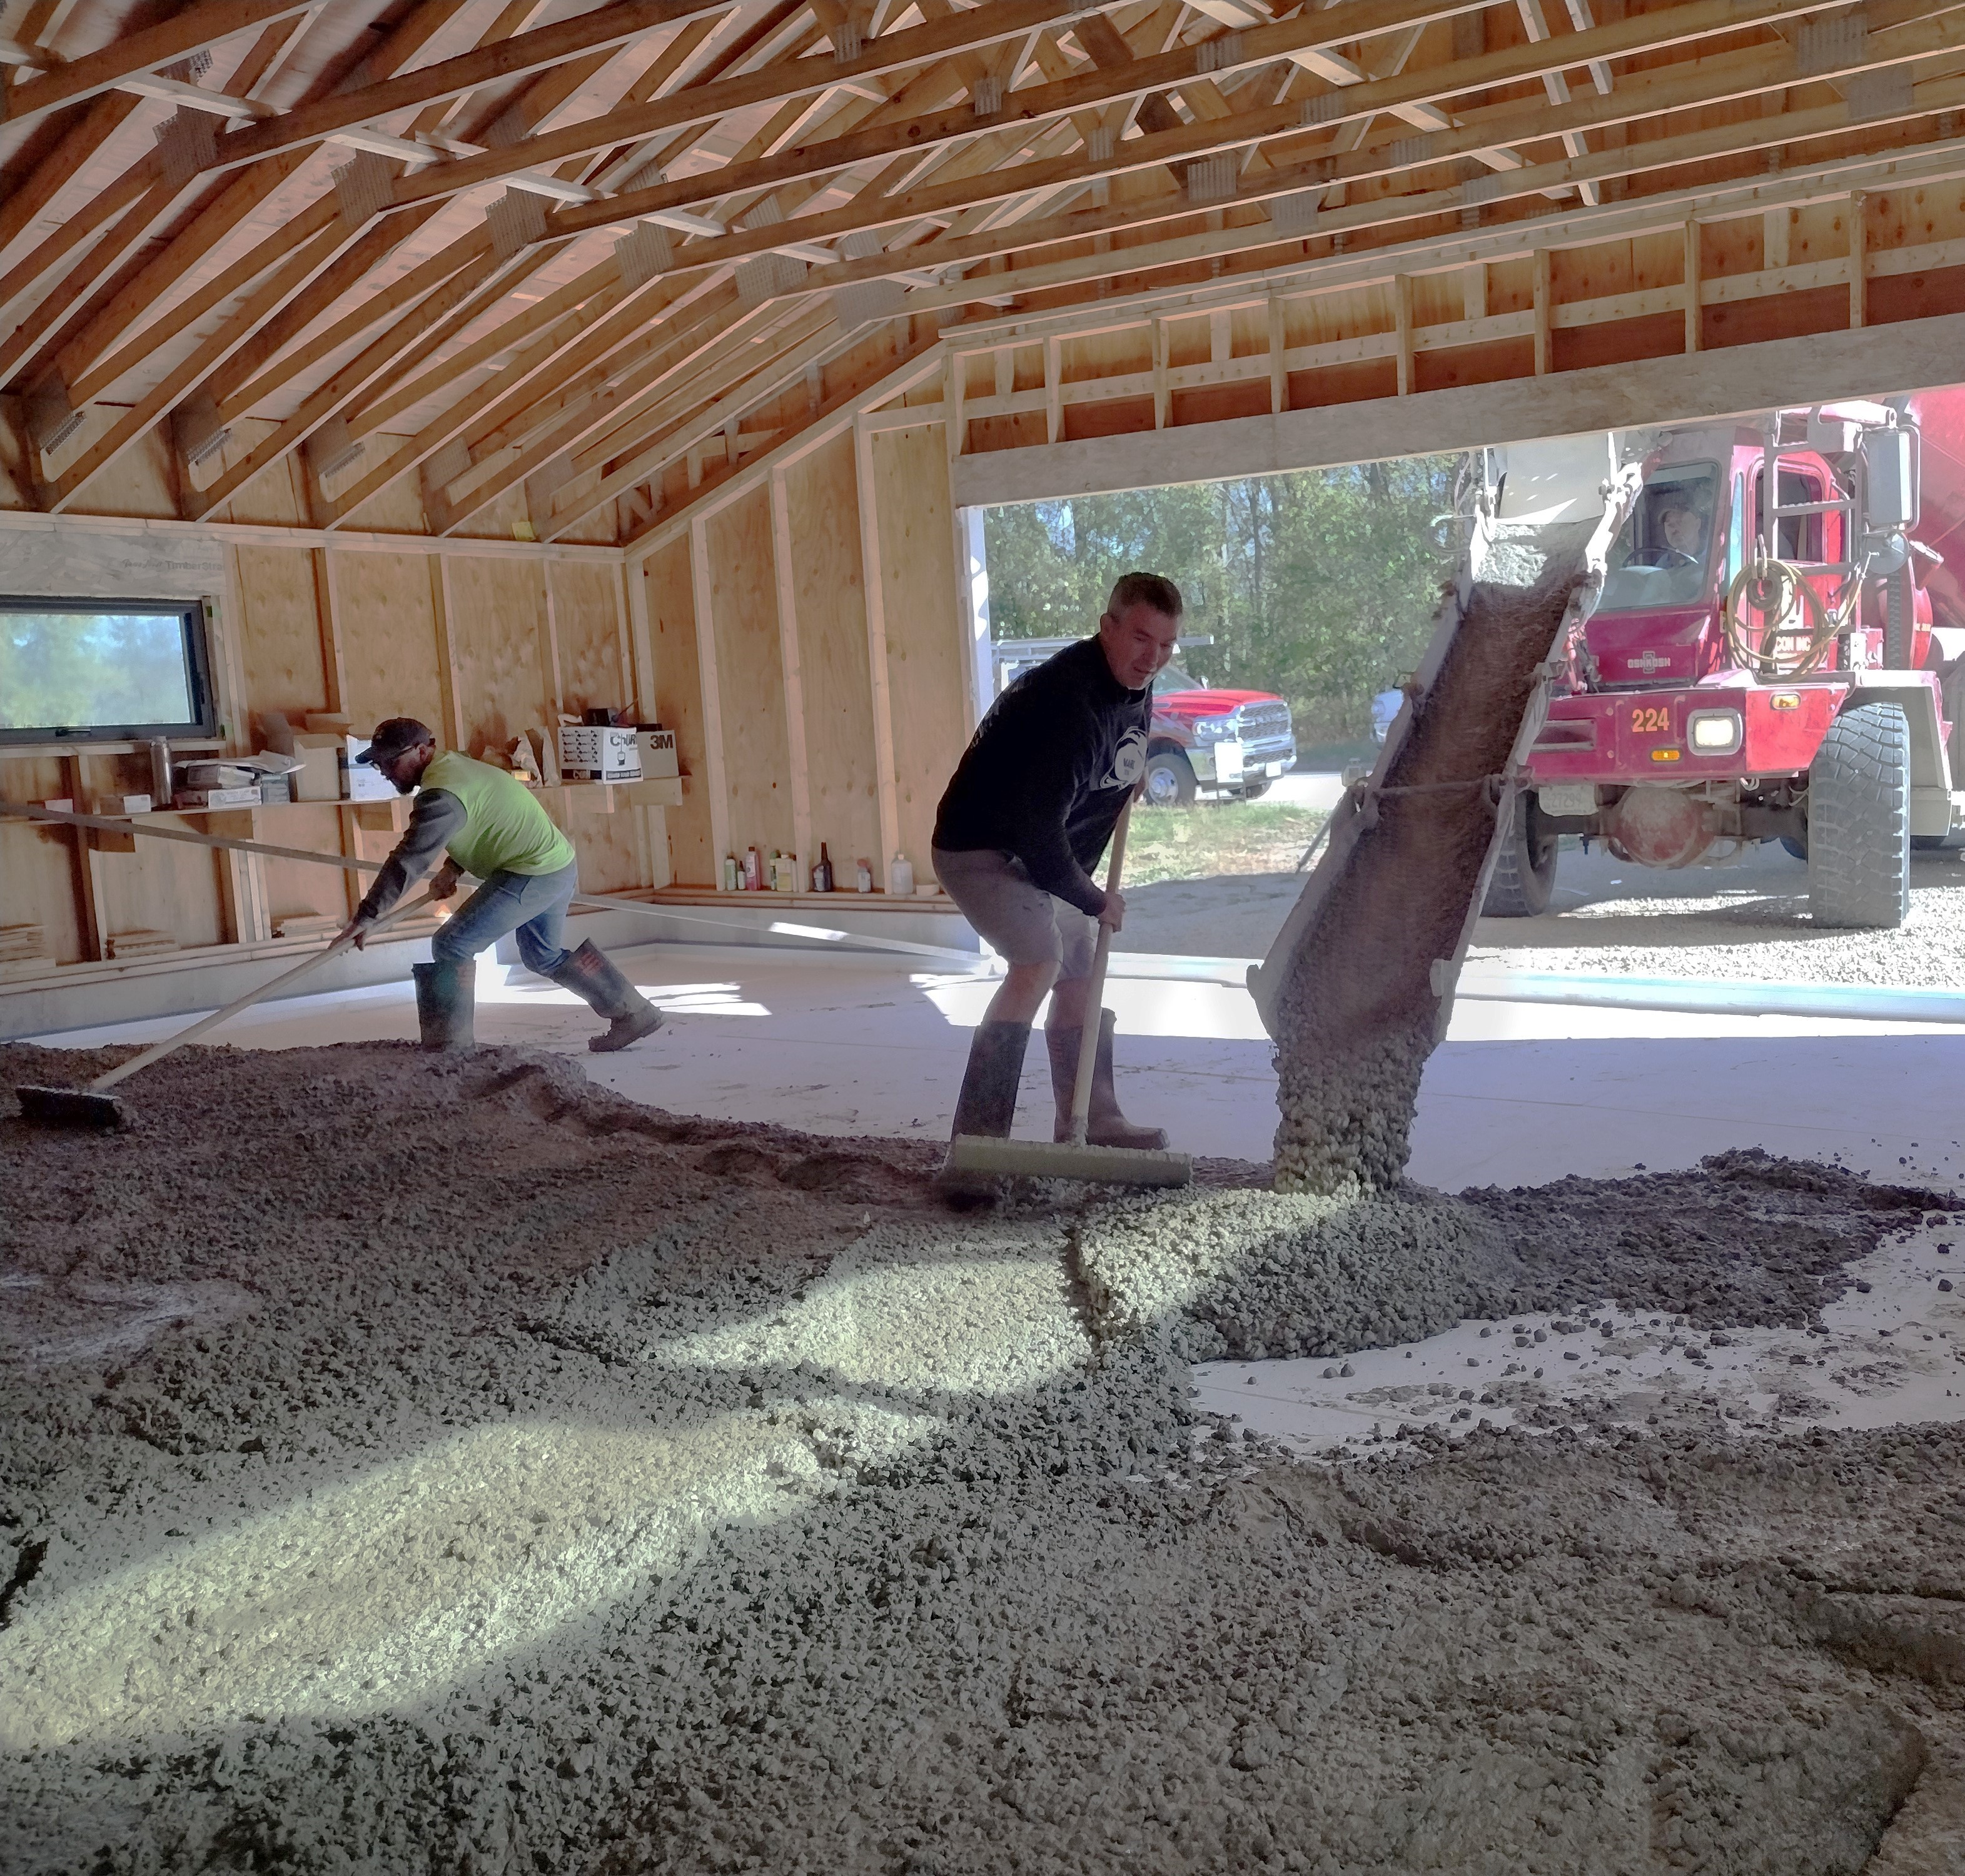
The big day! Here is the crew from Rockcrete in Ridgeway pouring our slab. While in the planning stages for this project, I was determined to get the walls and roof up and covered before we attempted the slab prep and pour. There are so many advantages: no need for tarping against the rain, no work stoppages due to inclement weather, no worries about the concrete curing too fast in the hot sun, and no sunburns!


The next day, Rockcrete was back to saw 1 inch deep control joints, about every 10 feet. Then it fell to me to babysit the slab for the next 5 days. Instead of opting for the customary chemical curing compound that’s applied to the fresh concrete to slow evaporation and maintain hydration, I flooded the surface 3 to 5 times a day. This is known as “water-curing” and is seldom done anymore except by “weekend warriors” like me and my crew.
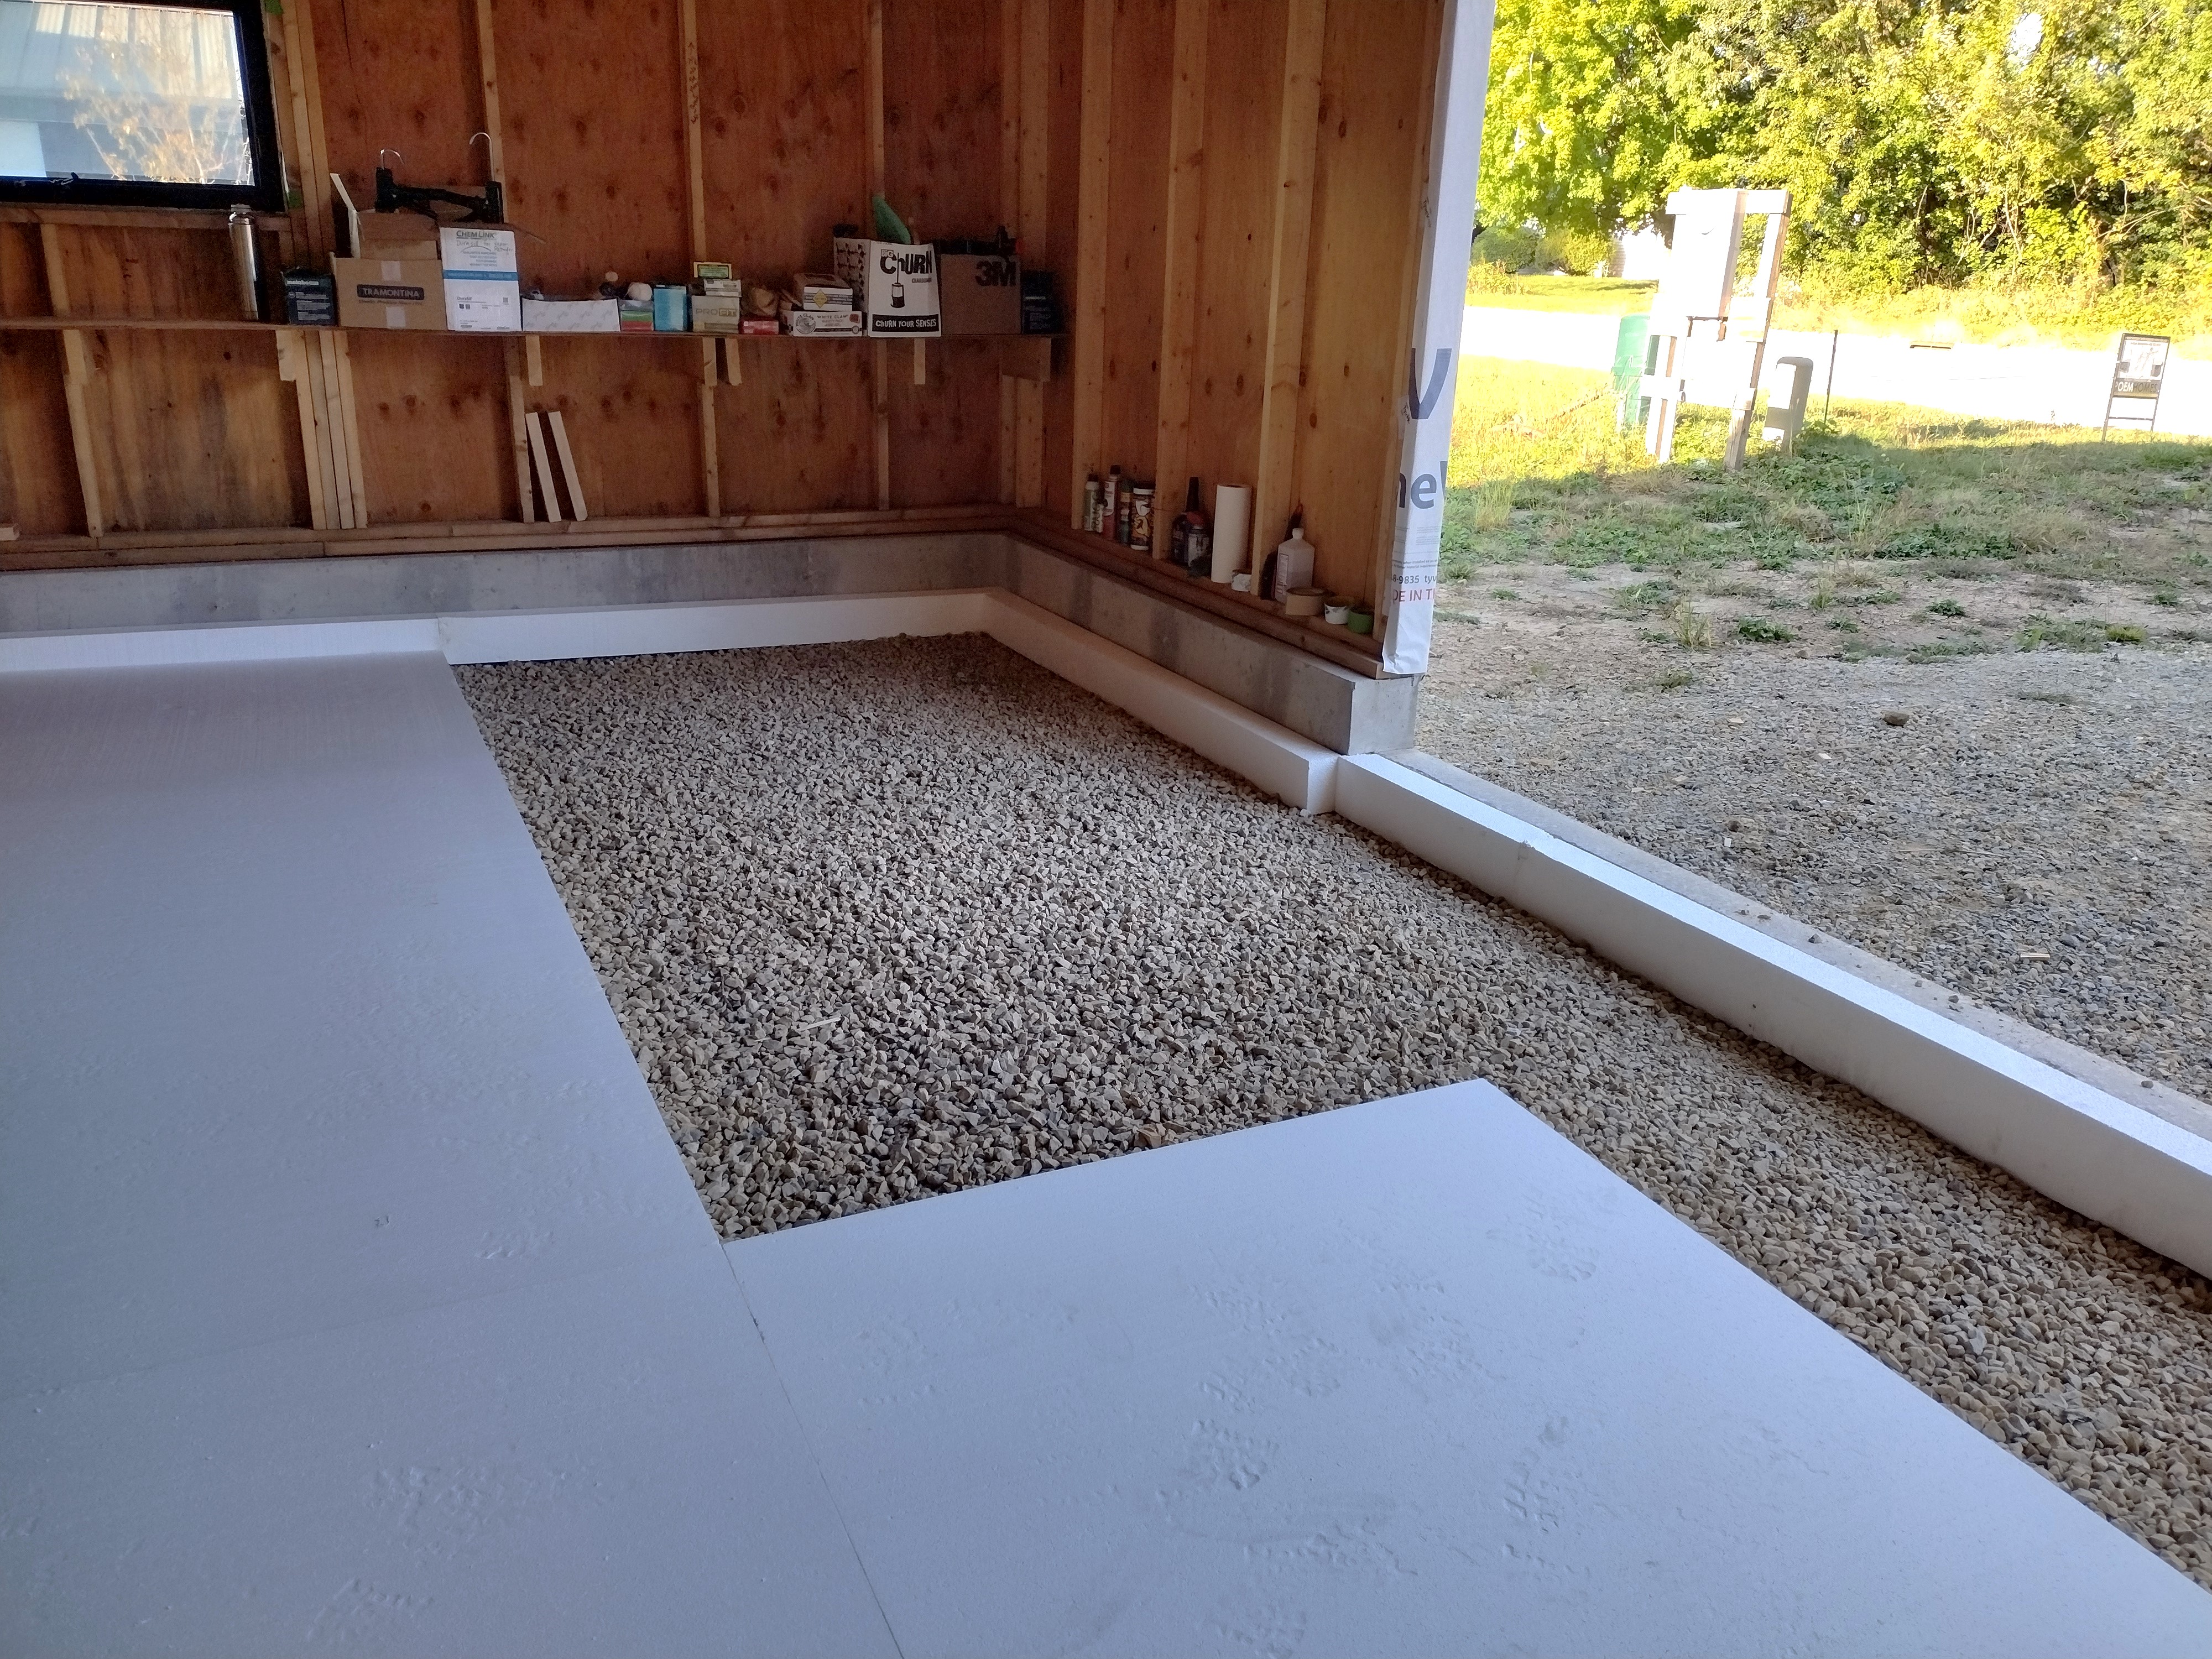
By October, I could pull away from other tasks and lay down the garage foam. I used the leftovers from the house foam for a 4 inch thick edge, which jogs to align with the overhead door, then laid down the 2 inch thick under-slab foam. Galvanized steel channels protect the top of the exposed edge. An insulated slab like this is unlikely to “sweat” in the spring, and will keep tools and supplies drier. A dedicated vapor barrier isn’t necessary here: the 2 inch foam is sufficient to slow upward vapor migration. Should a future owner decide to insulate the garage, they’ll be off to a good start.

My roofer, Pete Faust, made up the channels for me, showed me how to cut the miters, and let me borrow his tin snips. My corners weren’t as good as the one he made, but passable.
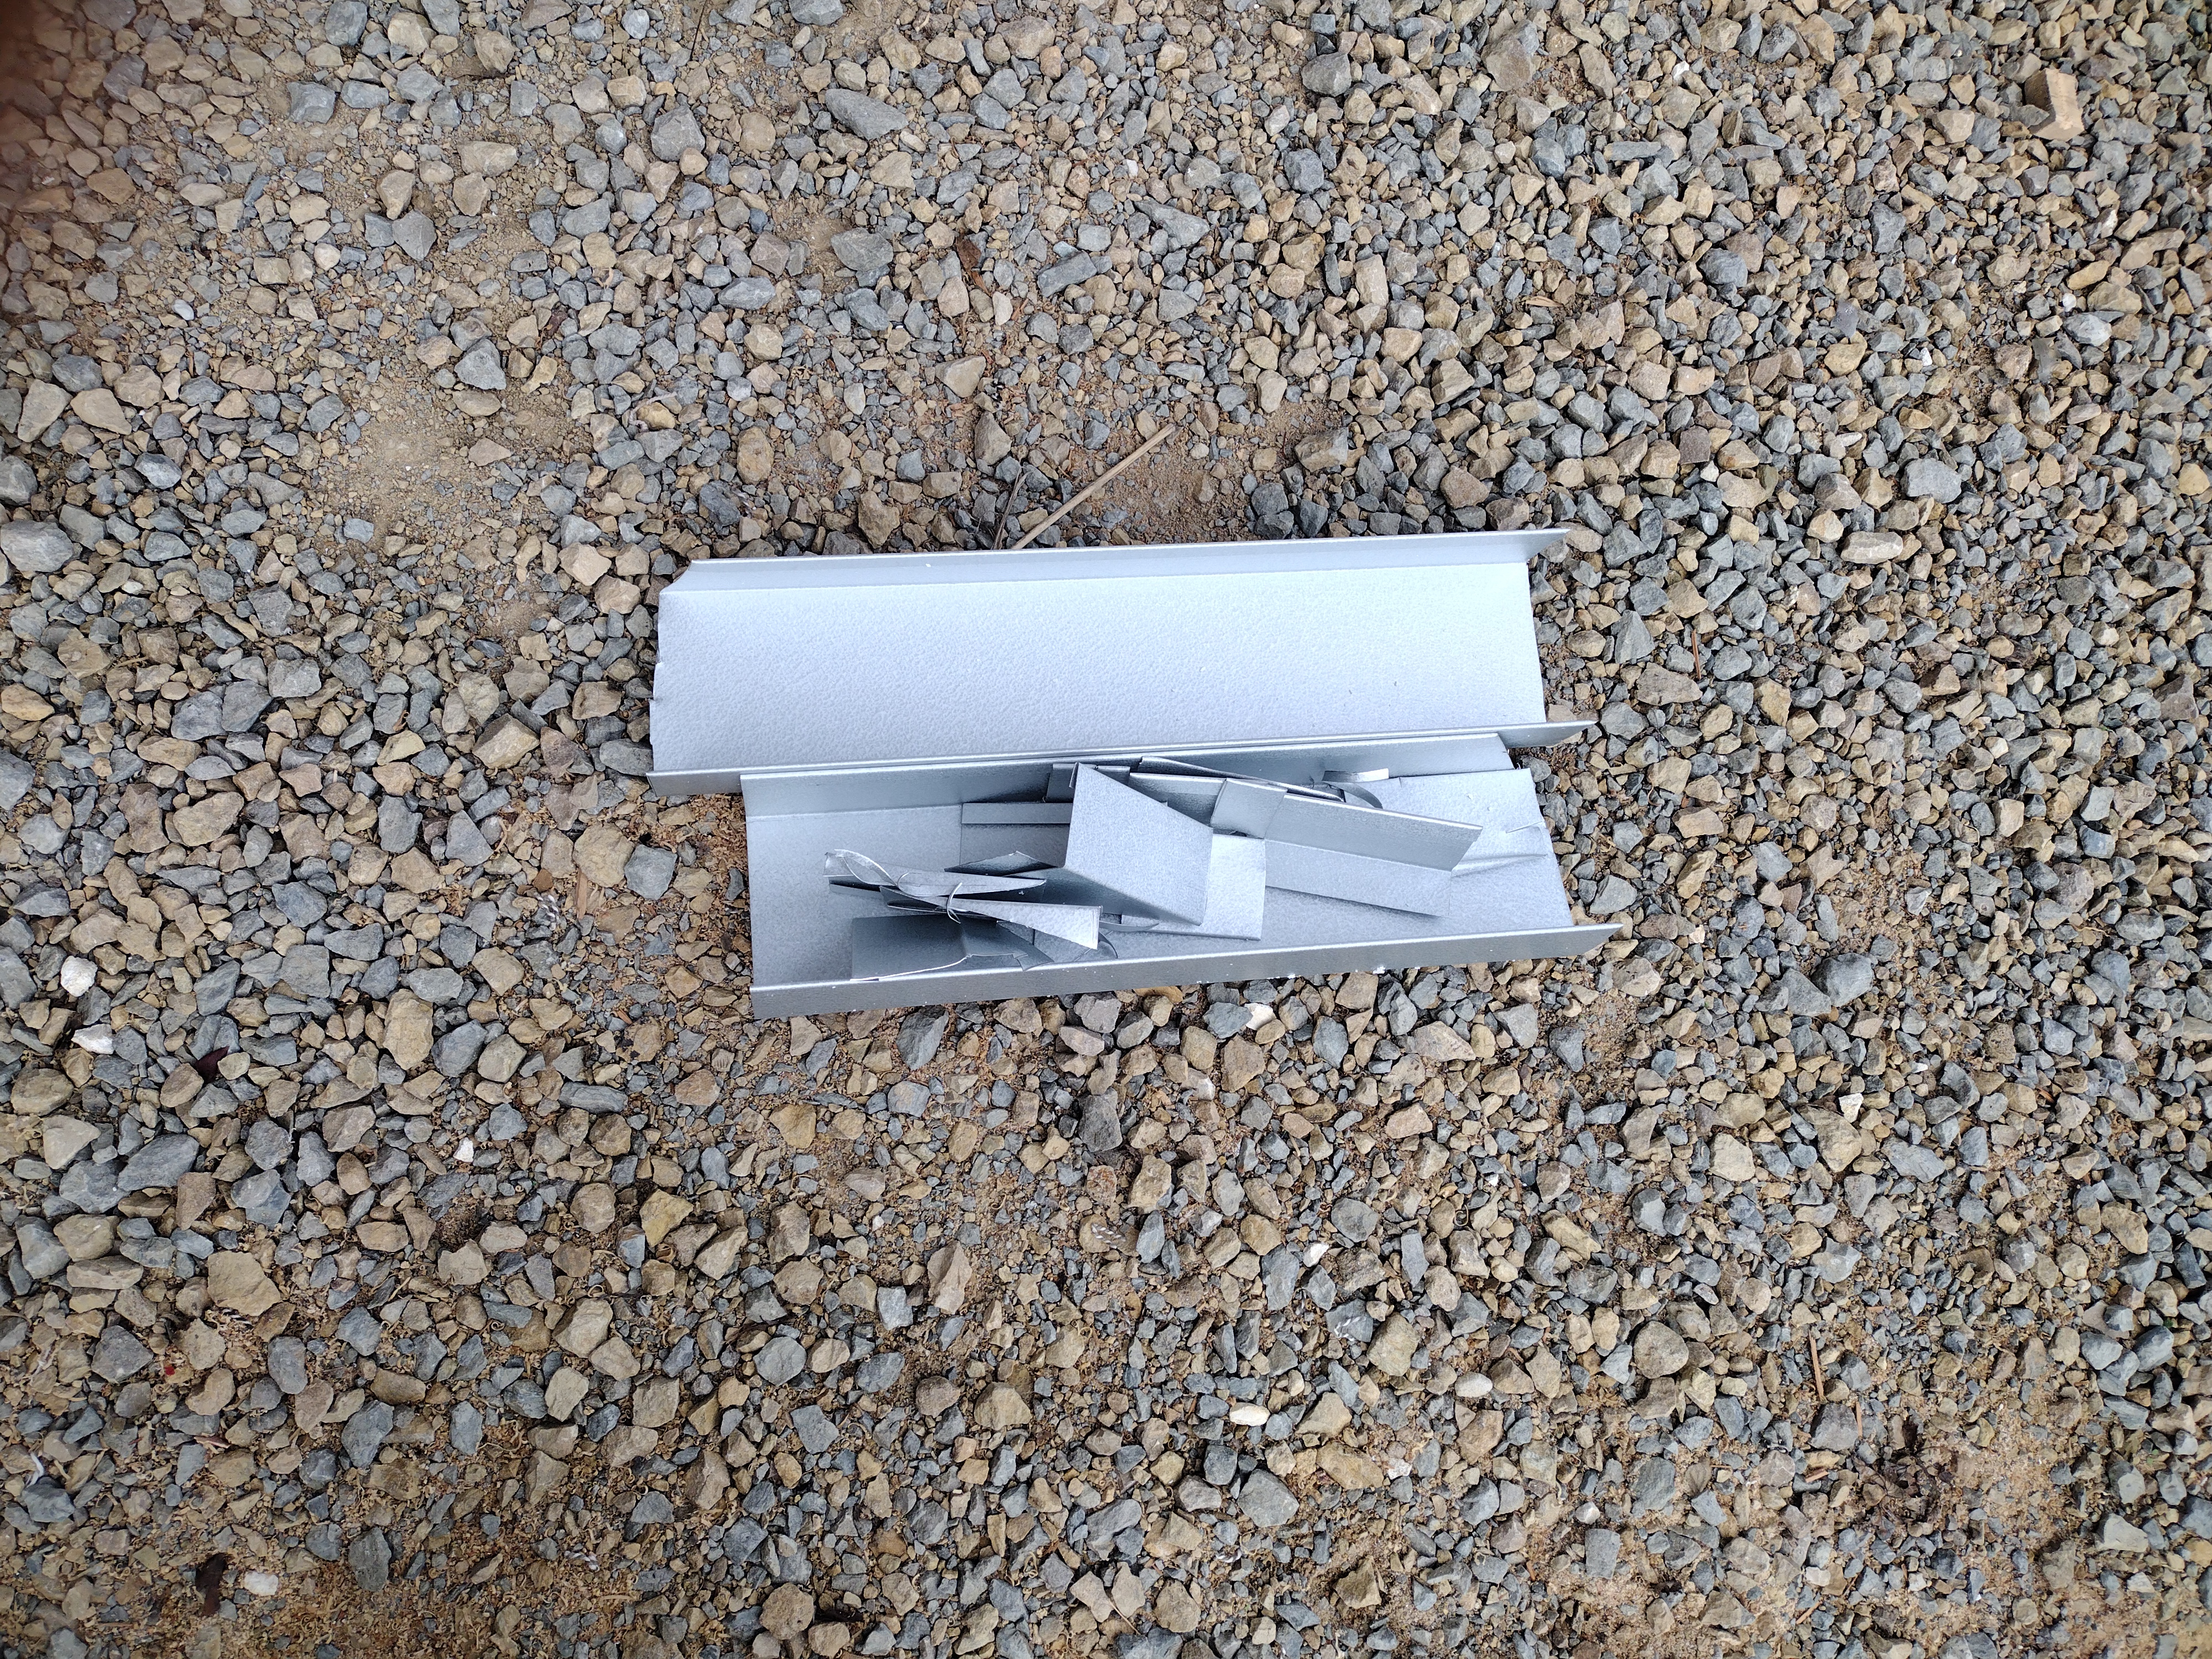

This phase of work generated a small amount of scrap and trash. The leftover foam was cut and glued up to make an attic hatch plug. The galvanized steel cutoffs were sent to recycling. Shrink wrap from the sheet foam packaging, when clear (not white) was also accepted at the recycling facility. Plastic strap ties and empty spray foam cans were sent to landfill. The wood pallets were placed at the curb with a “free” sign and were picked up by a passer-by.
