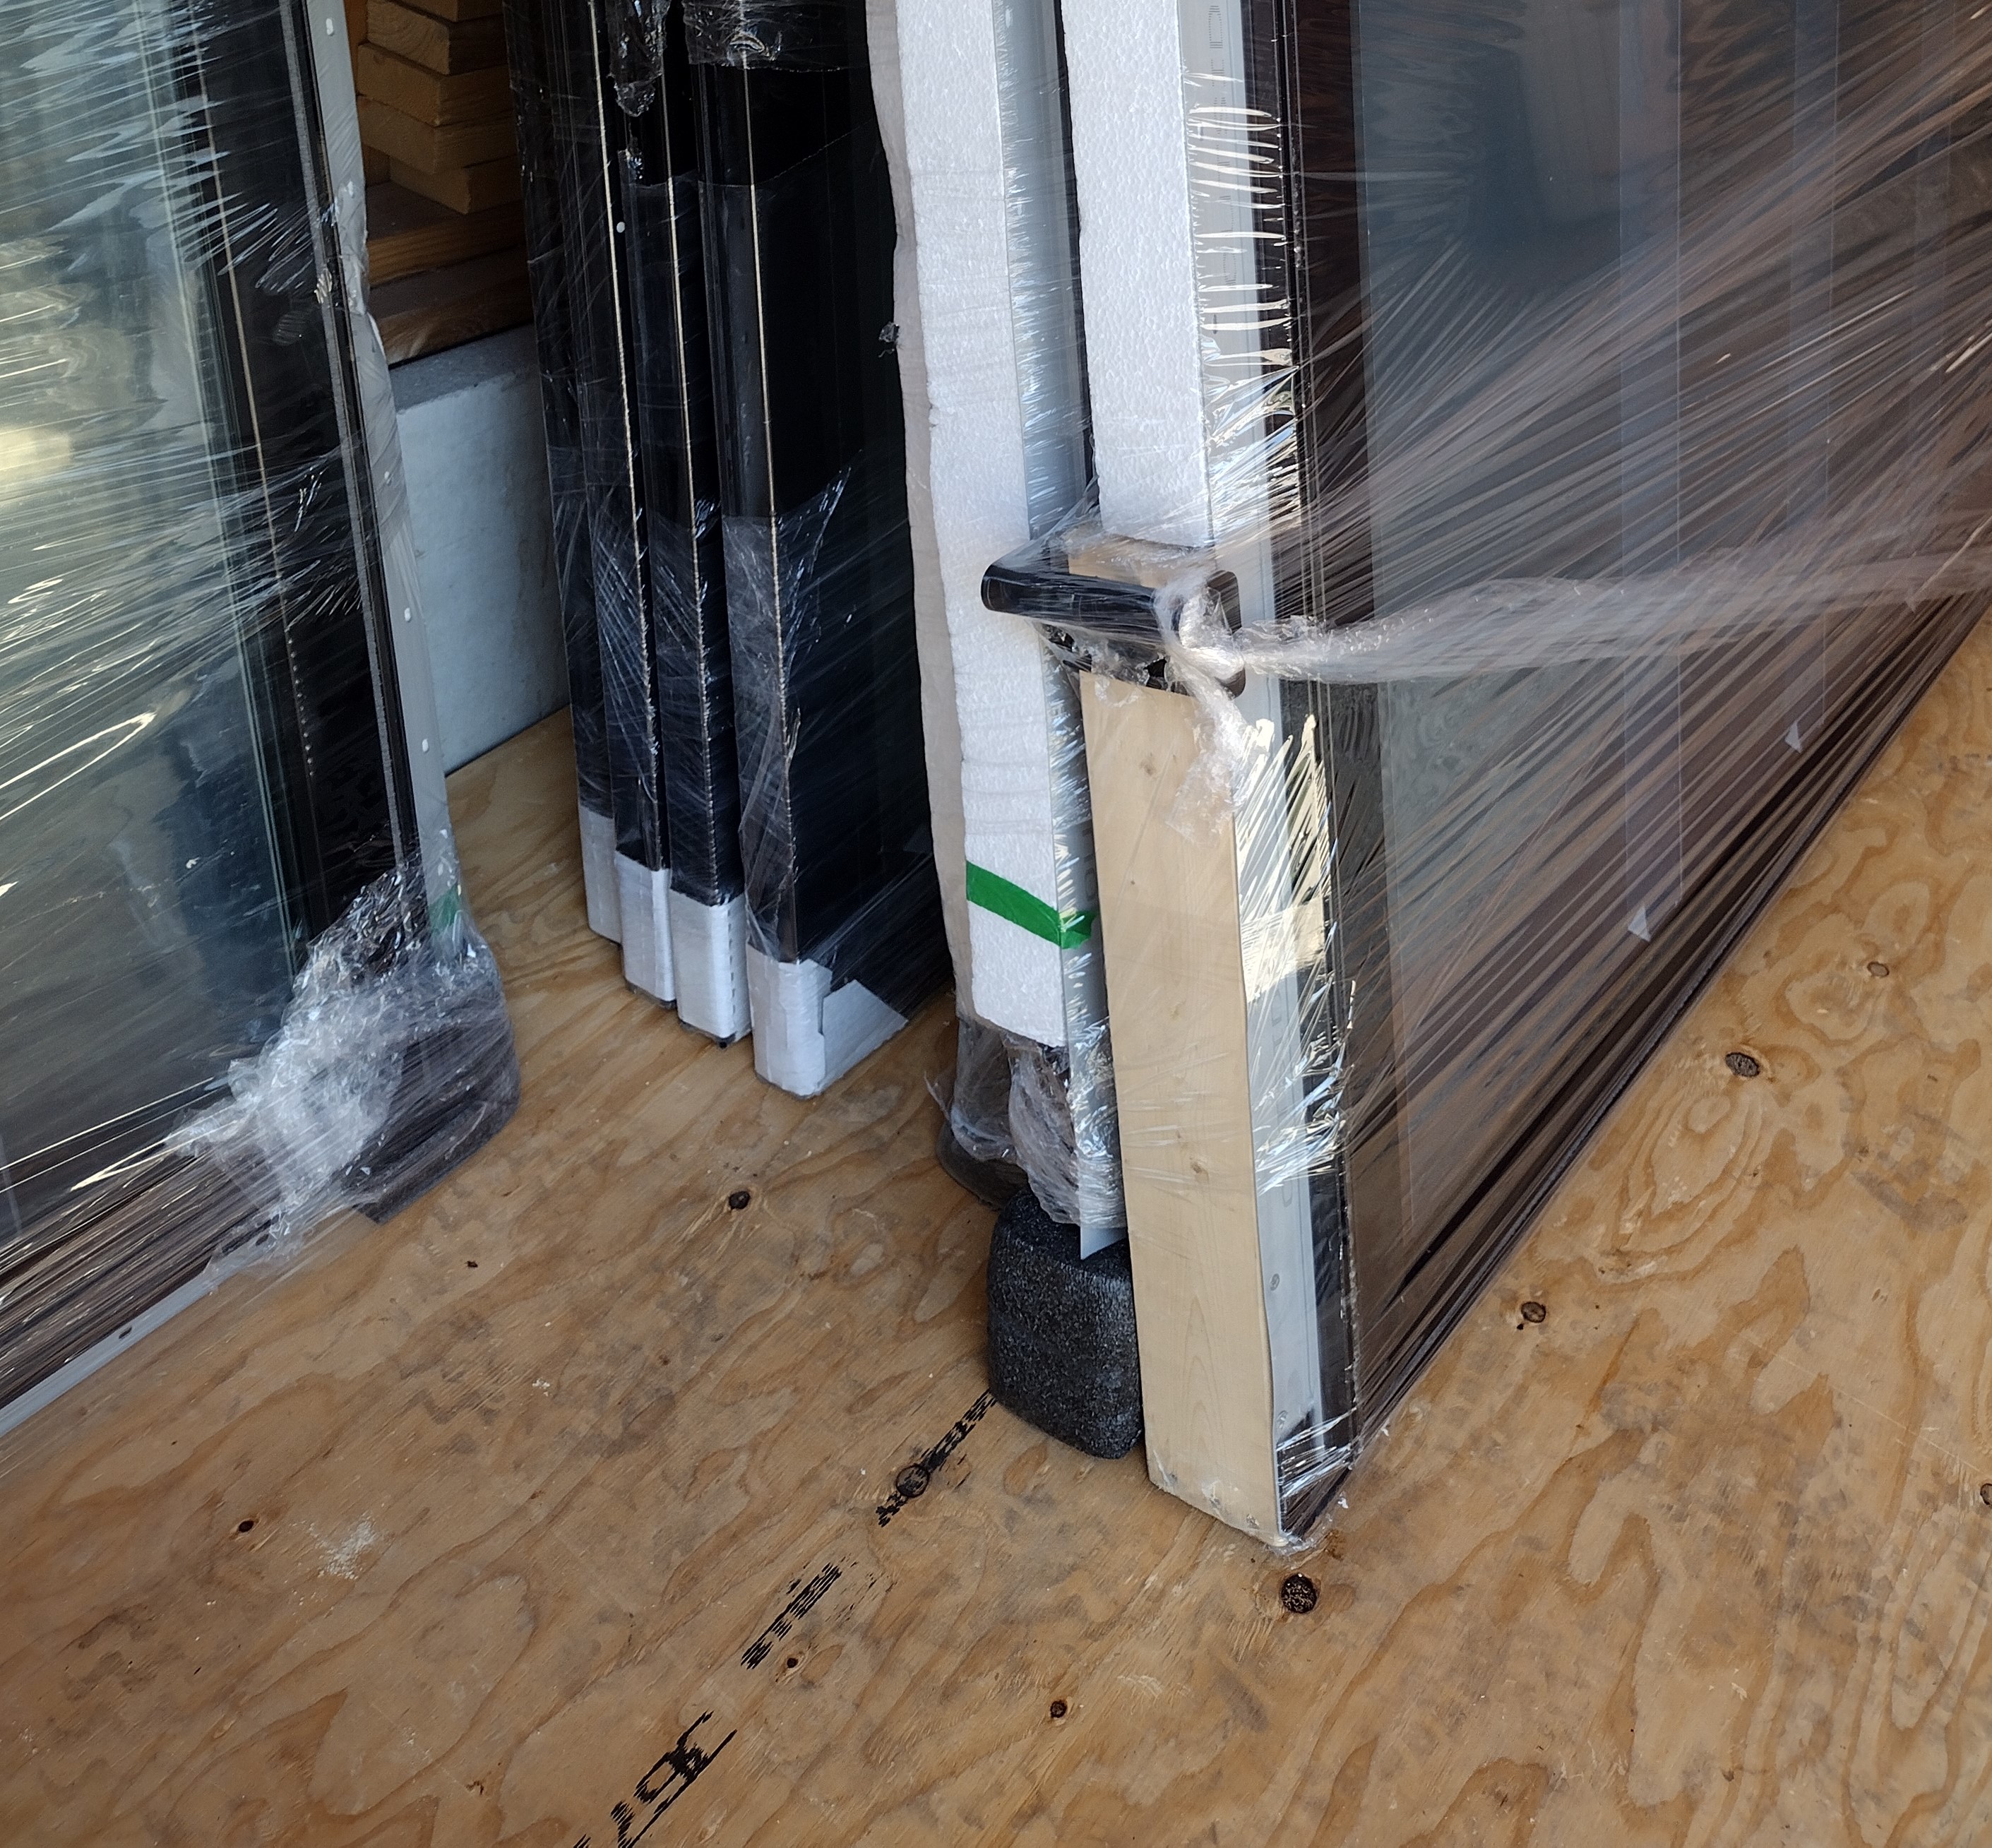
August 23 – September 6: Taking delivery of a house full of new windows and doors comes with an air of celebration. It means the hard work of getting the walls and roof up is done and the worry of securing housewrap and tarps over the awaiting holes is over. From inside, we’ll finally be able to appreciate the views, framed by the window sash, that will be enjoyed for years to come.
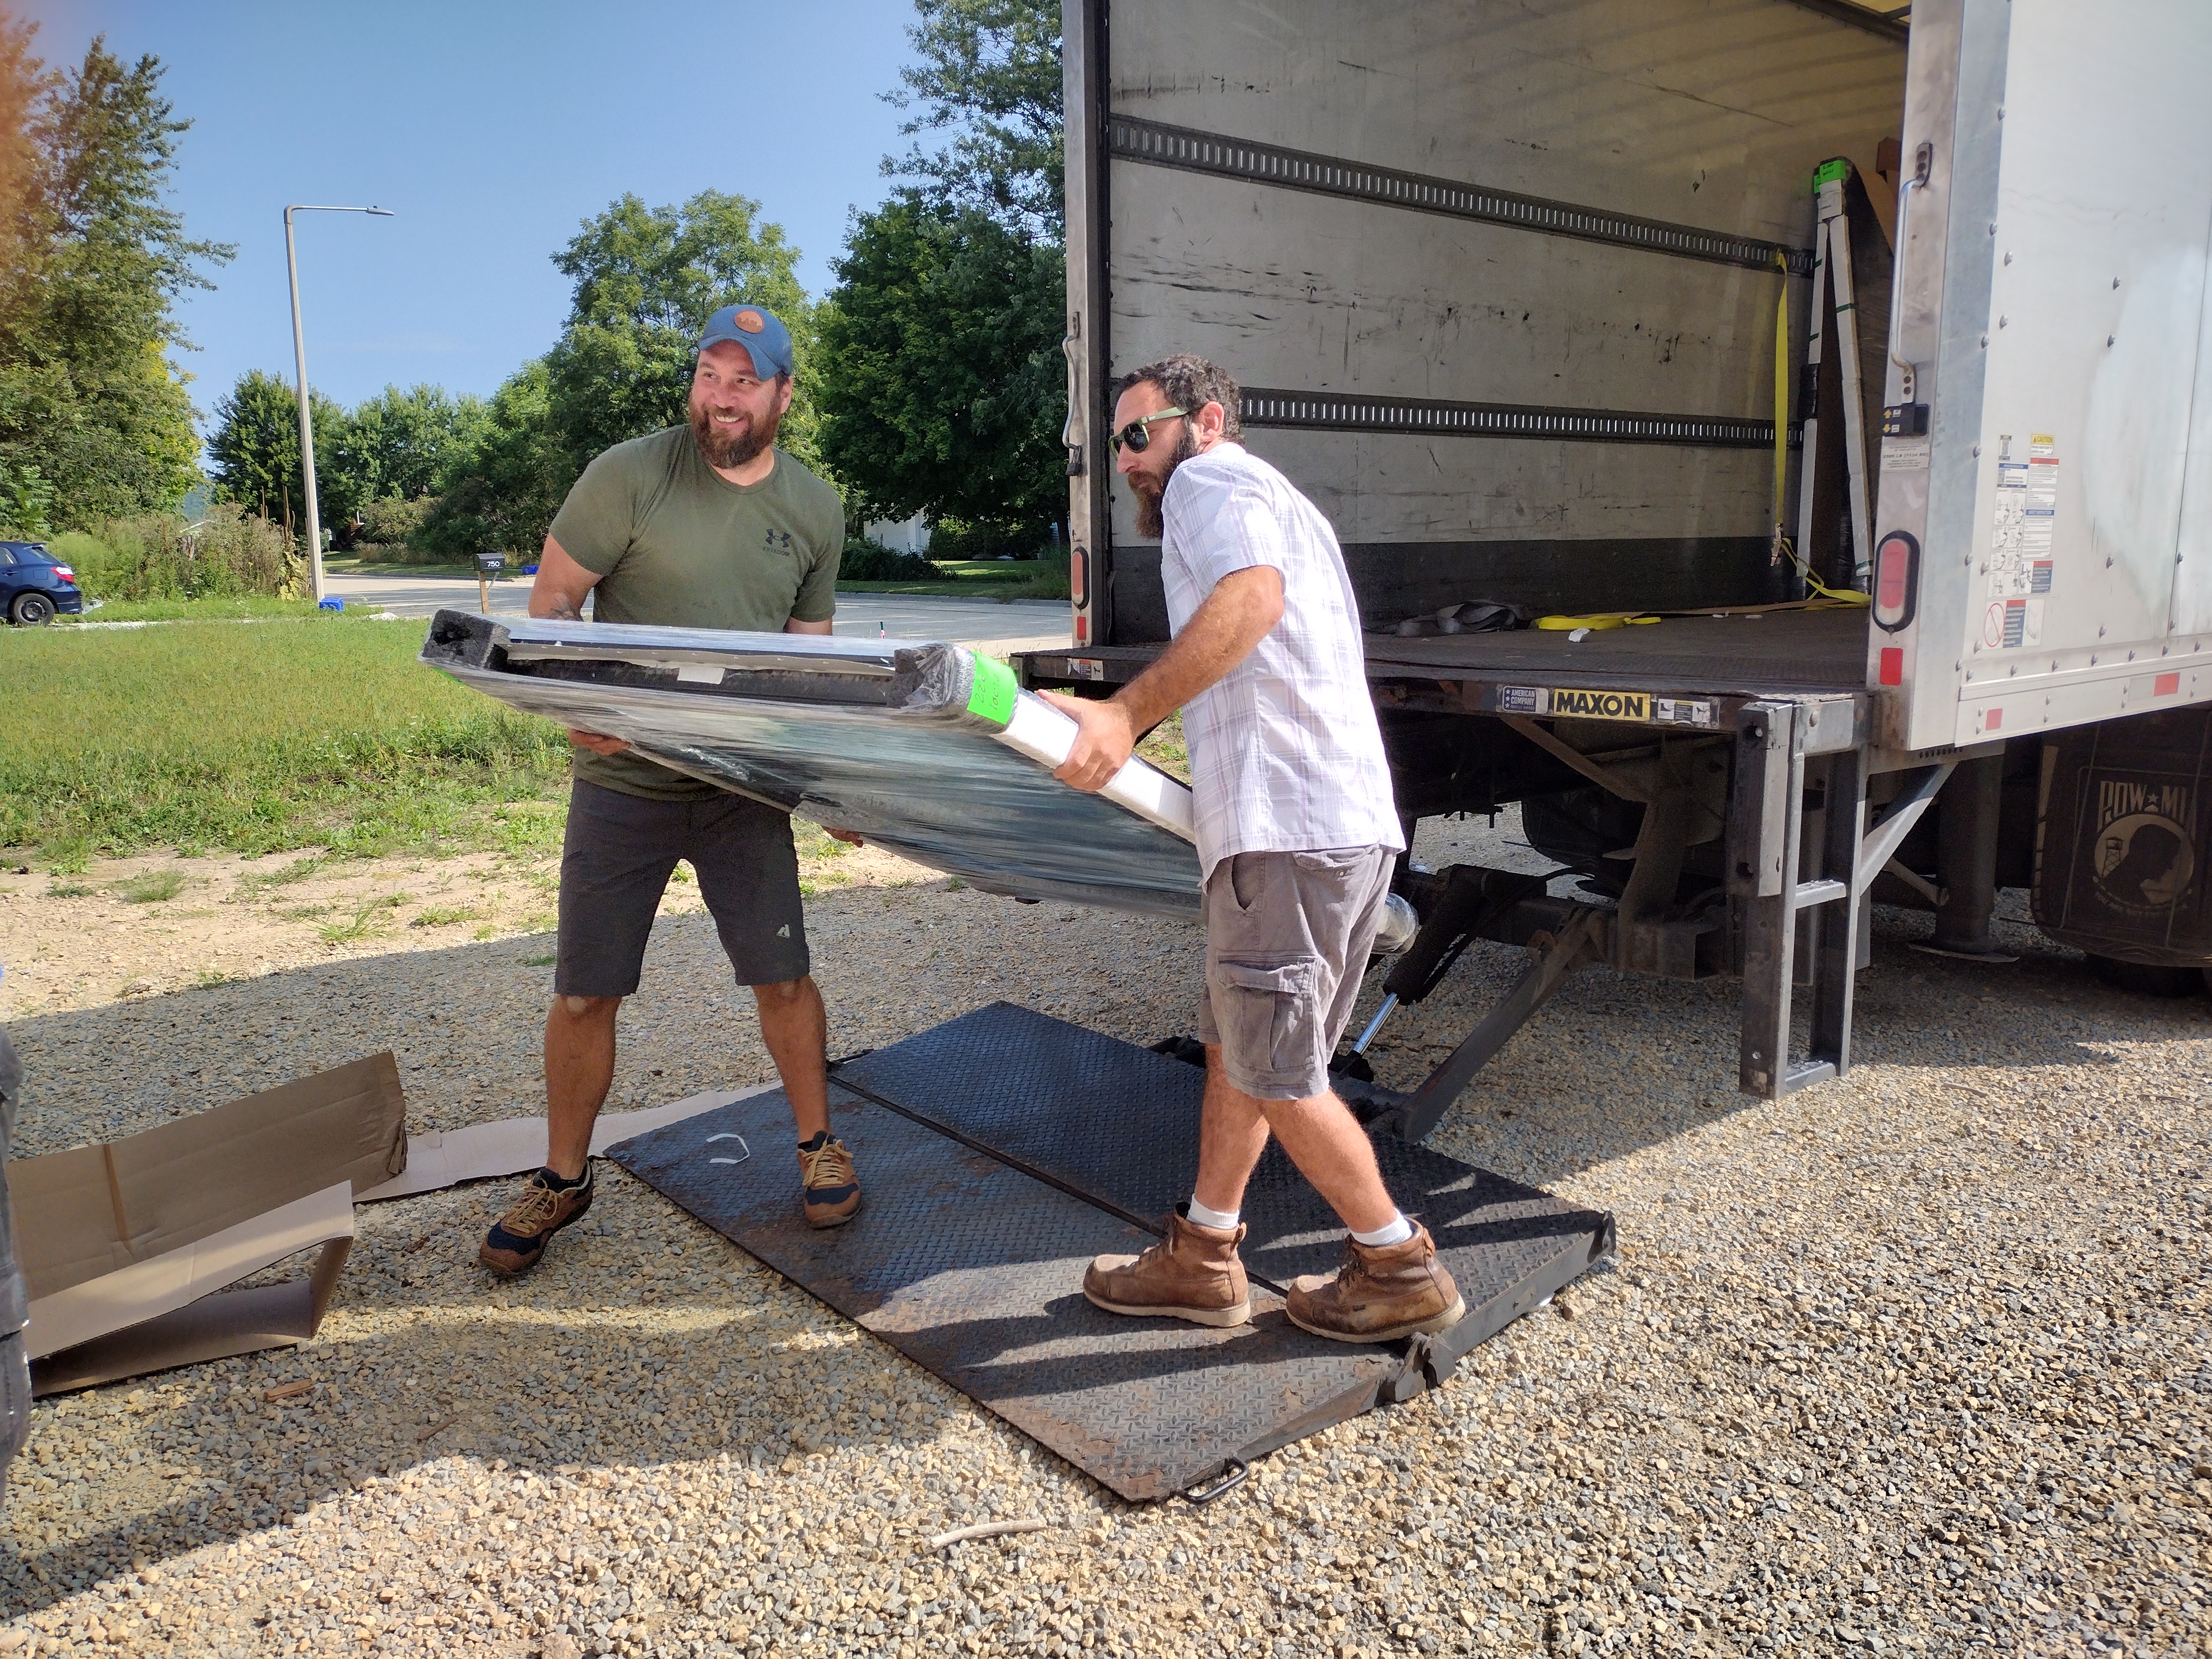
Mike Larson and Cale Armstrong take delivery.
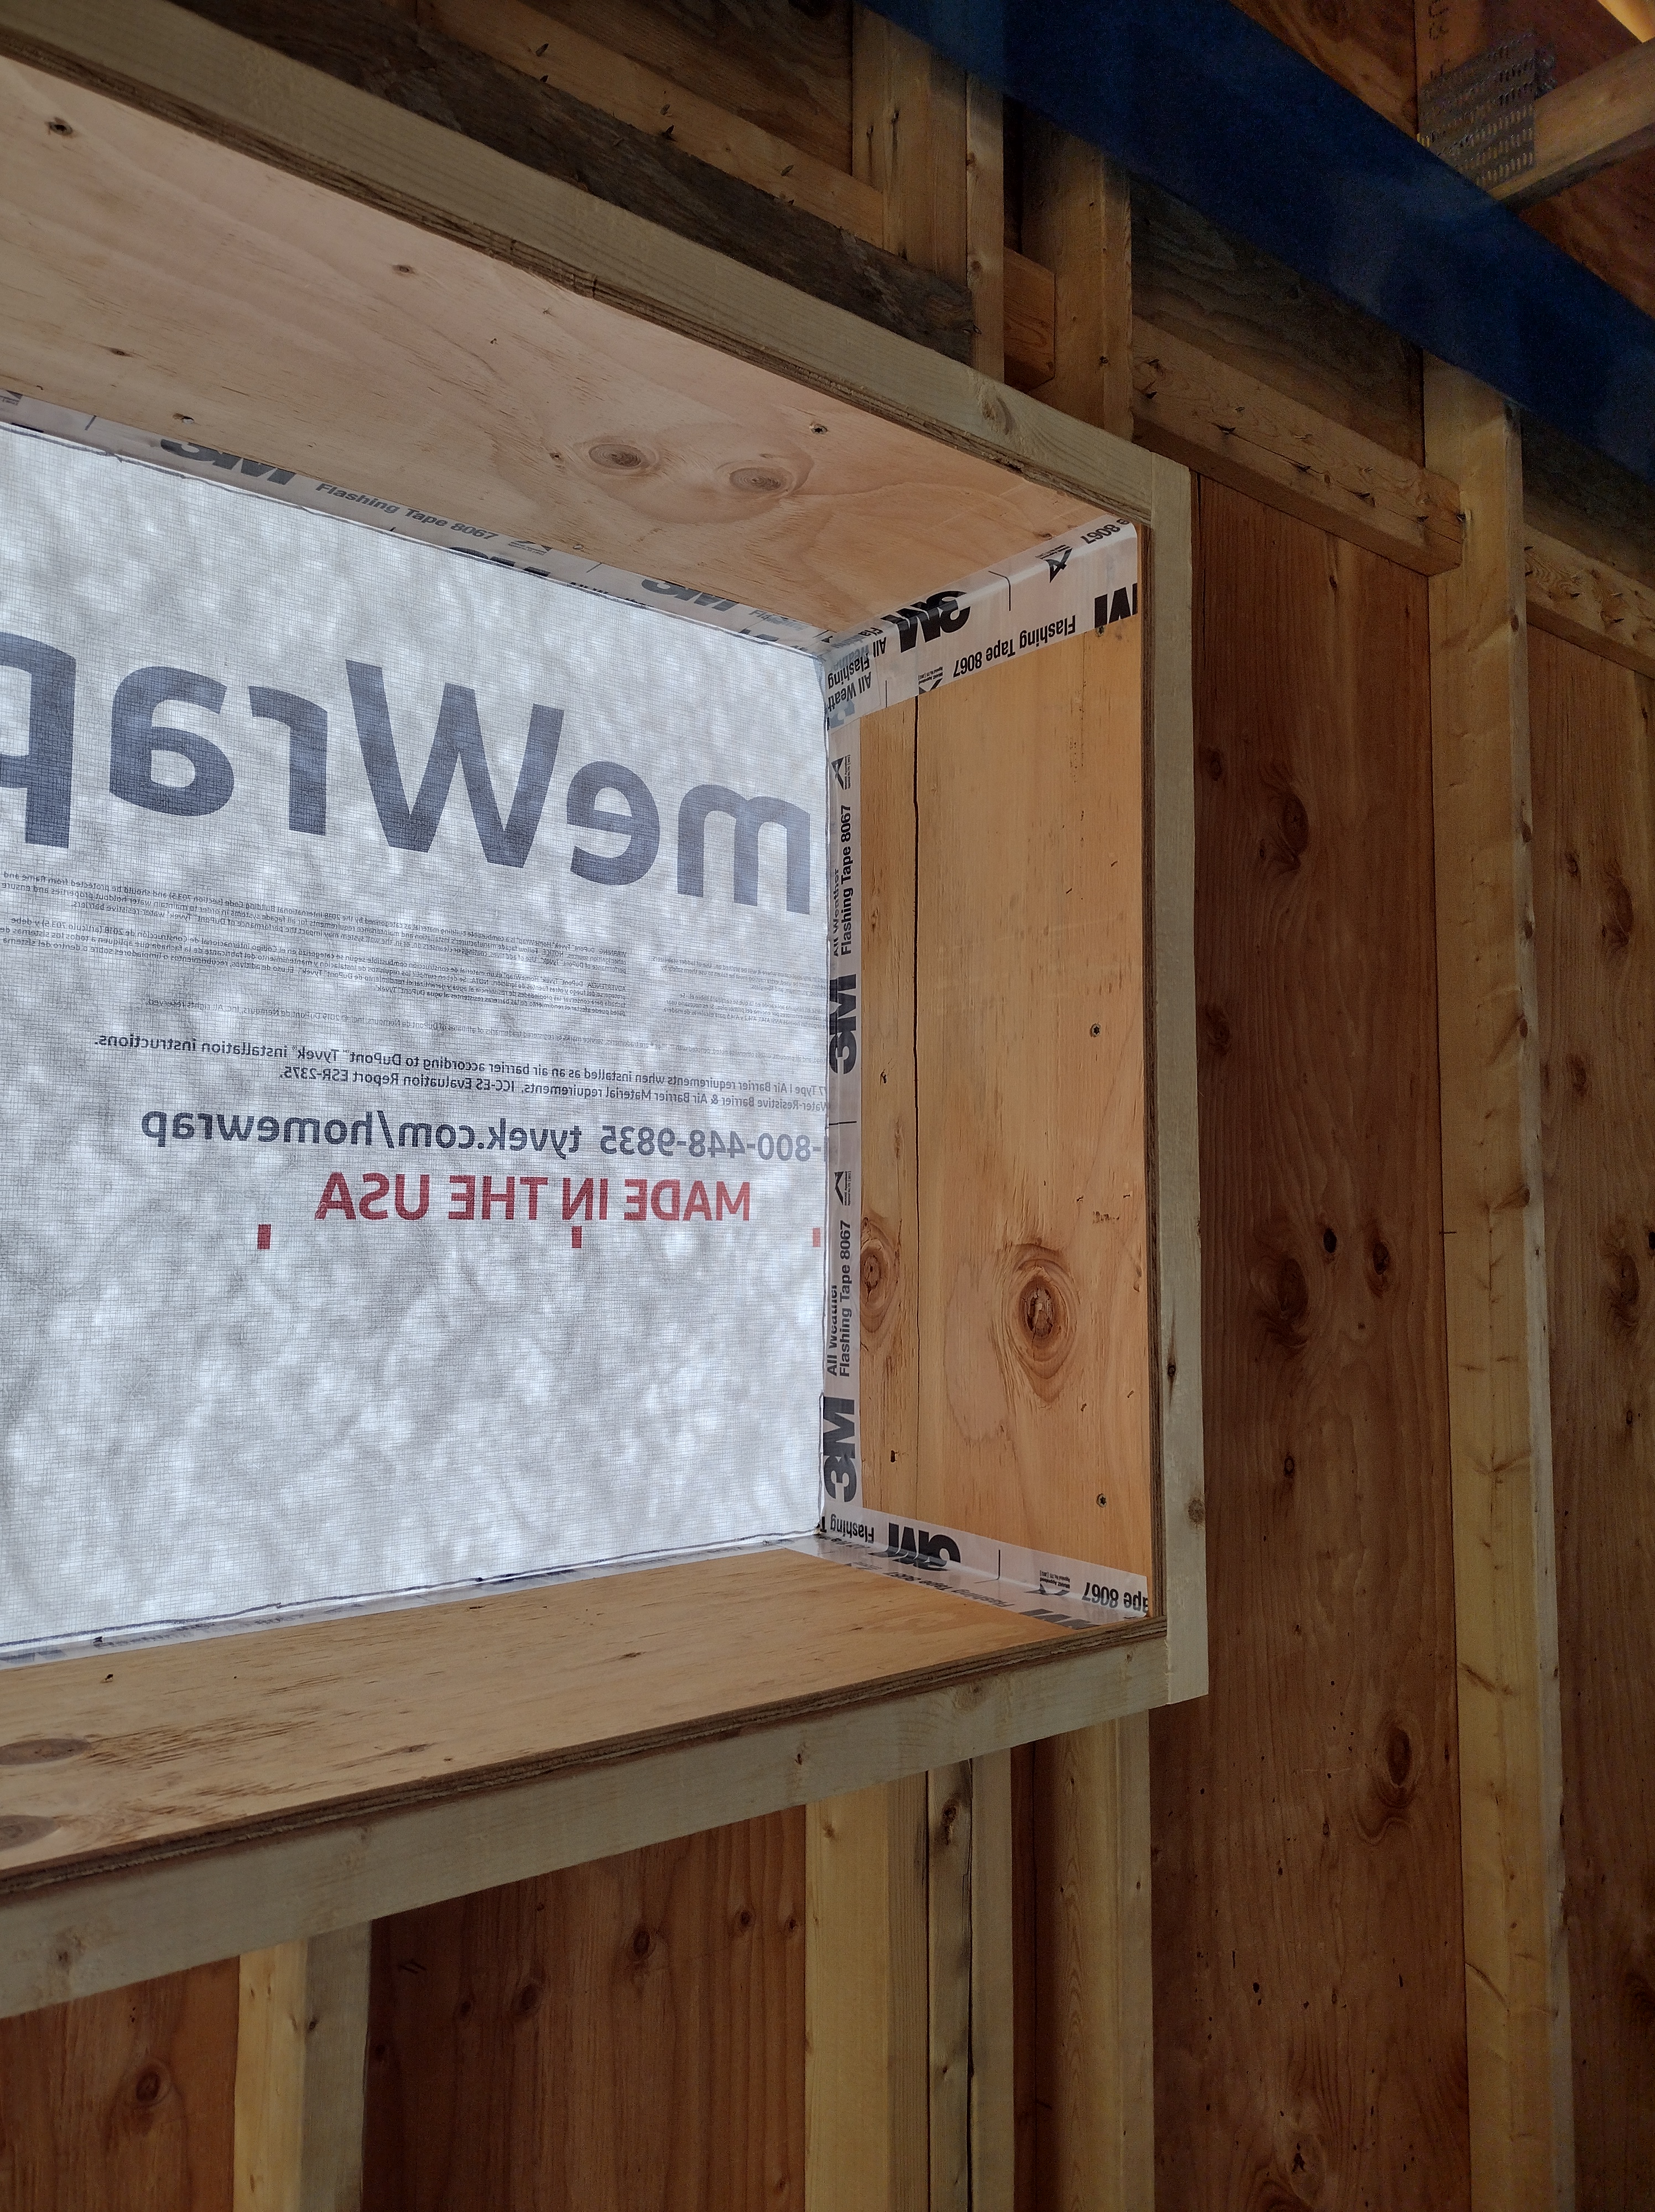

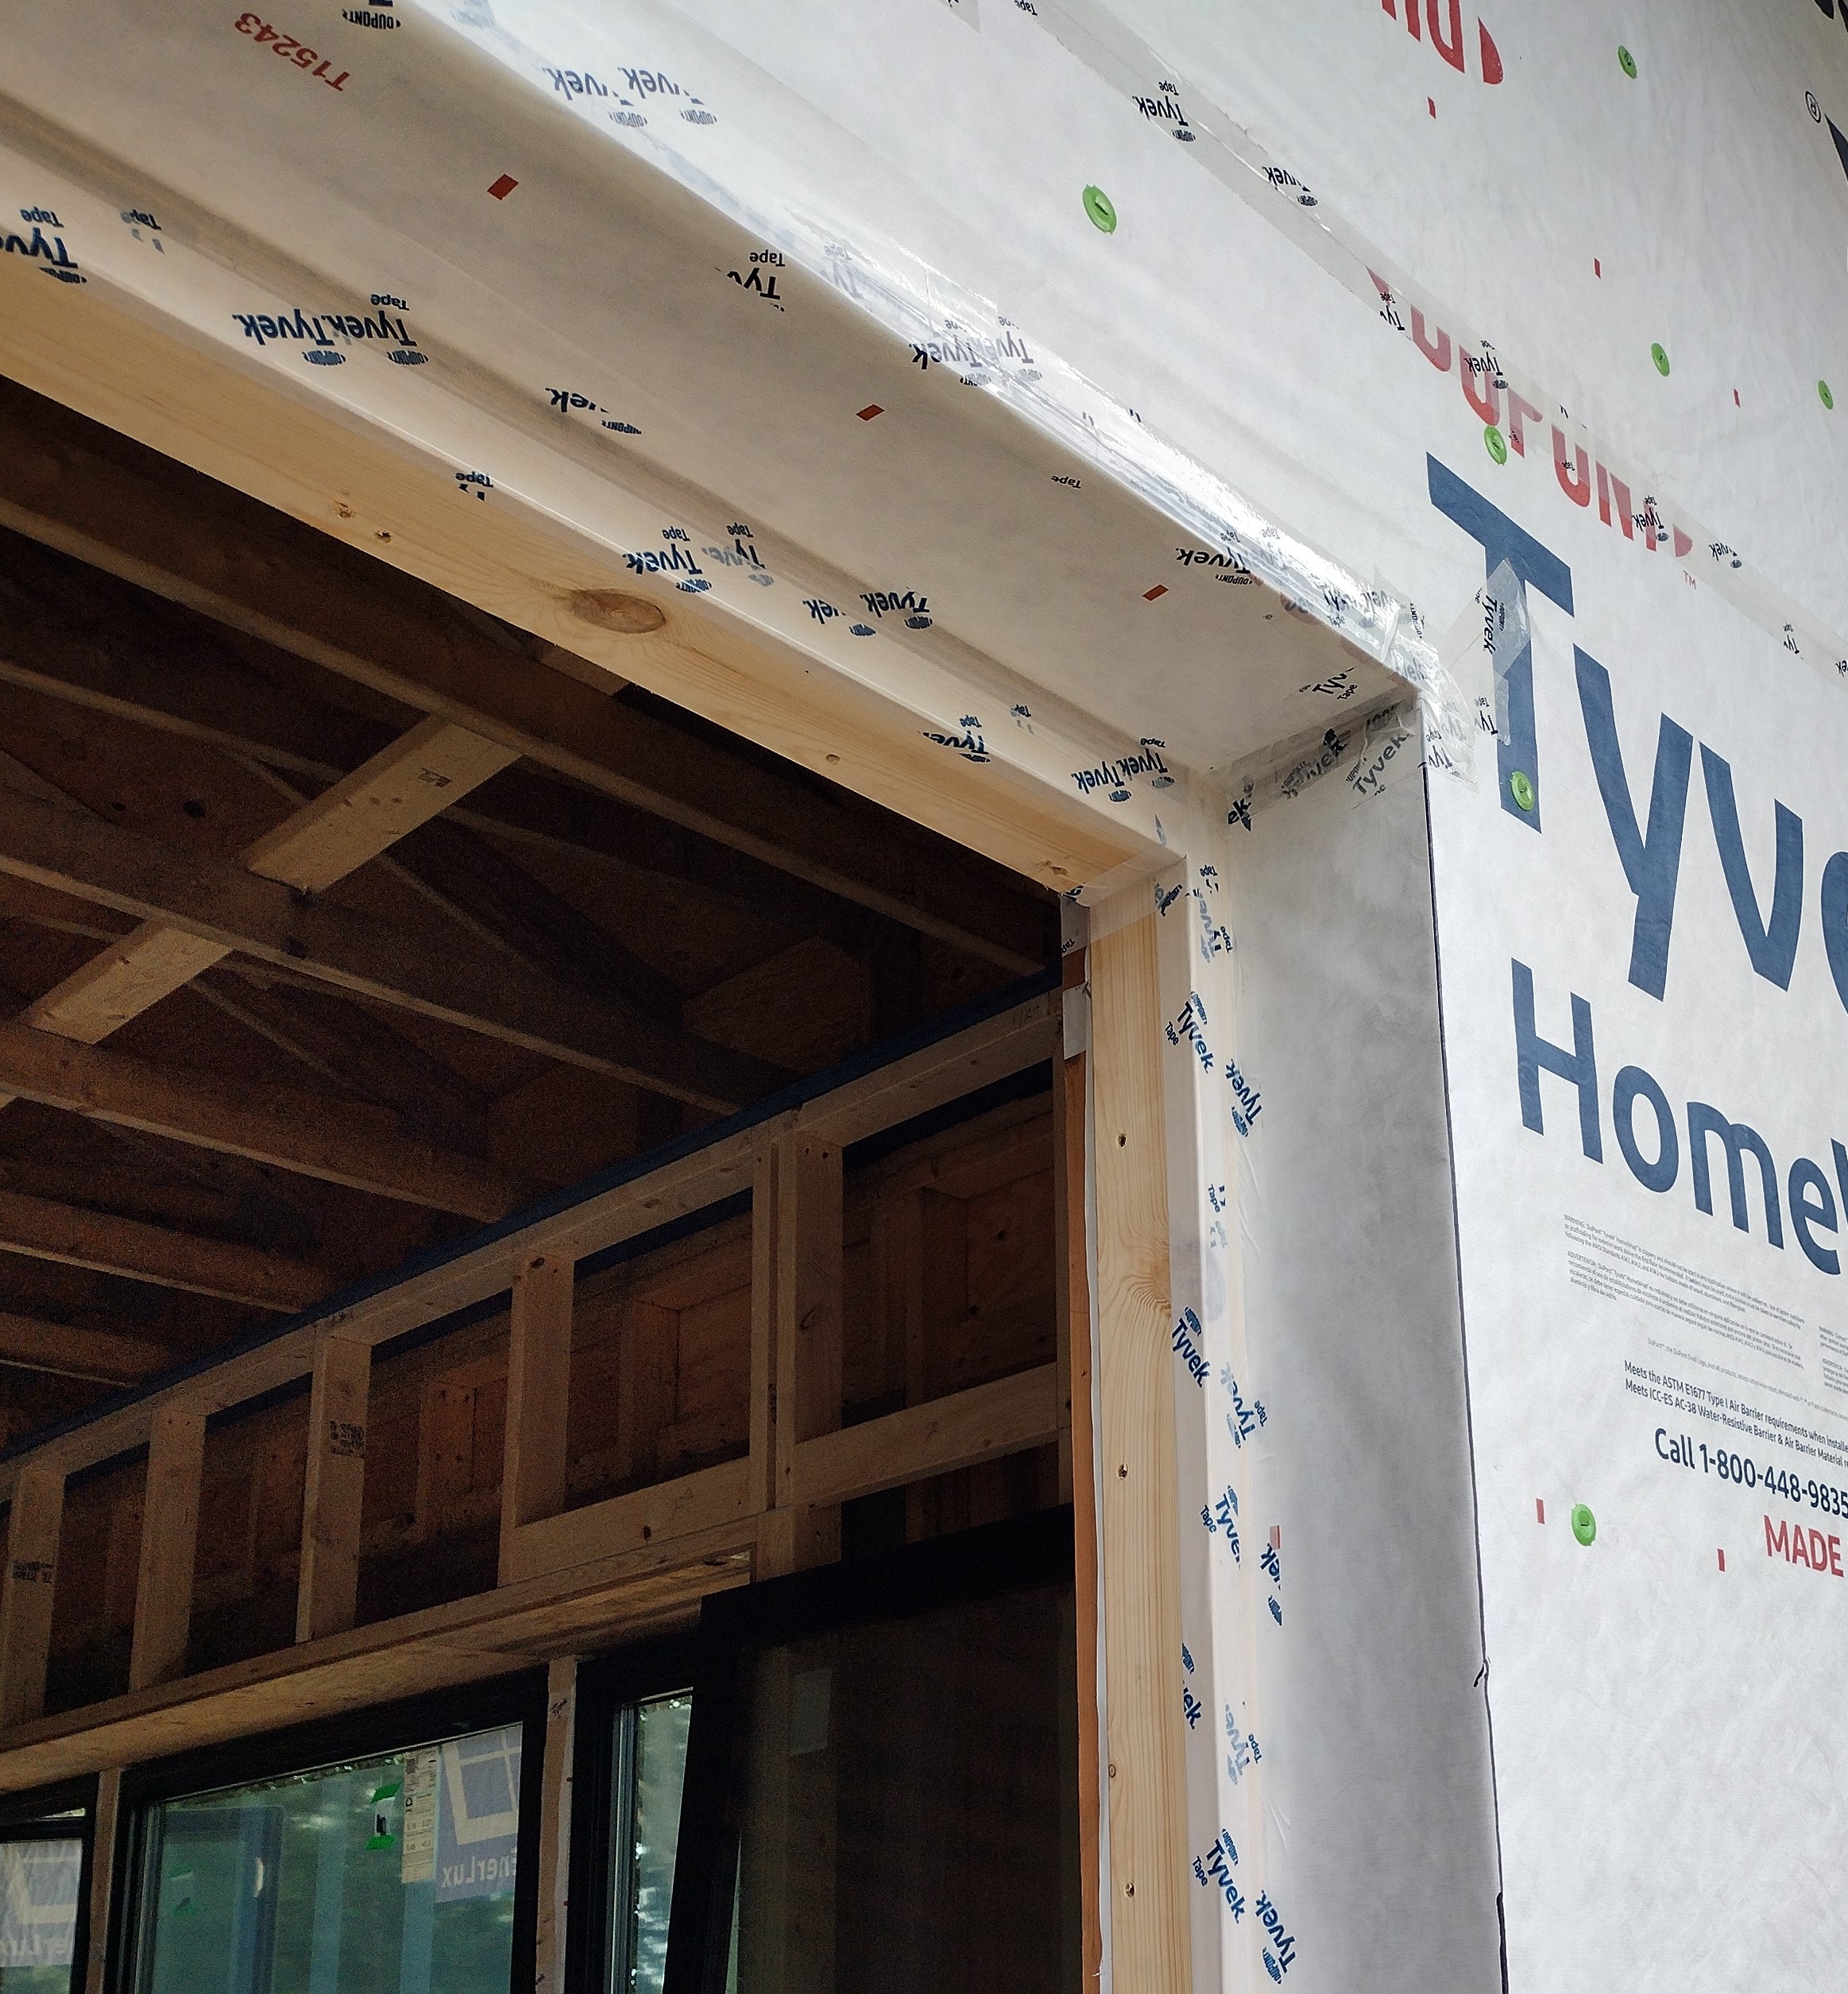
The carpentry crew got to work on the window “bucks” : a frame lined with 12″ wide rips of plywood. The “weekend warrior” crew taped the plywood seams, nailed down a sloped sill (leftover synthetic clapboard from a previous project), and wrapped DuPont’s FlexWrap over the sill and 12 inches up the jambs.
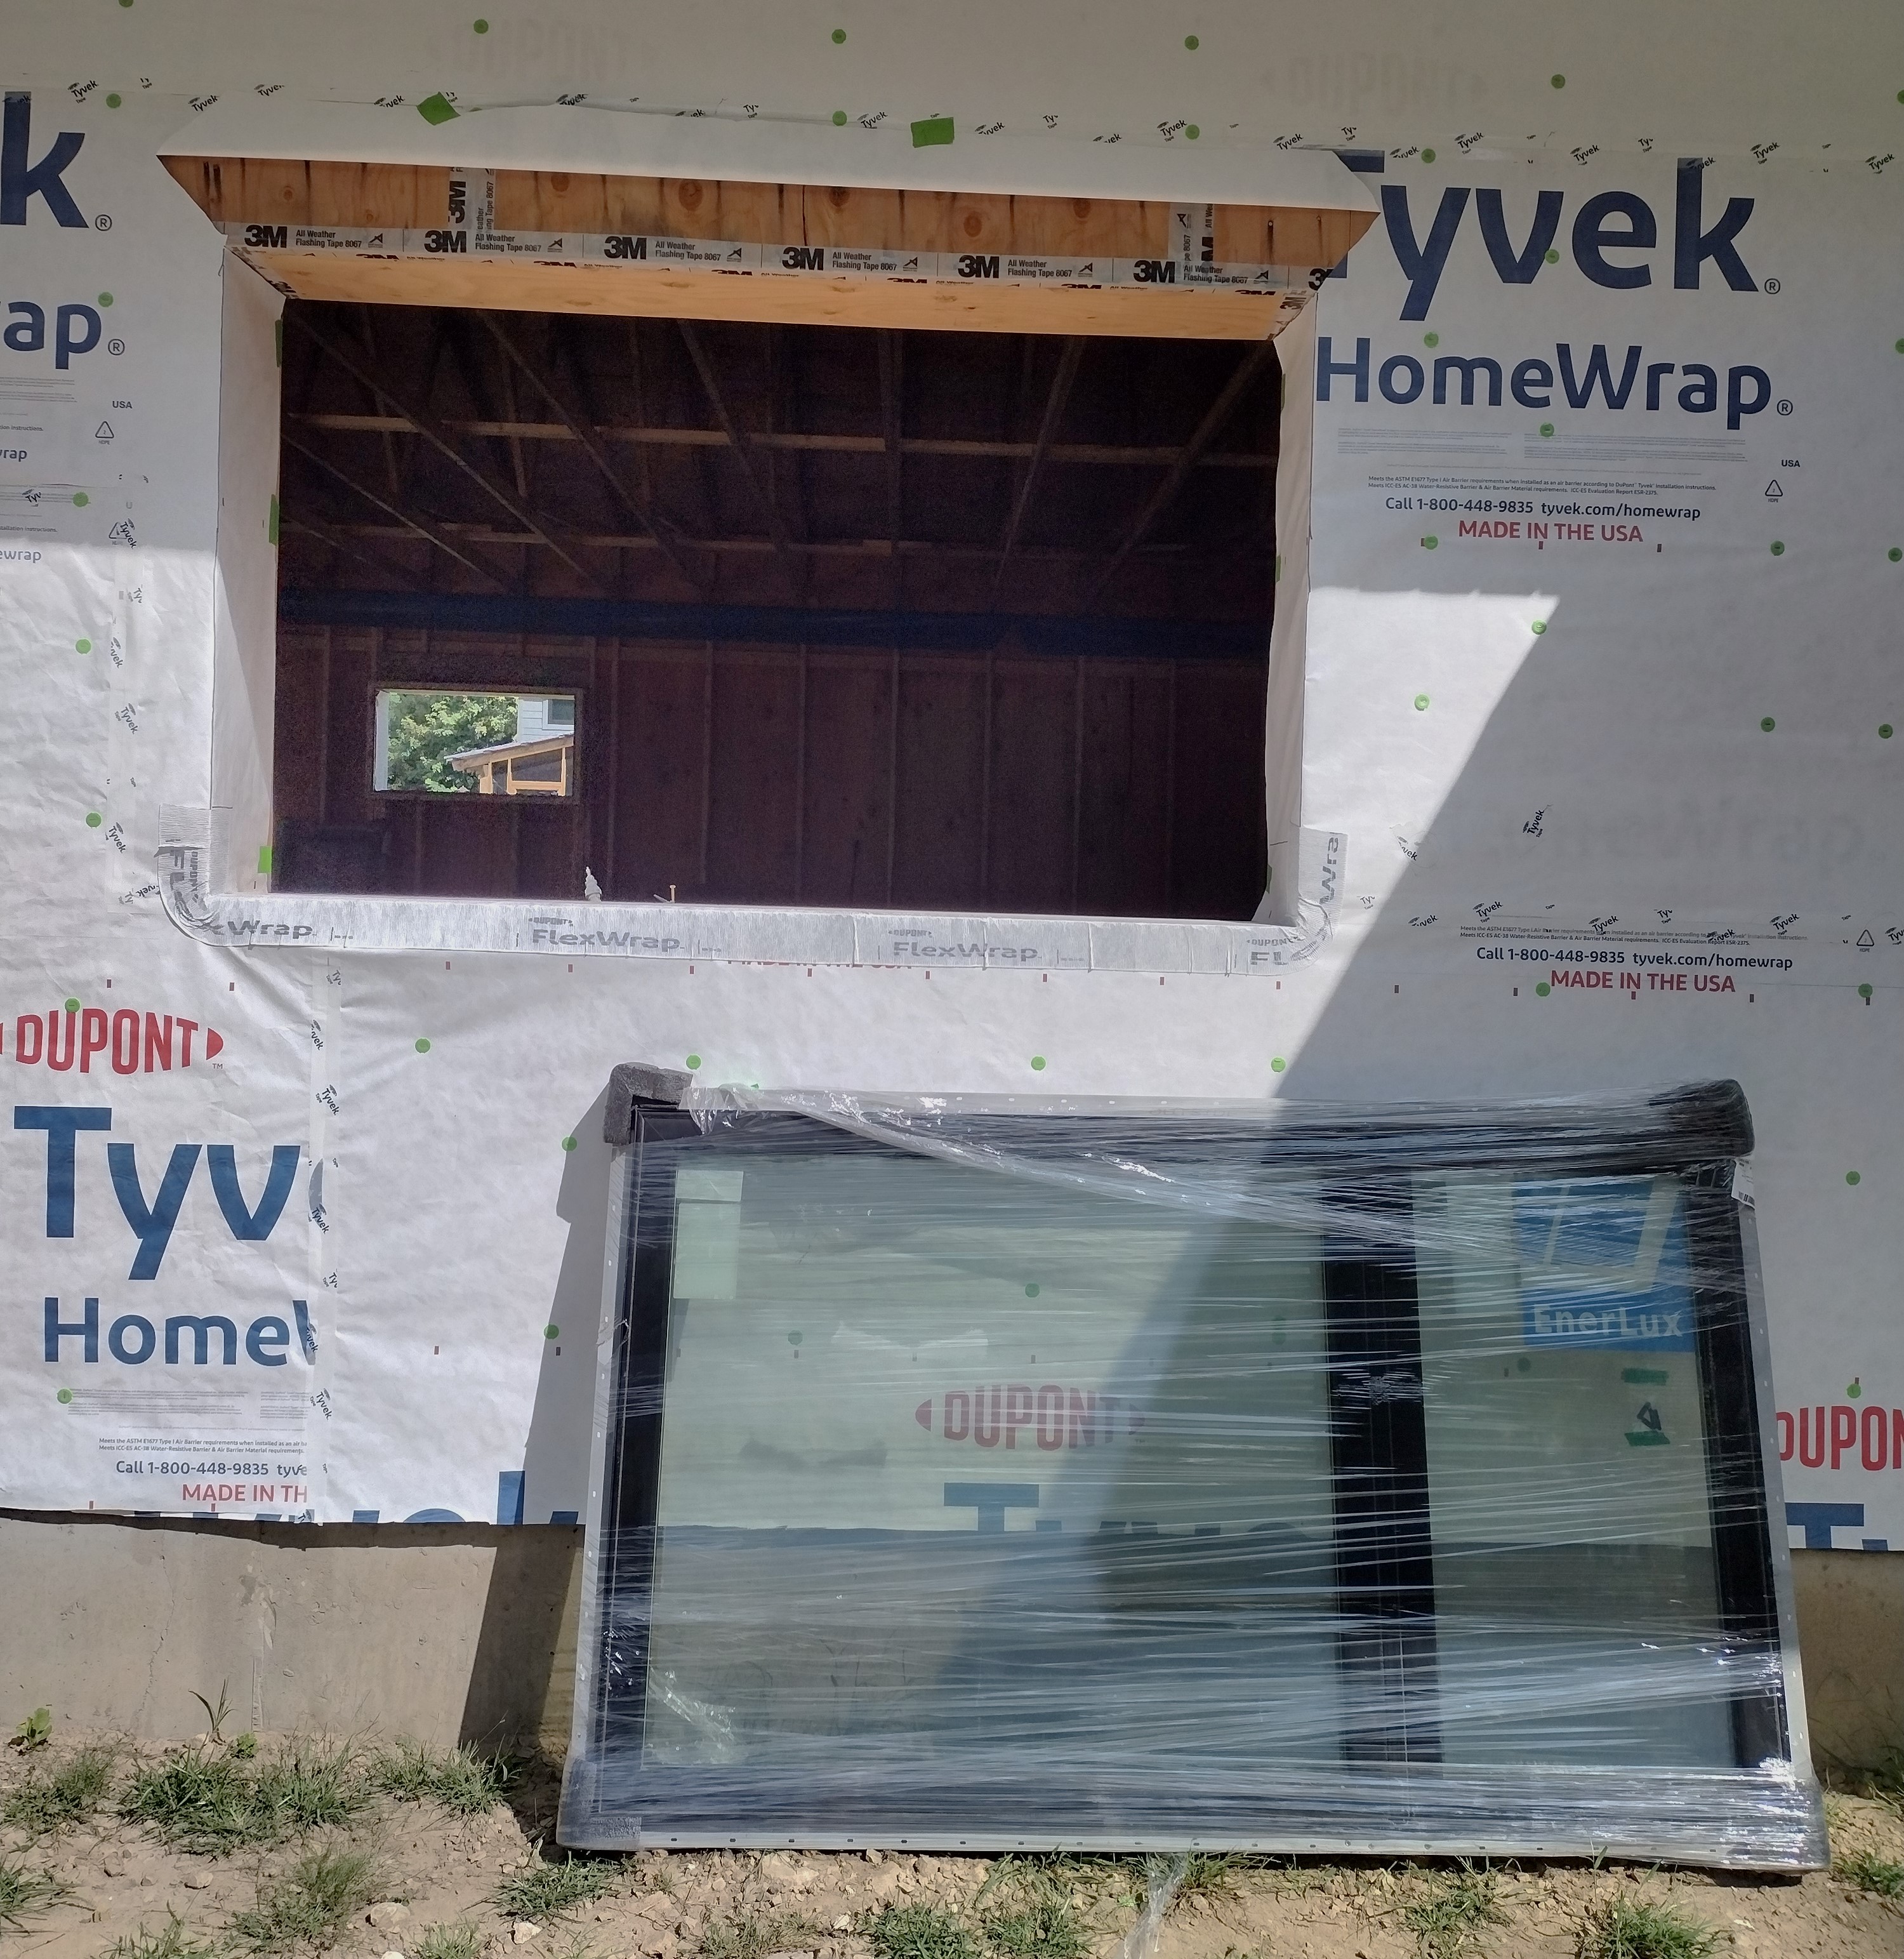
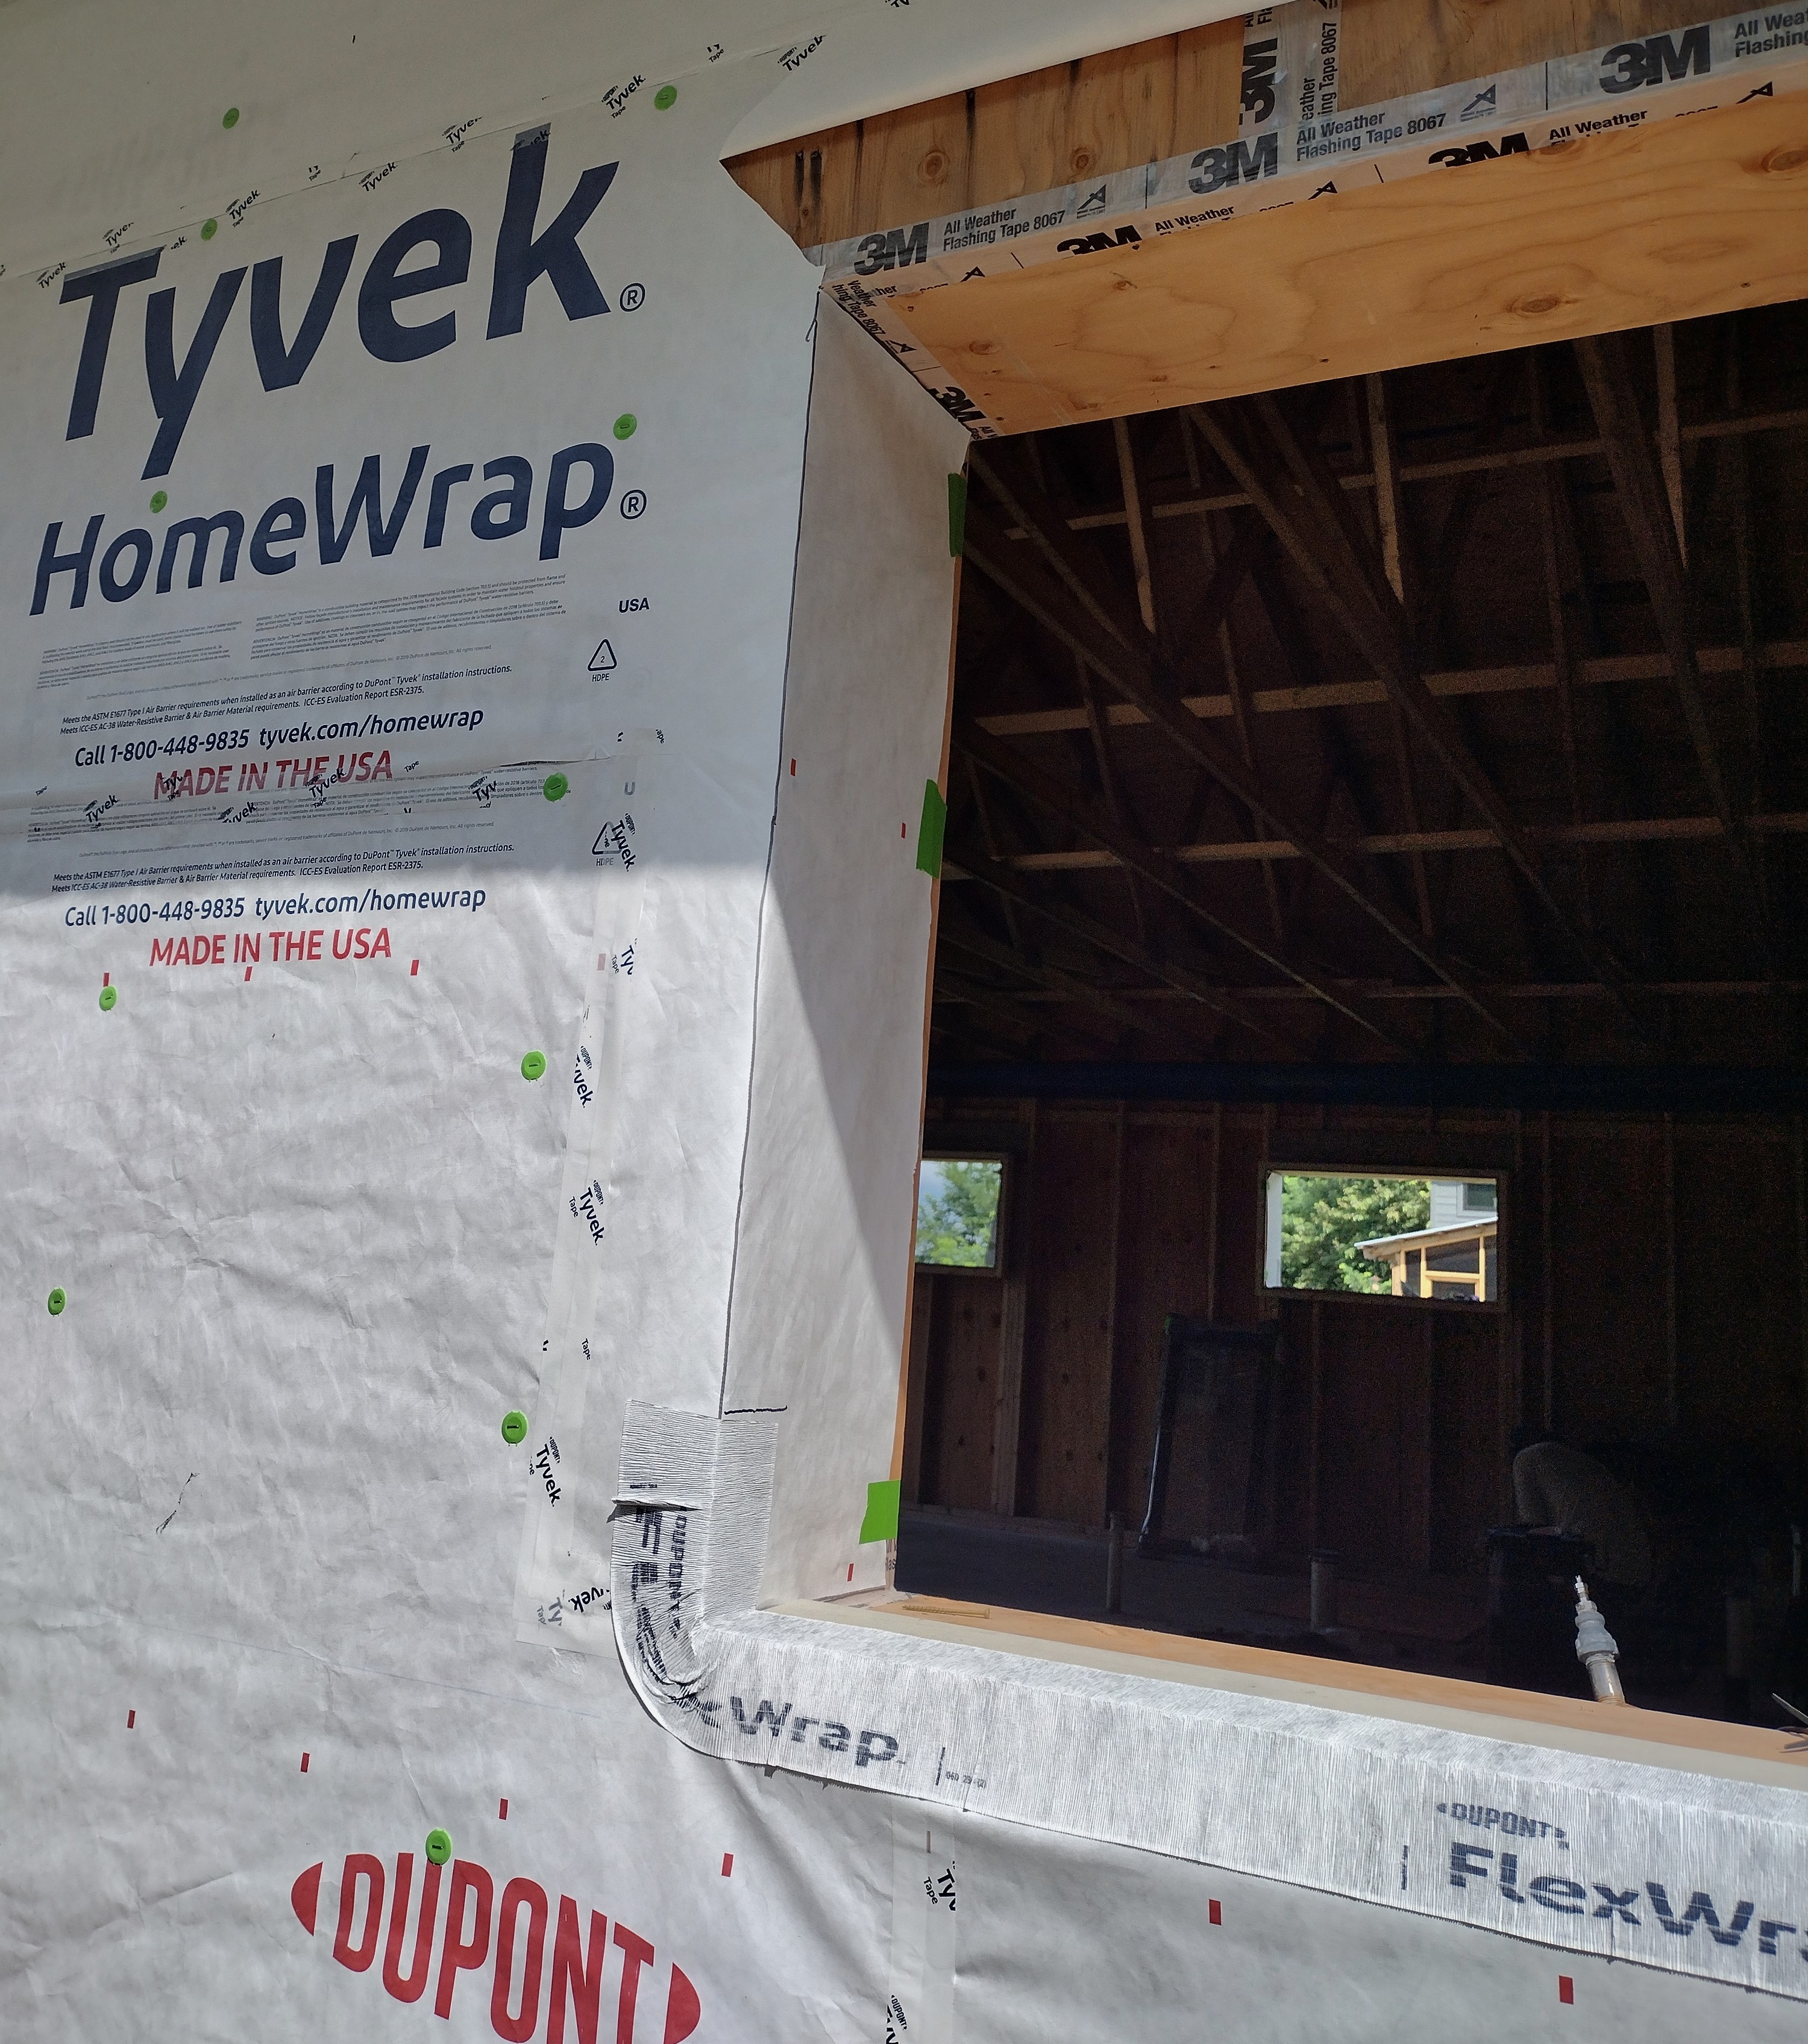
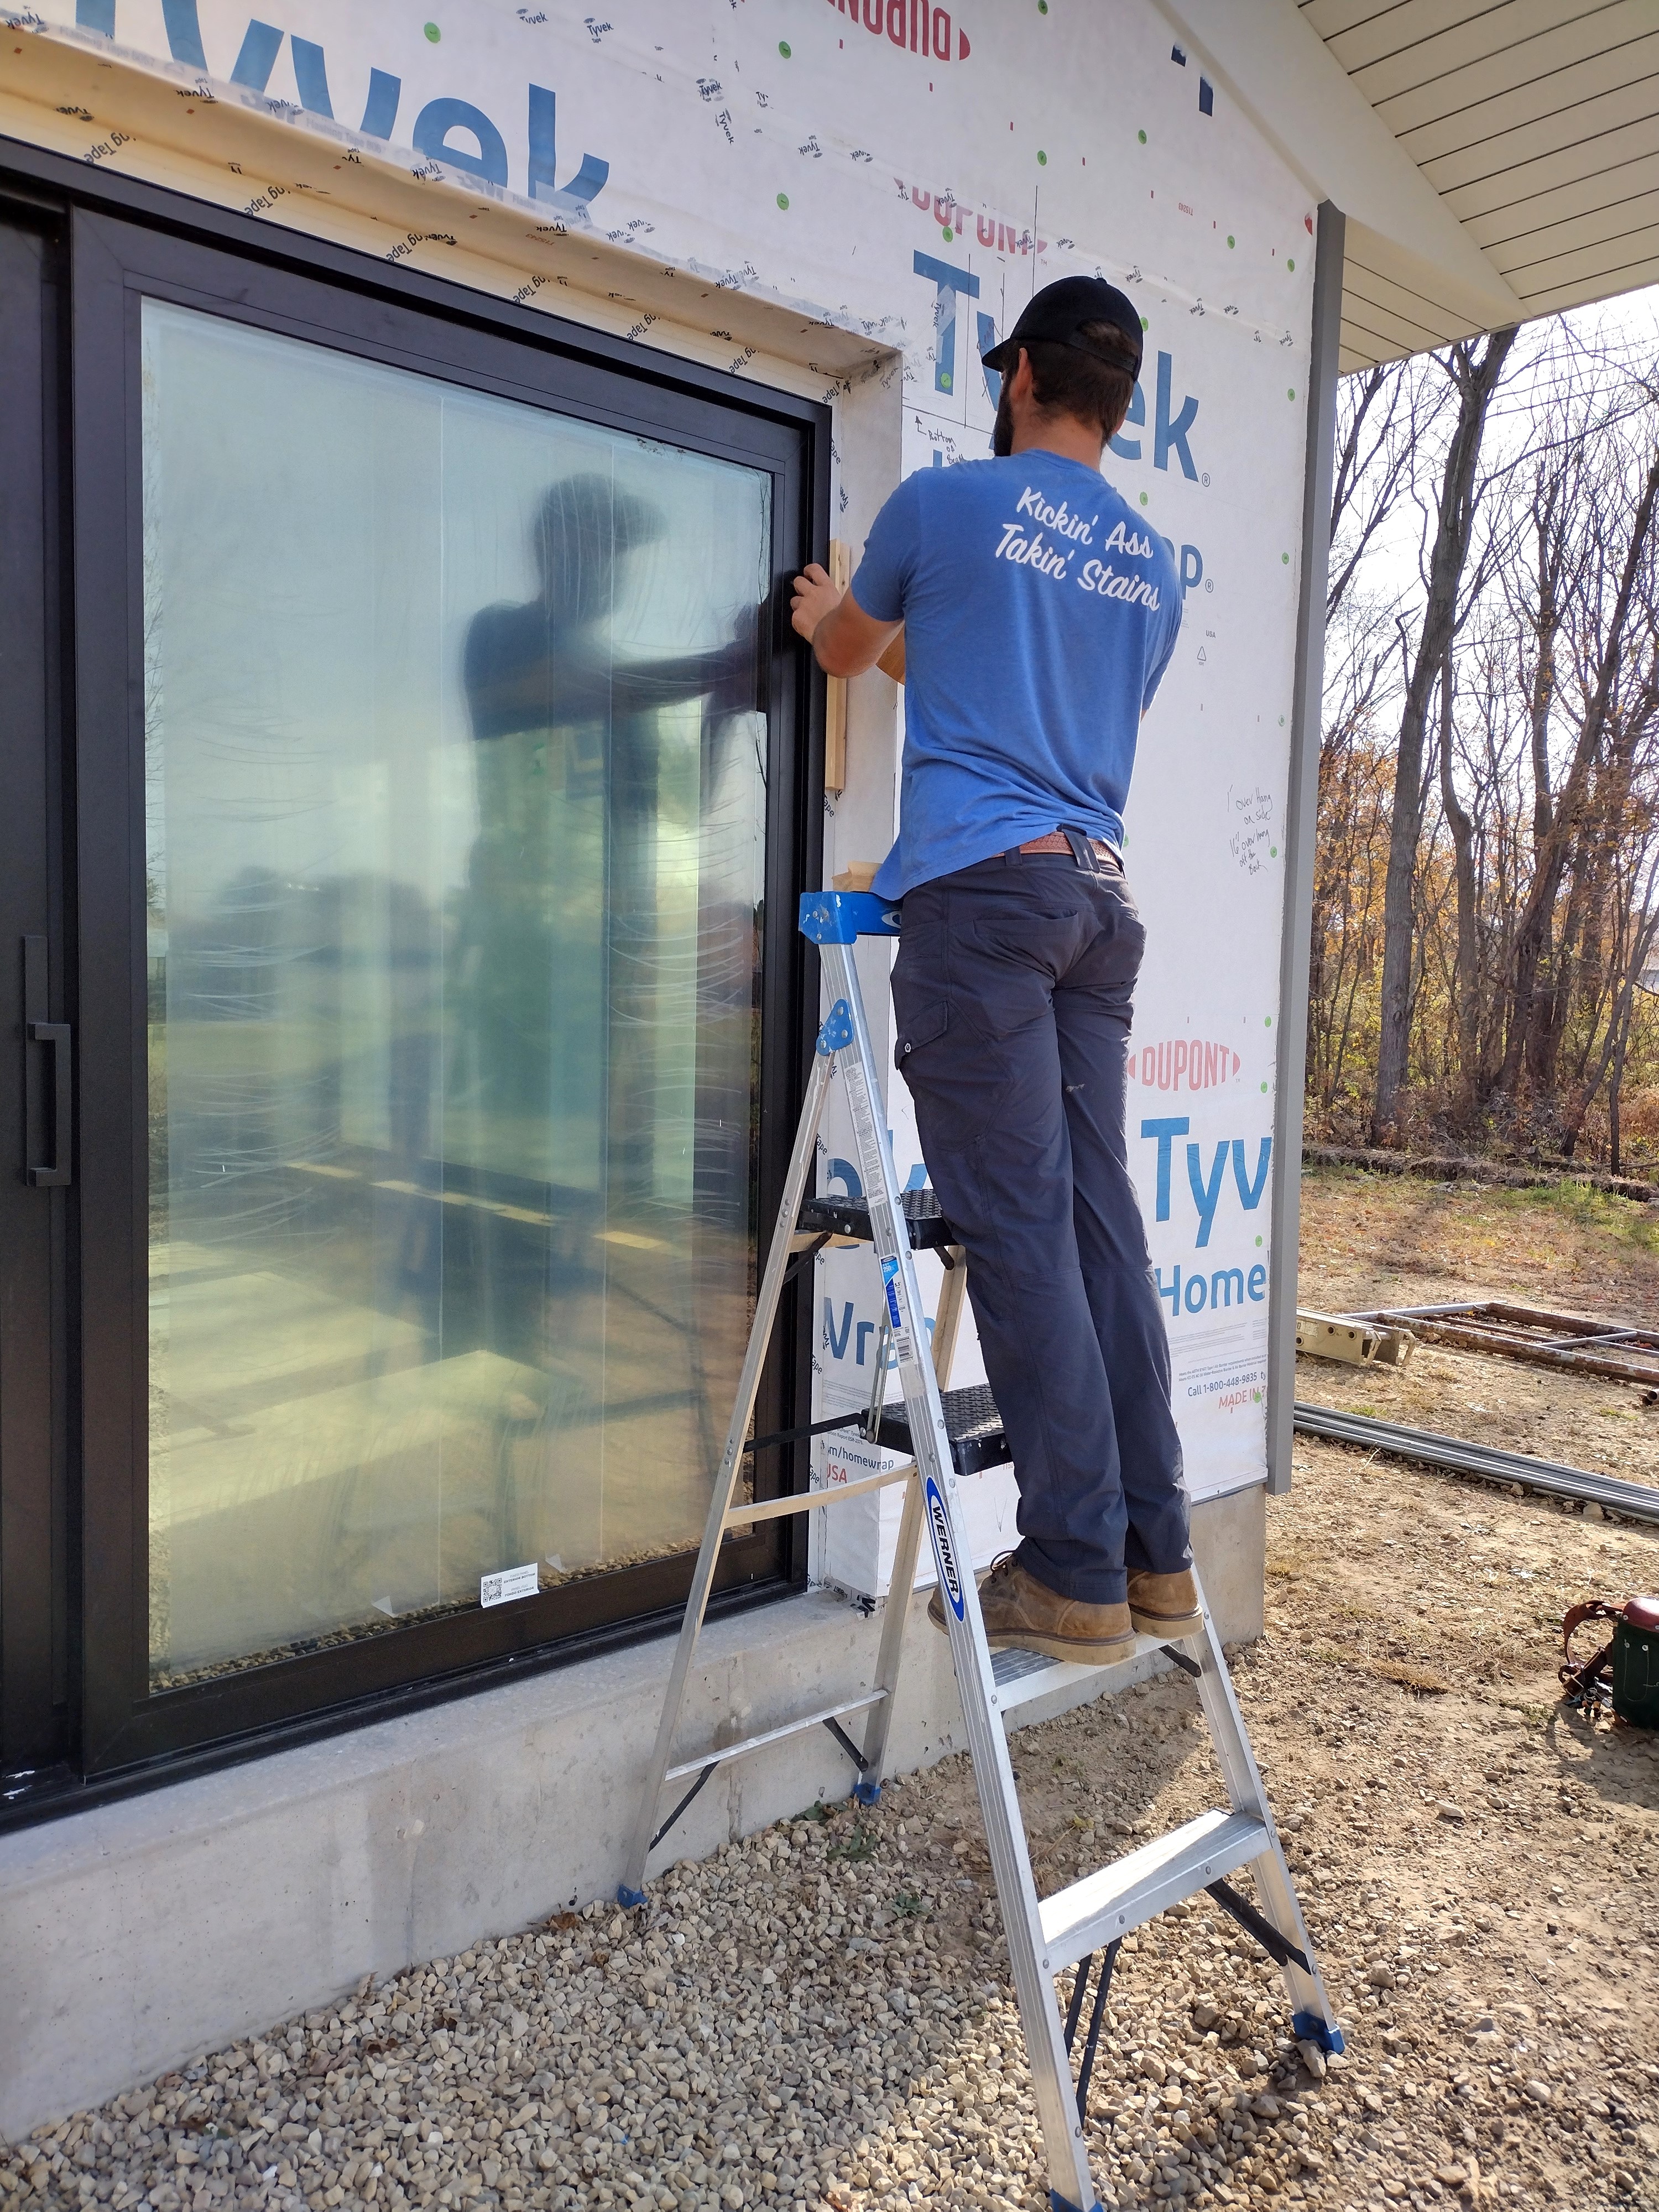
With the Tyvek temporarily turned up at the top, and the FlexWrap providing a waterproof barrier at the sill, the carpenters popped in the windows “level, plumb, and square”.
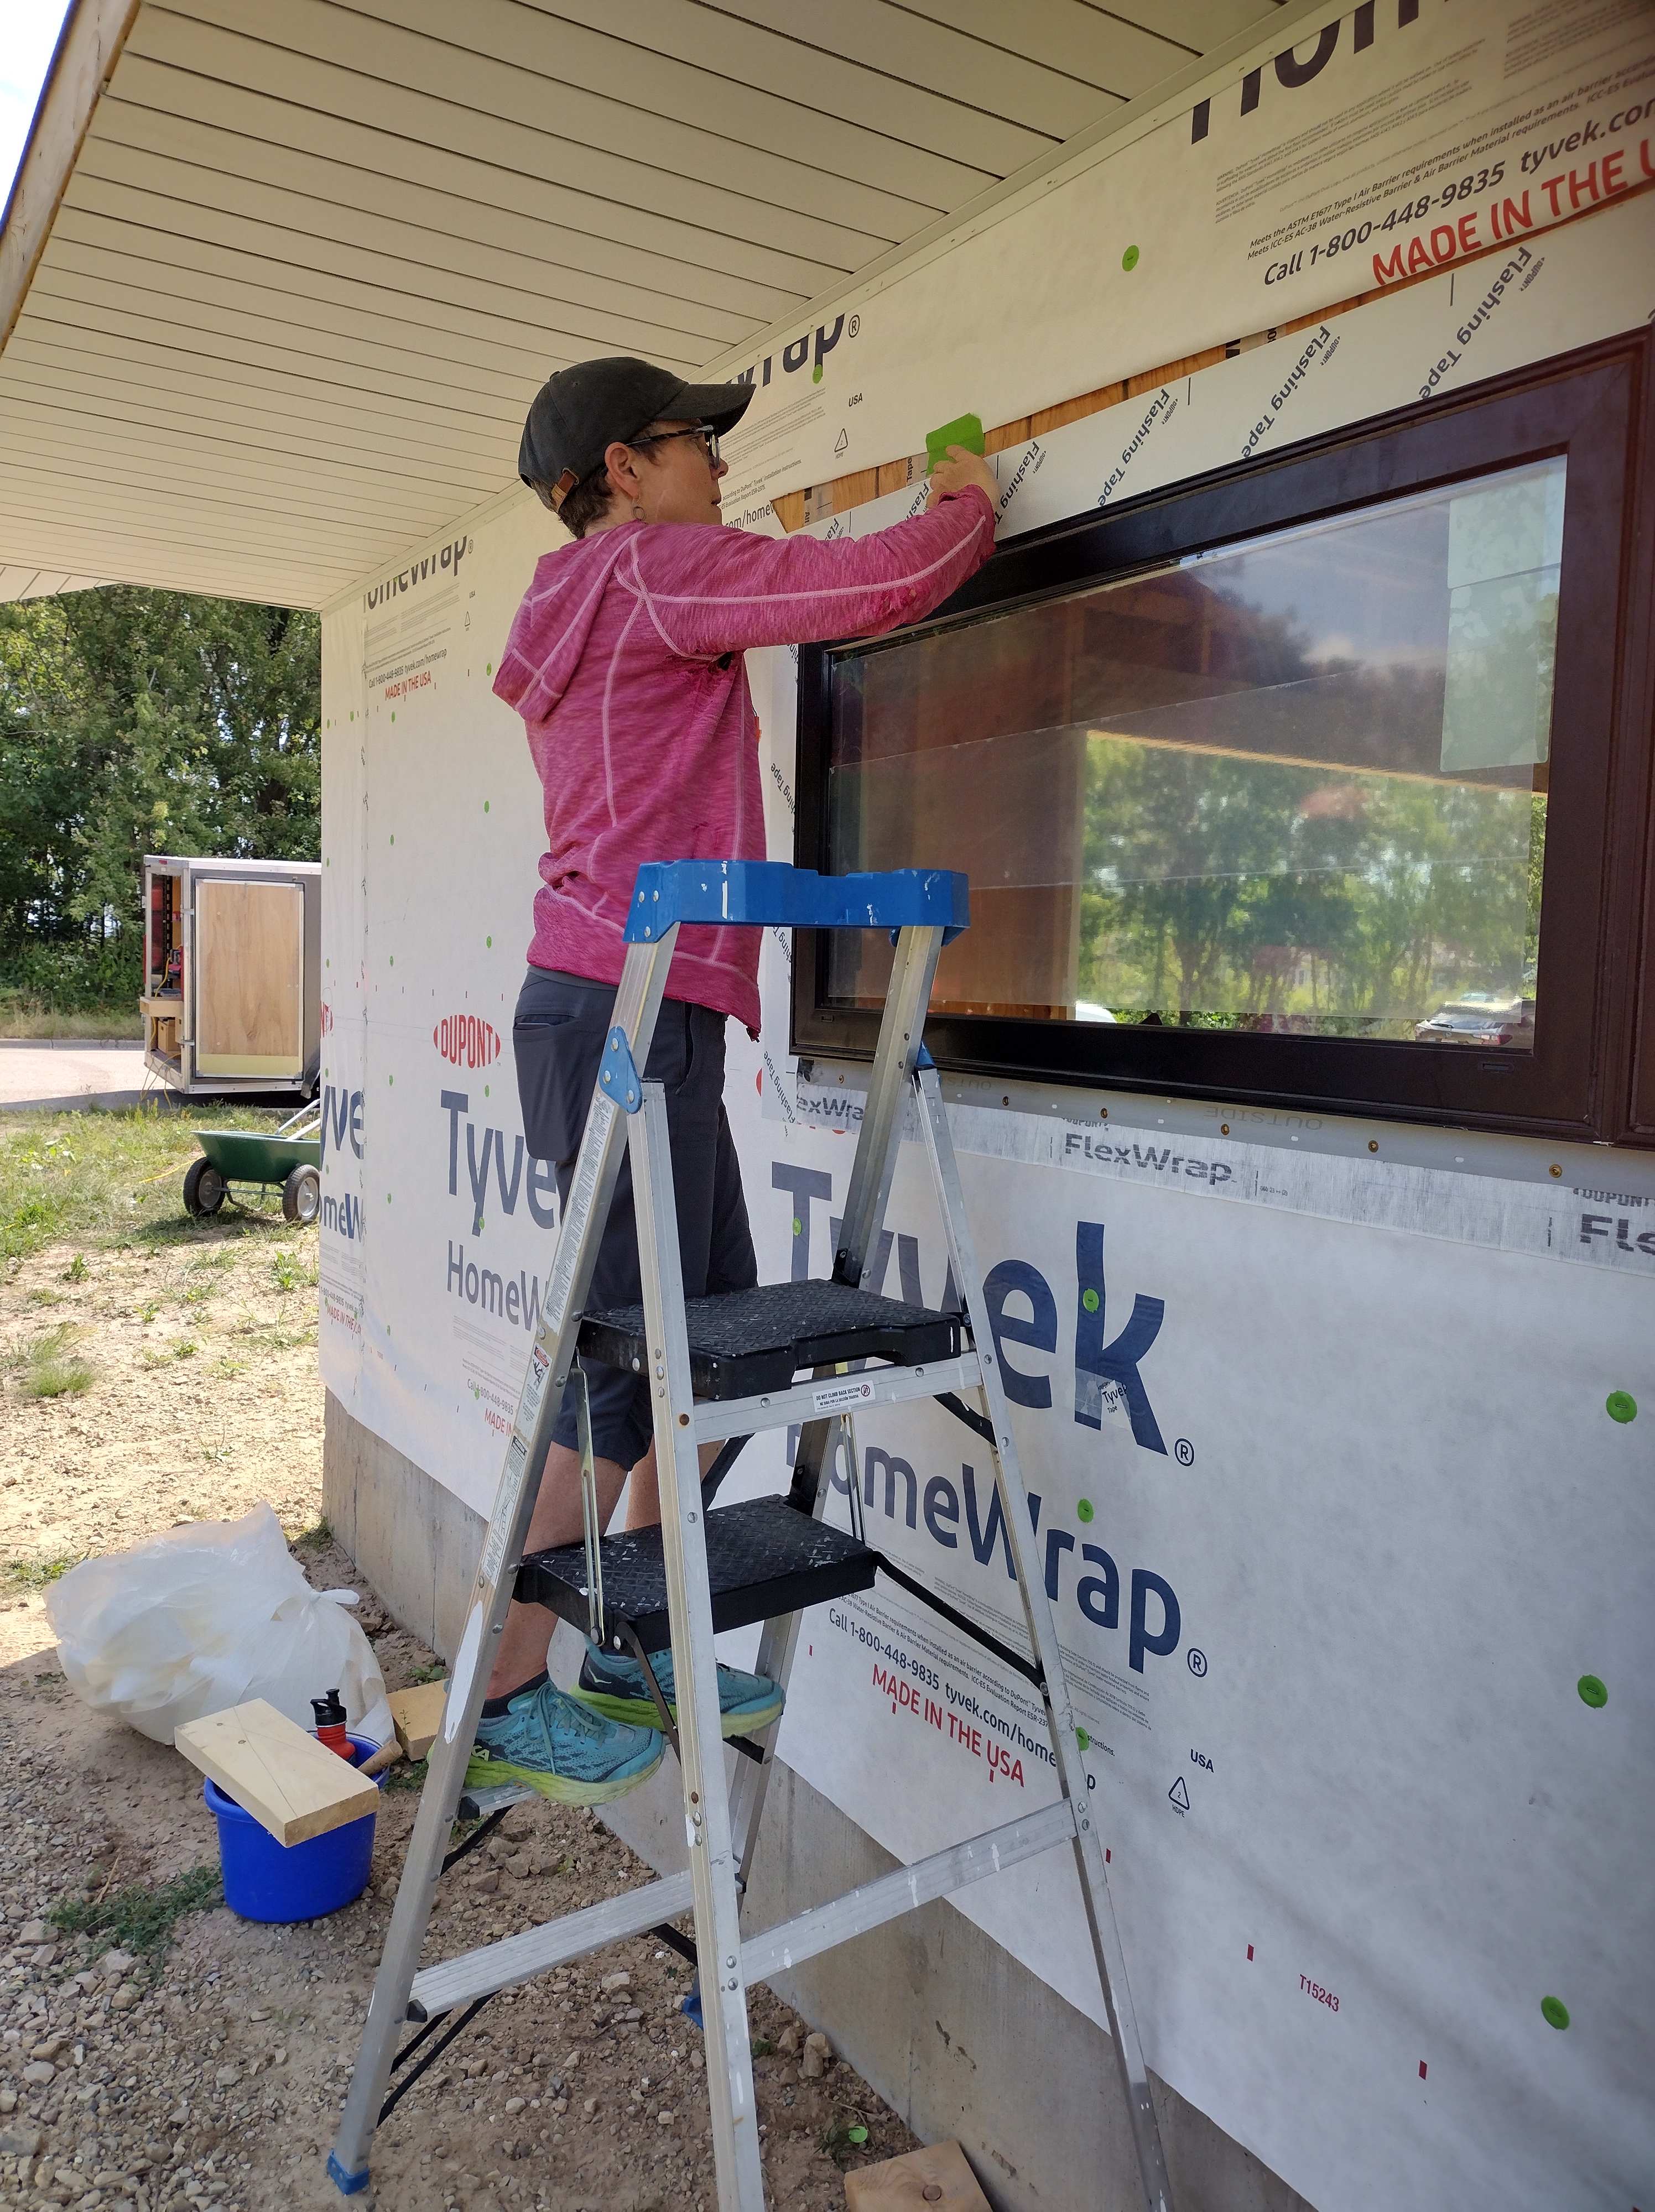

Next, we covered the window’s nailing flanges with DuPont’s Flashing Tape at the top and sides (the bottom flange was left free of tape to allow water to drain, should any rain sneak through the window), then folded the previously upturned Tyvek flap back down, securing it with Tyvek tape.
For this project, I chose EnerLux Windows in Nebraska. They are a small, custom order company and cost-competitive with major brands like Marvin Windows. The windows and patio doors are manufactured from low-carbon-footprint, durable-in-the-long-run fiberglass (not vinyl or wood), and are sturdy enough to hold 3 panes of glass.
Upgrading from dual-pane to triple-pane glass cost $6287. My REMRate energy model predicts $280/year in energy savings.
The simple payback, not accounting for inflation or the future cost of energy is: 6287 / 280 = 22.5 years
The simple ROI (return on investment), not accounting for inflation or the future cost of energy is: 280 / 6287 = 4.4 %
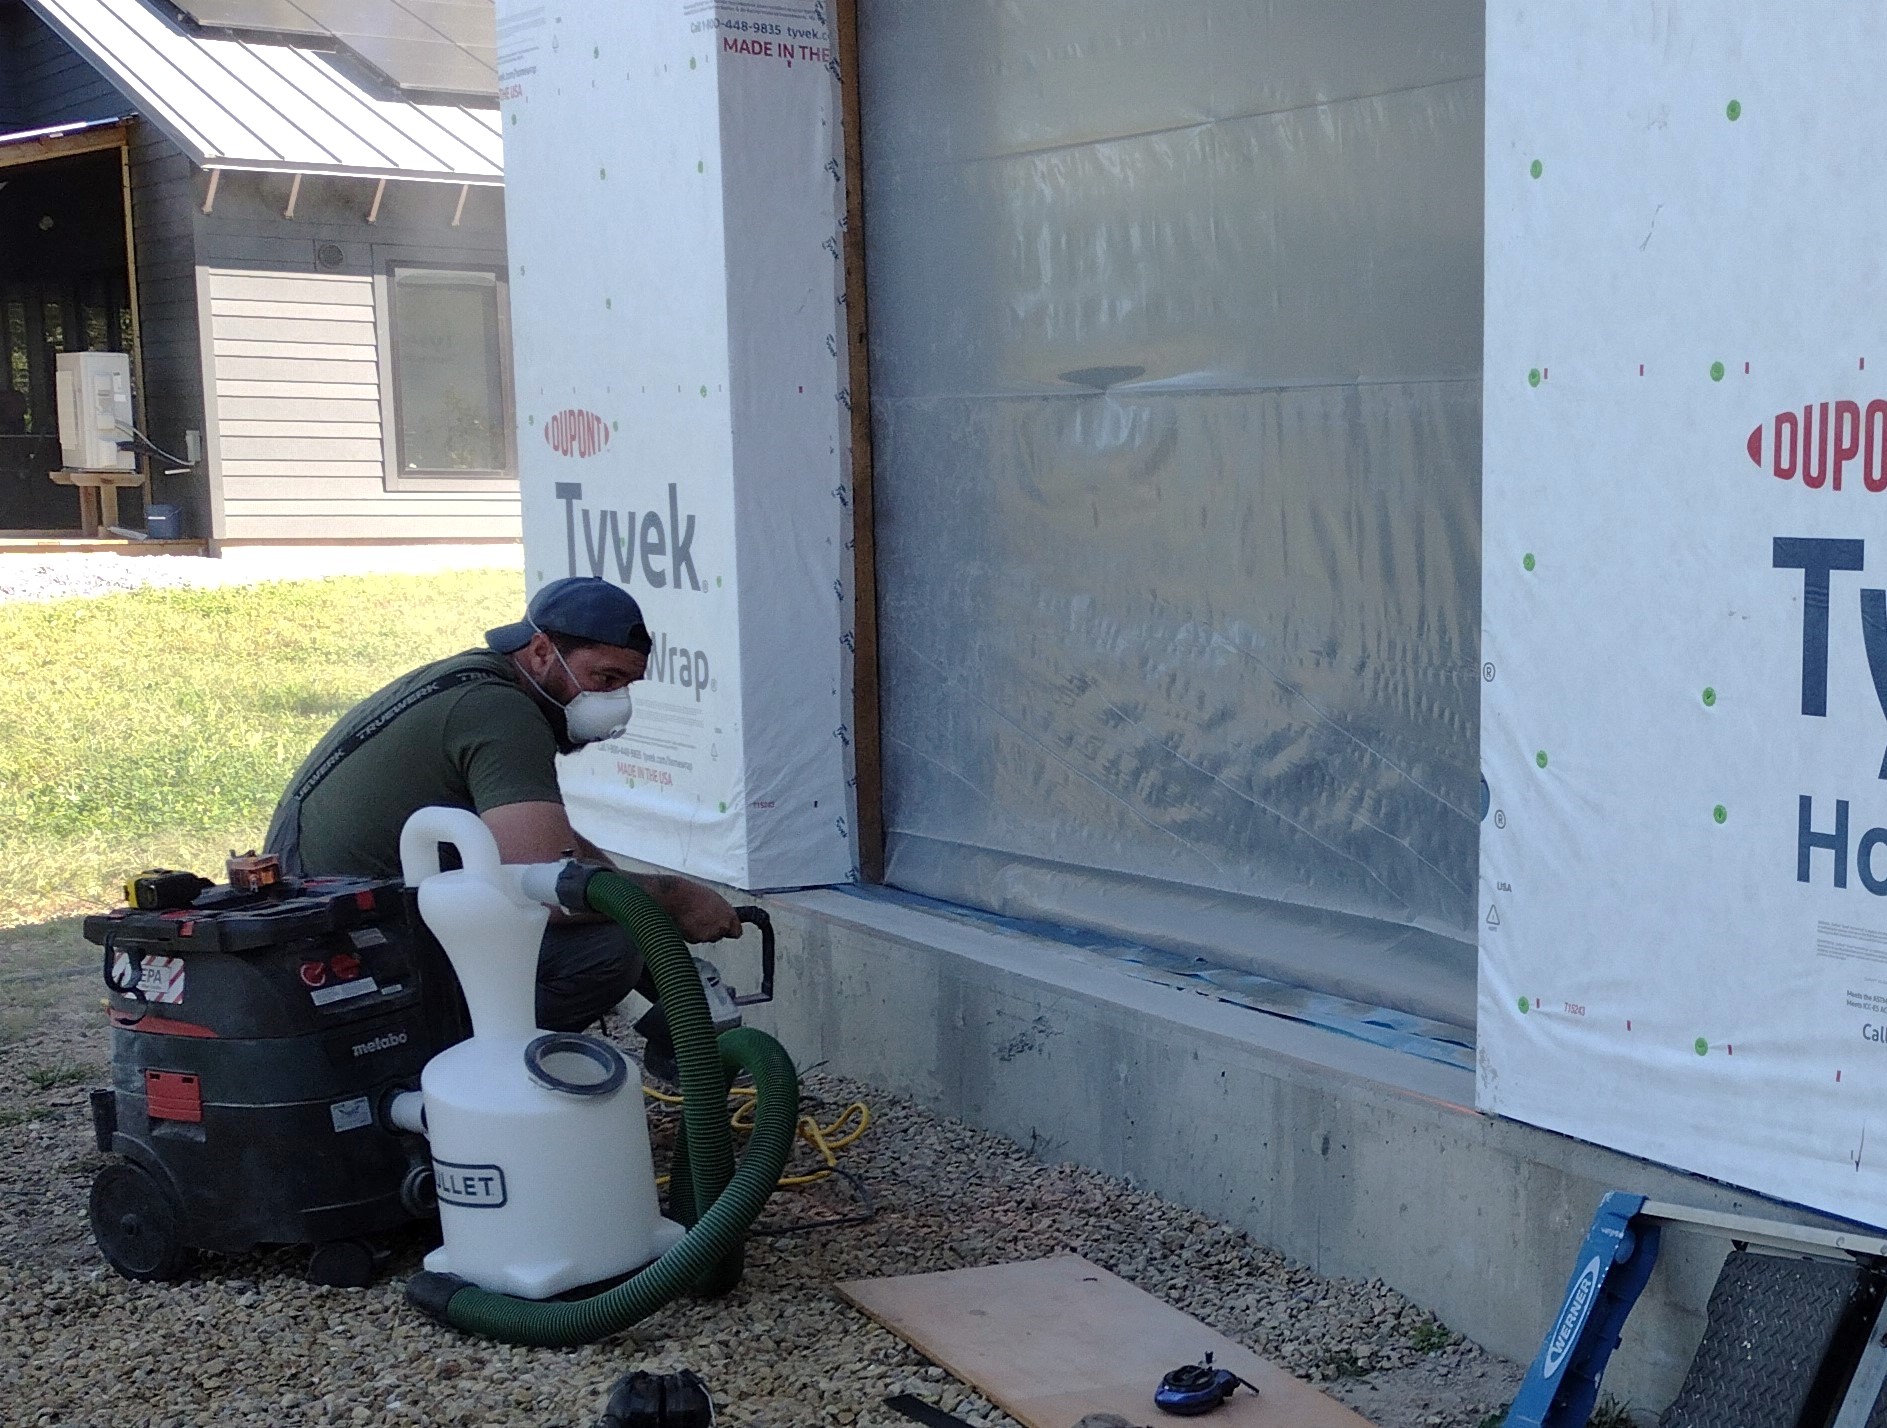
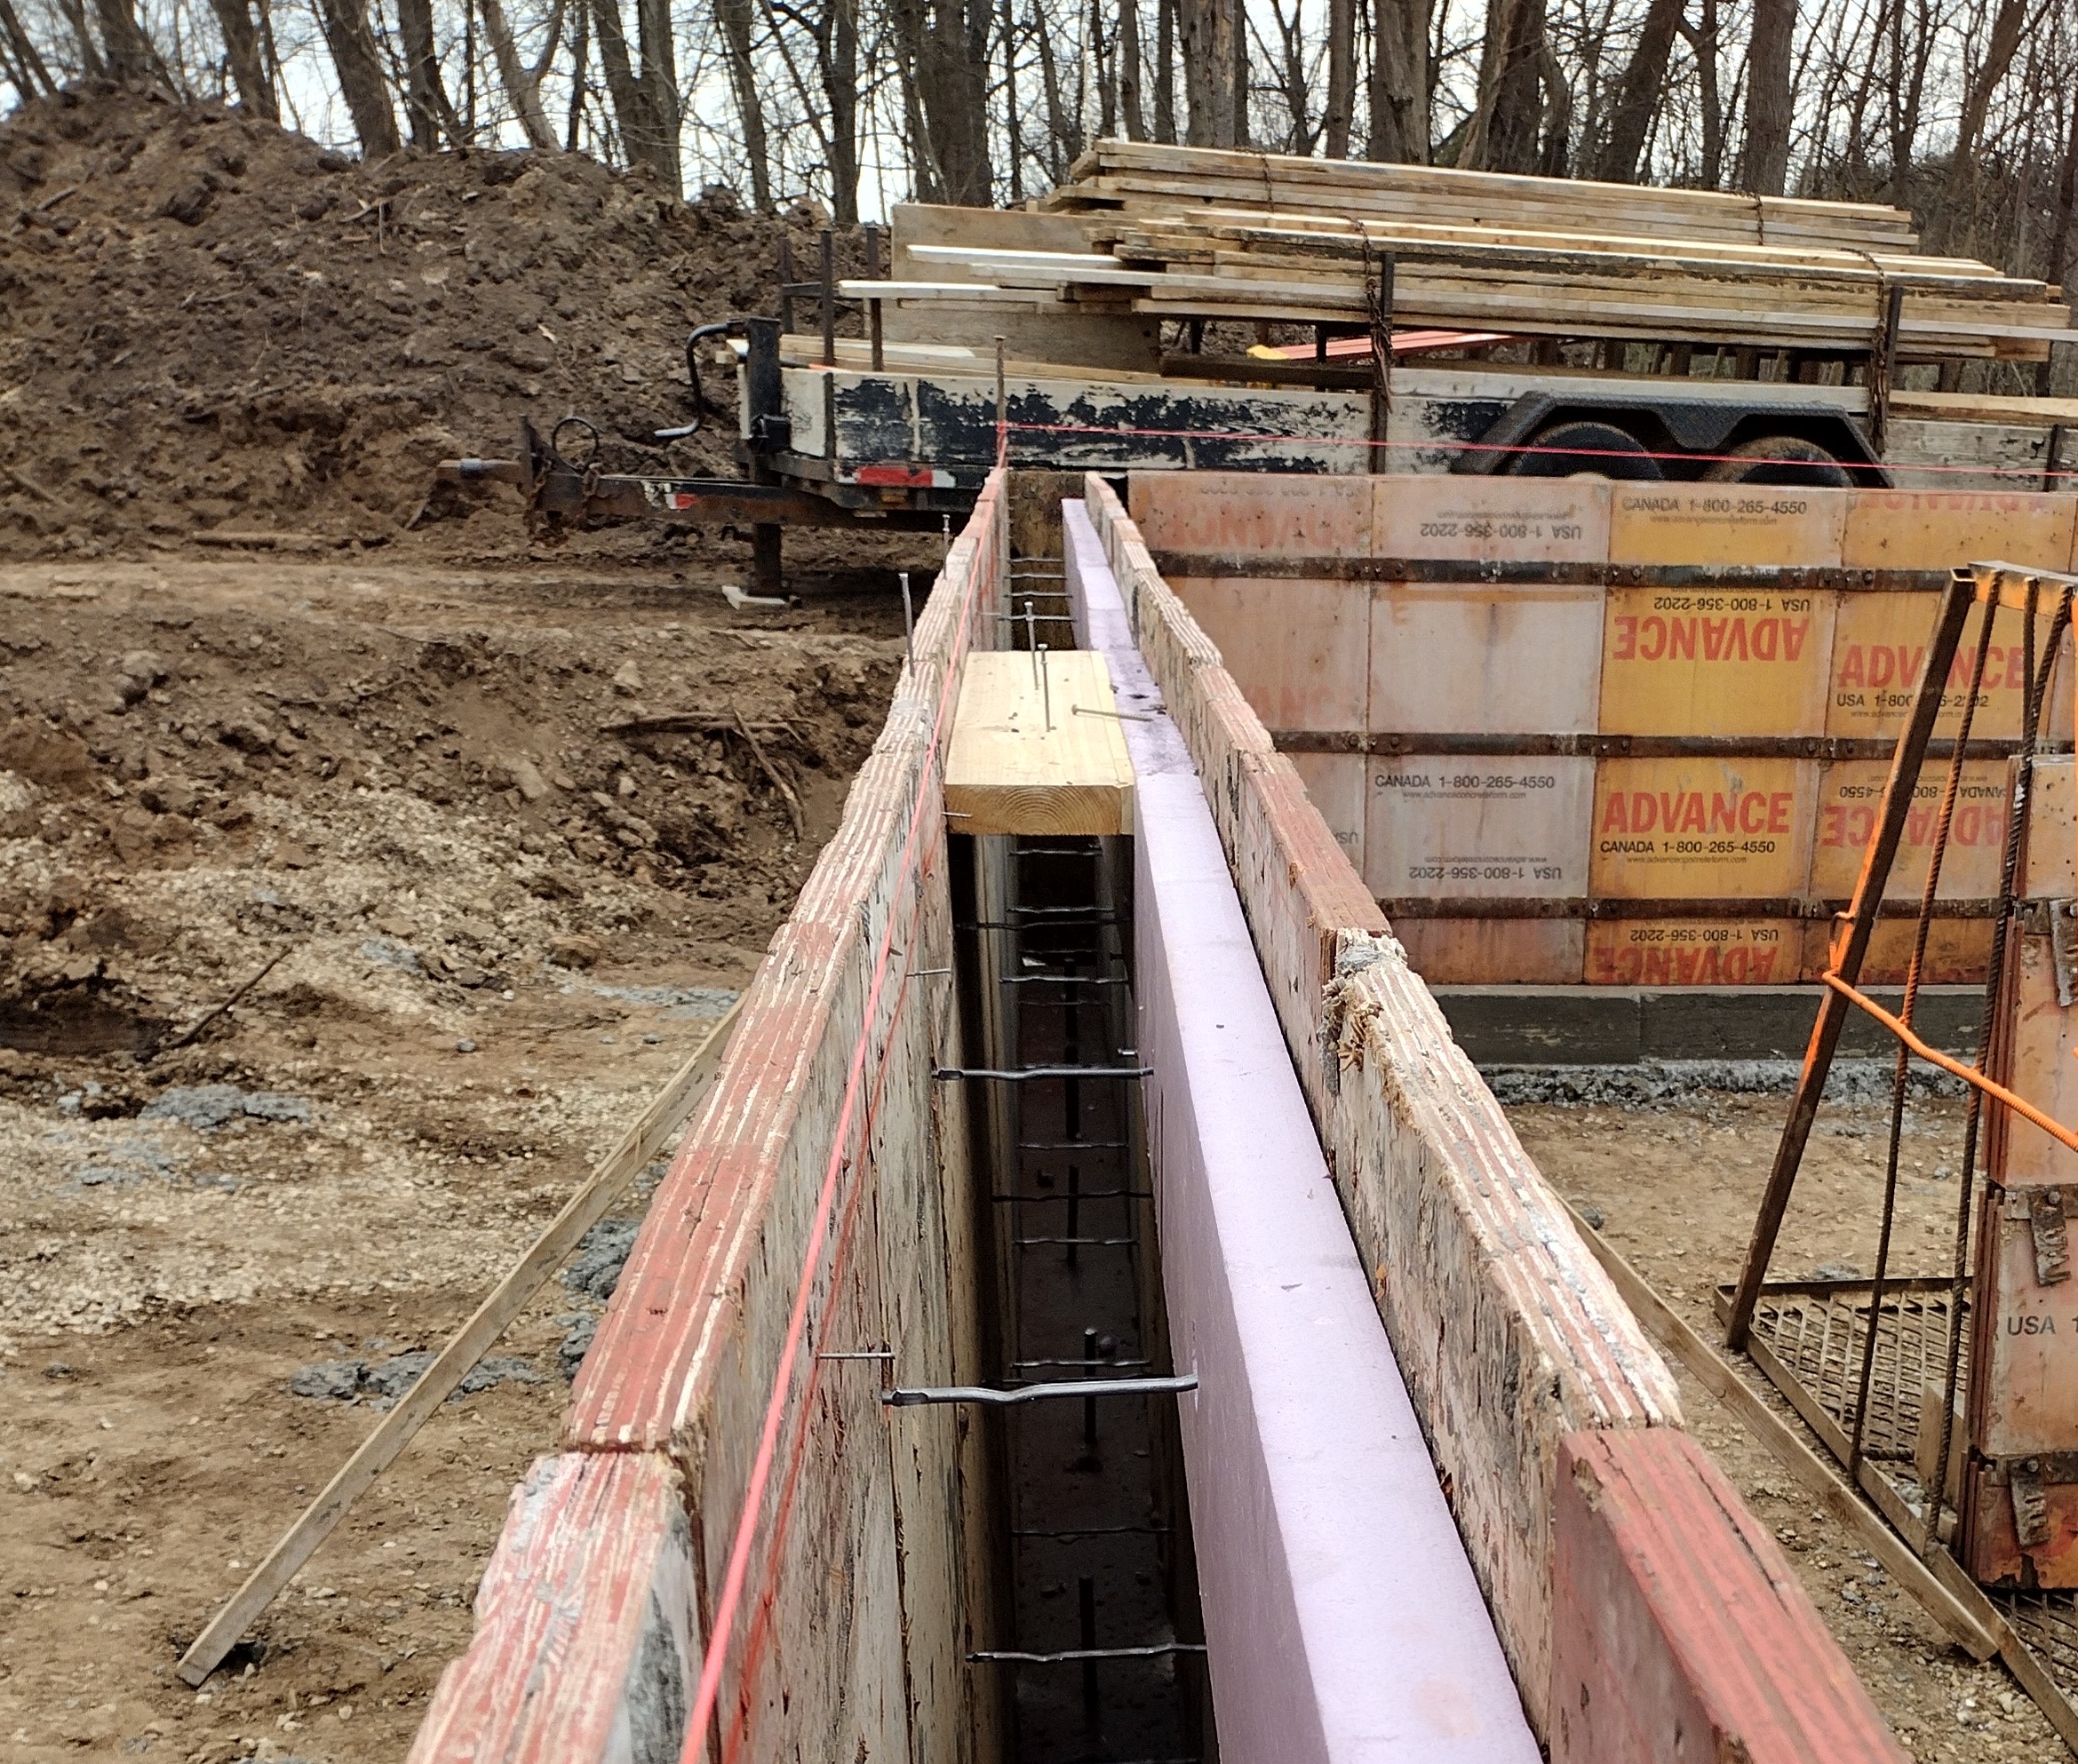
The EnerLux patio doors were installed in a similar manner to the windows, but with a few extra steps beforehand. Mike used a grinder to smooth and slope the concrete frostwall at each patio door opening.
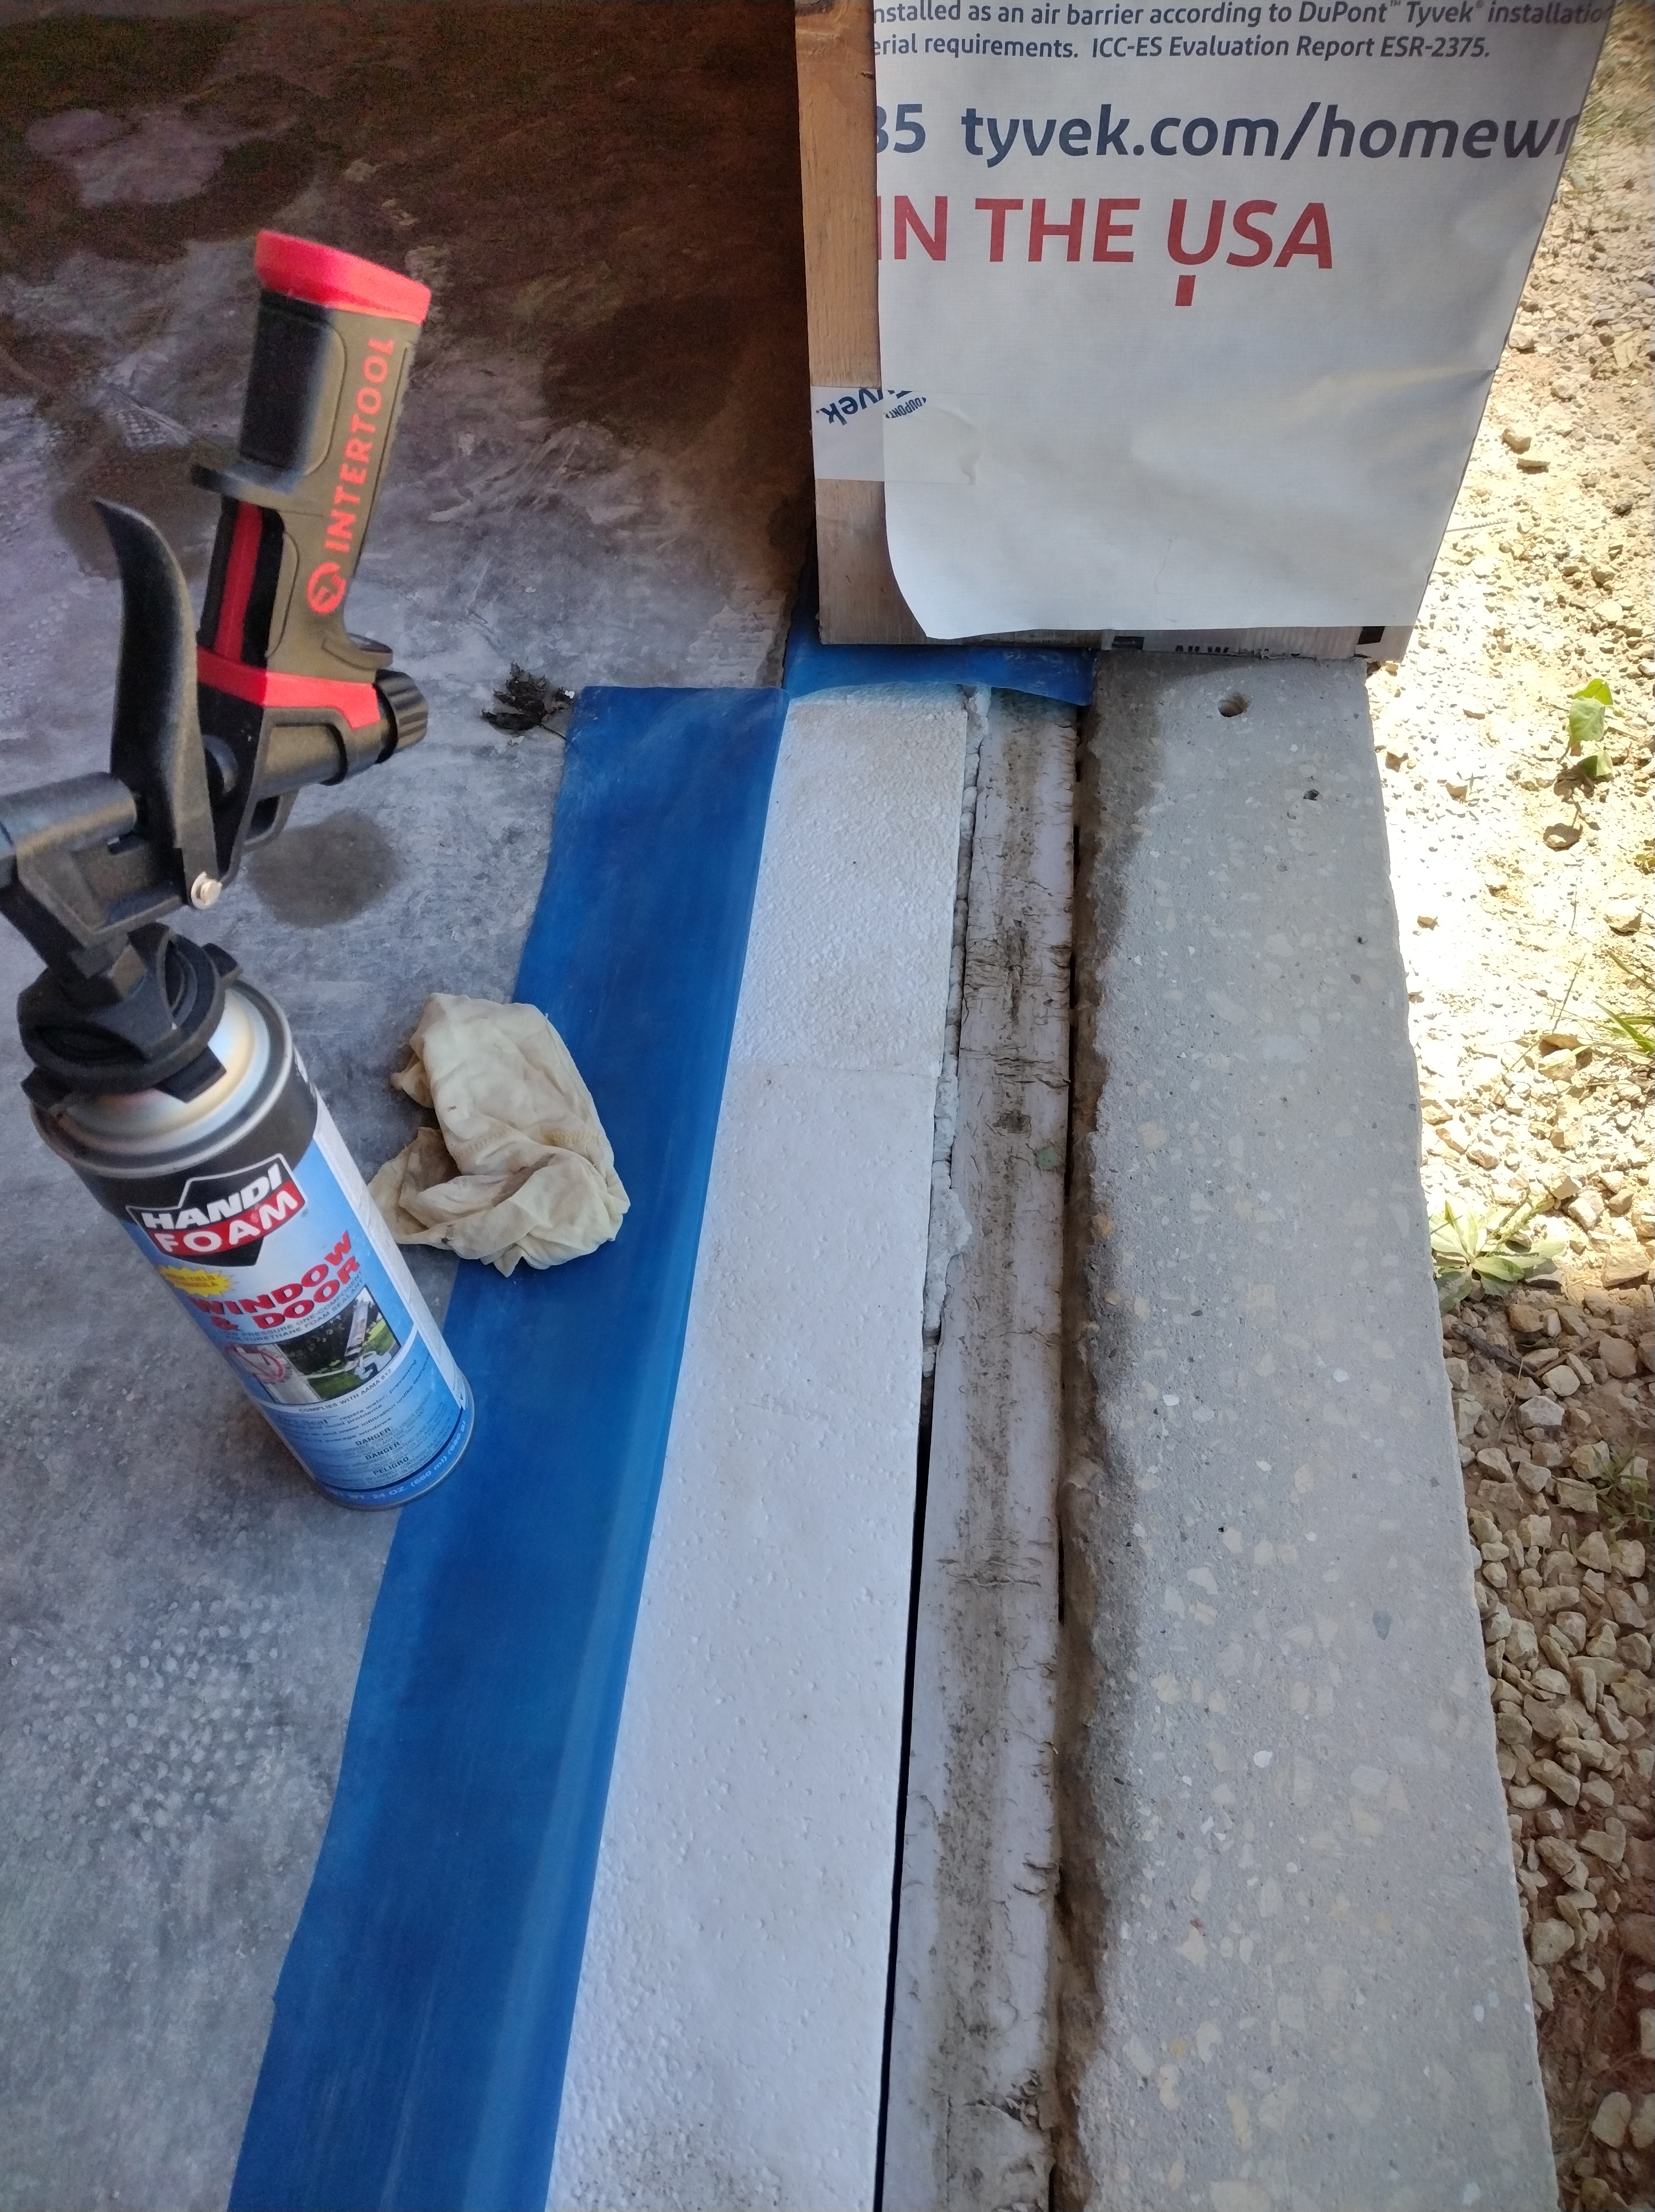
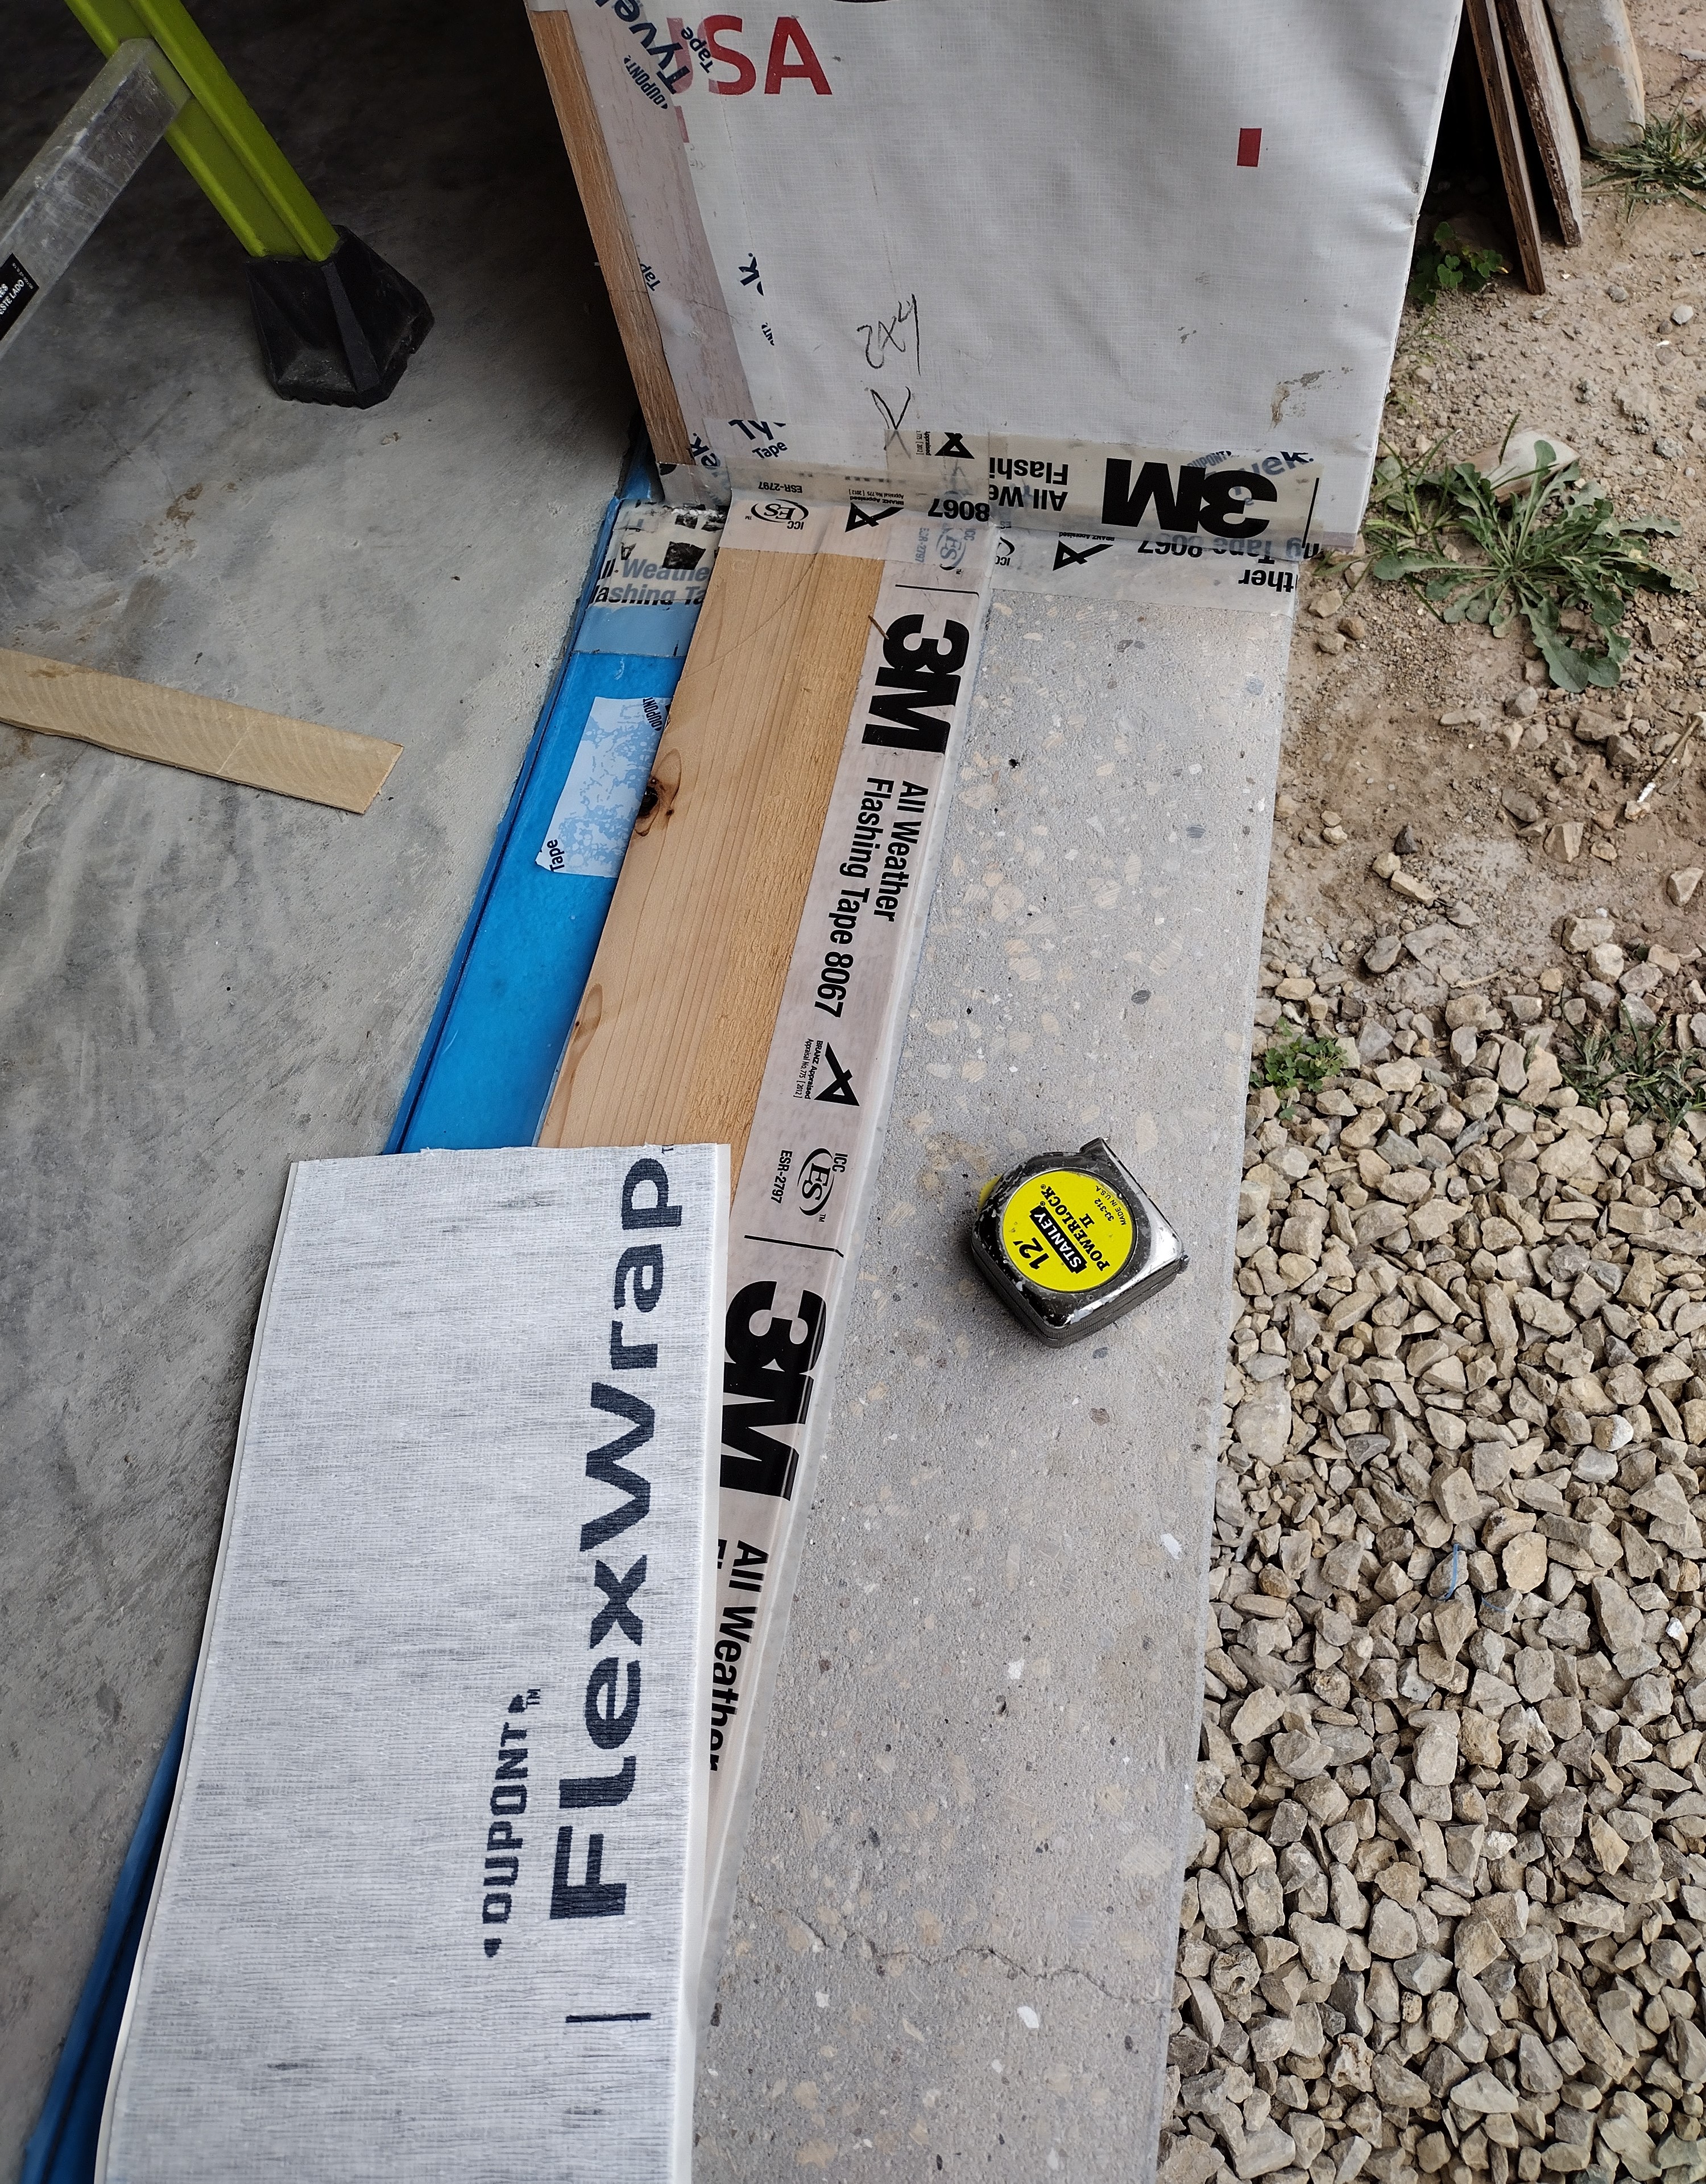
Next, I made sure the slab-edge foam was tight to the foundation wall and spray foamed any gaps. I glued the under-slab vapor barrier (blue) to the EPS foam (white). The carpenters glued down a length of beveled cedar siding to create a rot-resistant sill with positive drainage to the exterior. For an extra barrier to the entry of air and water, I taped the joints with 3M’s 8967 waterproof tape.

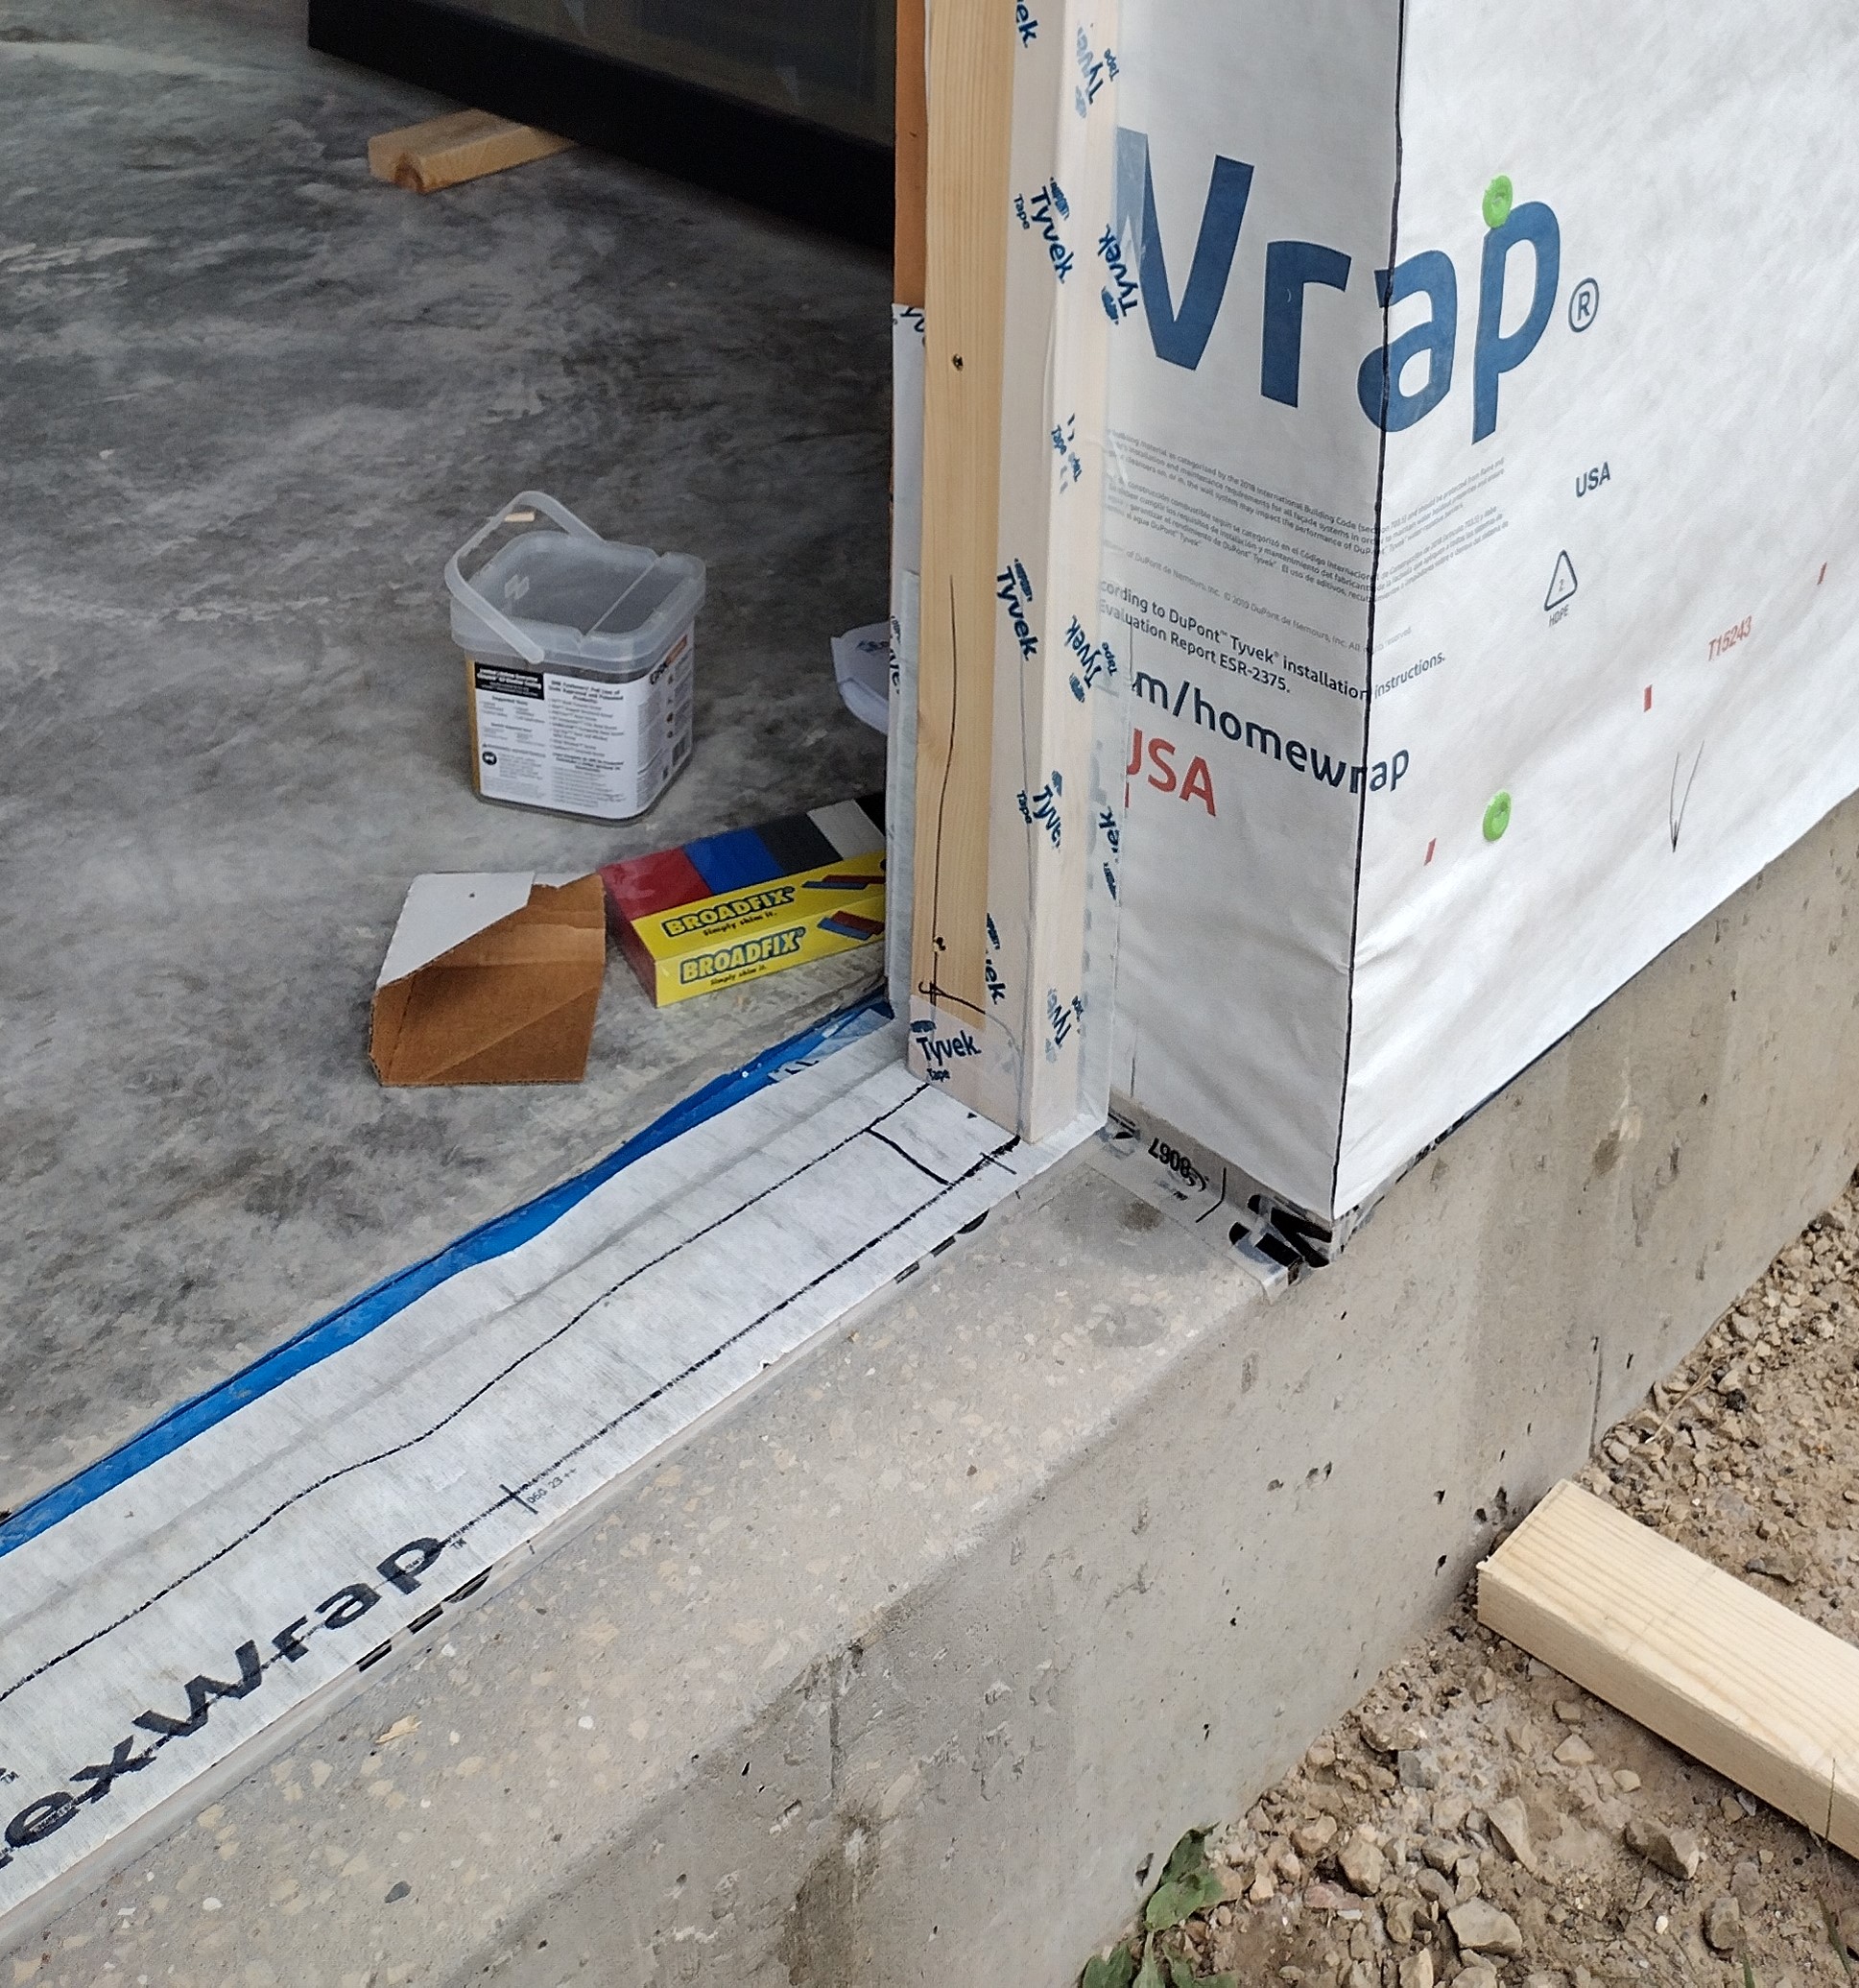
FlexWrap is a waterproof, flexible, and formable peel-and-stick membrane that’s easy to work with. A generous upturn at the jambs provides extra insurance at the corners, where most window and door installations fail. Next, 2x side and top jambs were ripped and nailed in place to align with the outer 4 inches of slab-edge foam. Tyvek tape seals the connection between wood and housewrap.
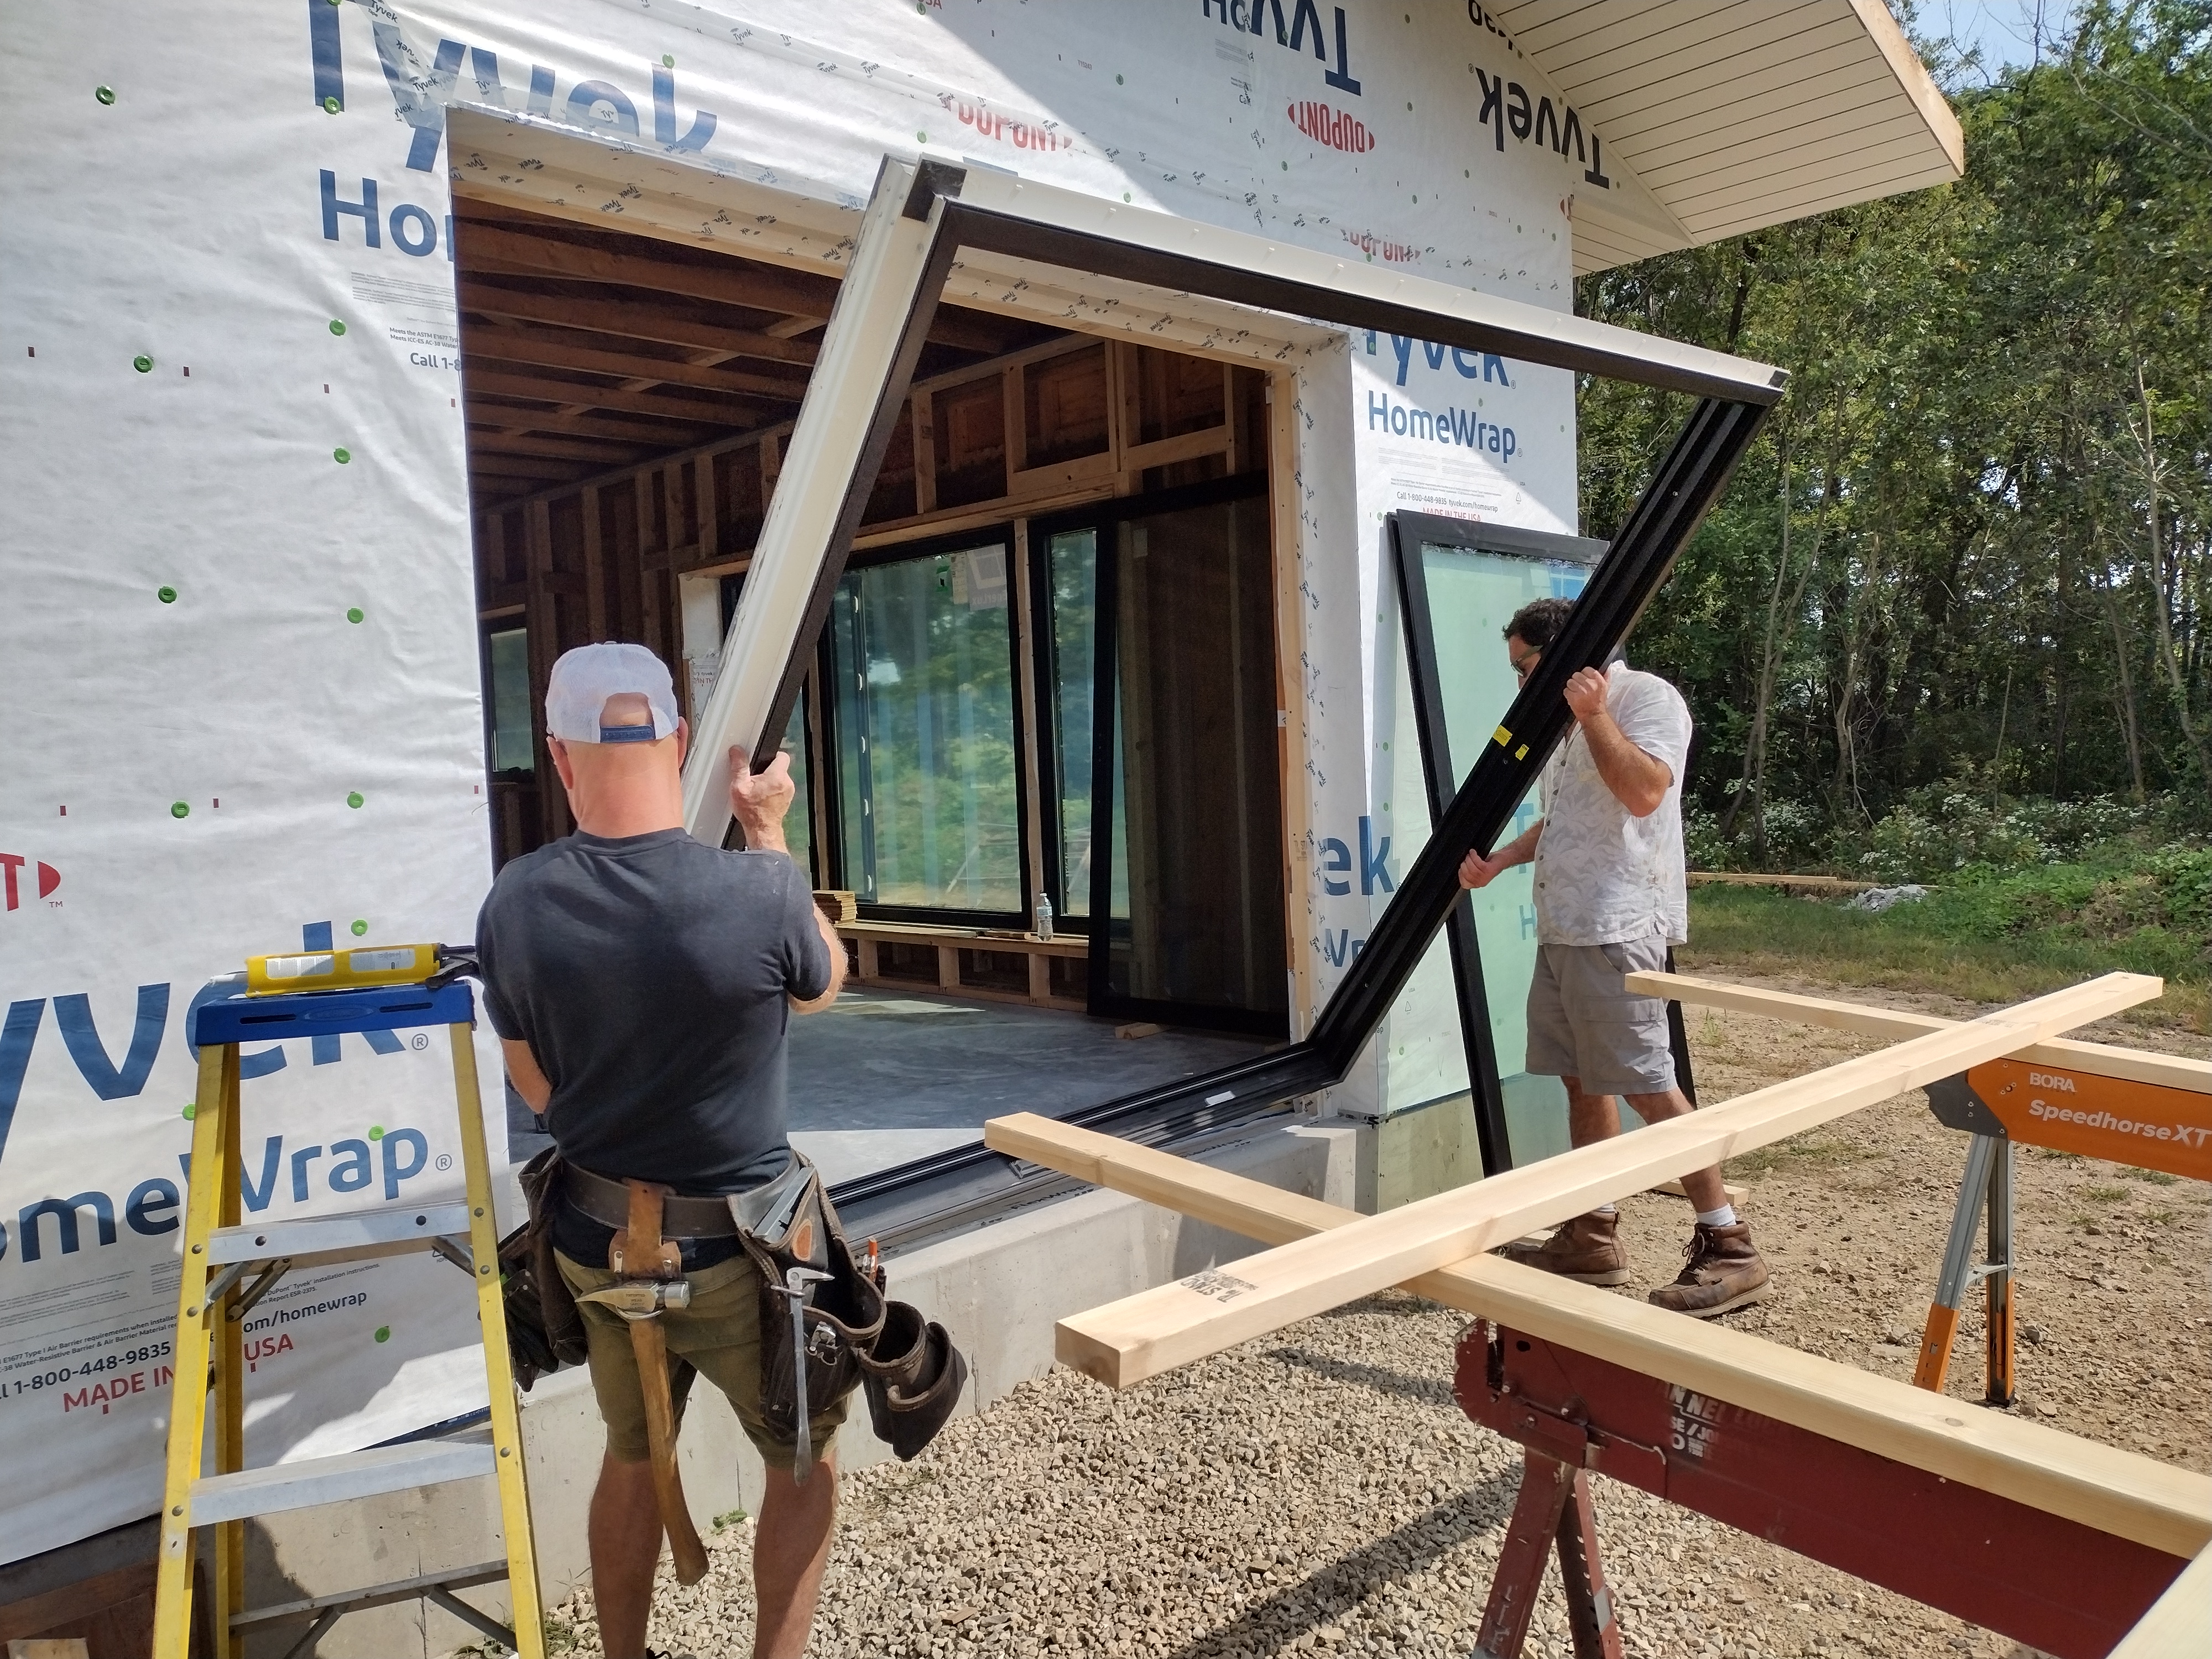
Dave Skenky and Cale Armstrong installed the patio door frames. Later, they slid the glass panels into place.

Blake Welu trimmed out the patio doors with 2×8 rough sawn cedar boards on edge. An extra piece was needed to bridge the slightly too-large rough opening, but it became a subtle detail that looks just right.
The front door presented its own unique challenge. It was important to me that we have an accessible entryway. Typical residential doors come with a bulky sill that can usually be overcome with sloped extensions or by building up interior floor layers, but with our slab floor we’re more locked in. For my last project, I chose an aluminum ADA sill which provides a low threshold but no effective thermal break: it frosts up during cold snaps. For this project, I had the concrete contractor block out the doorway with a 2×6, so that the top of the frostwall would land 1-1/2″ below the slab.
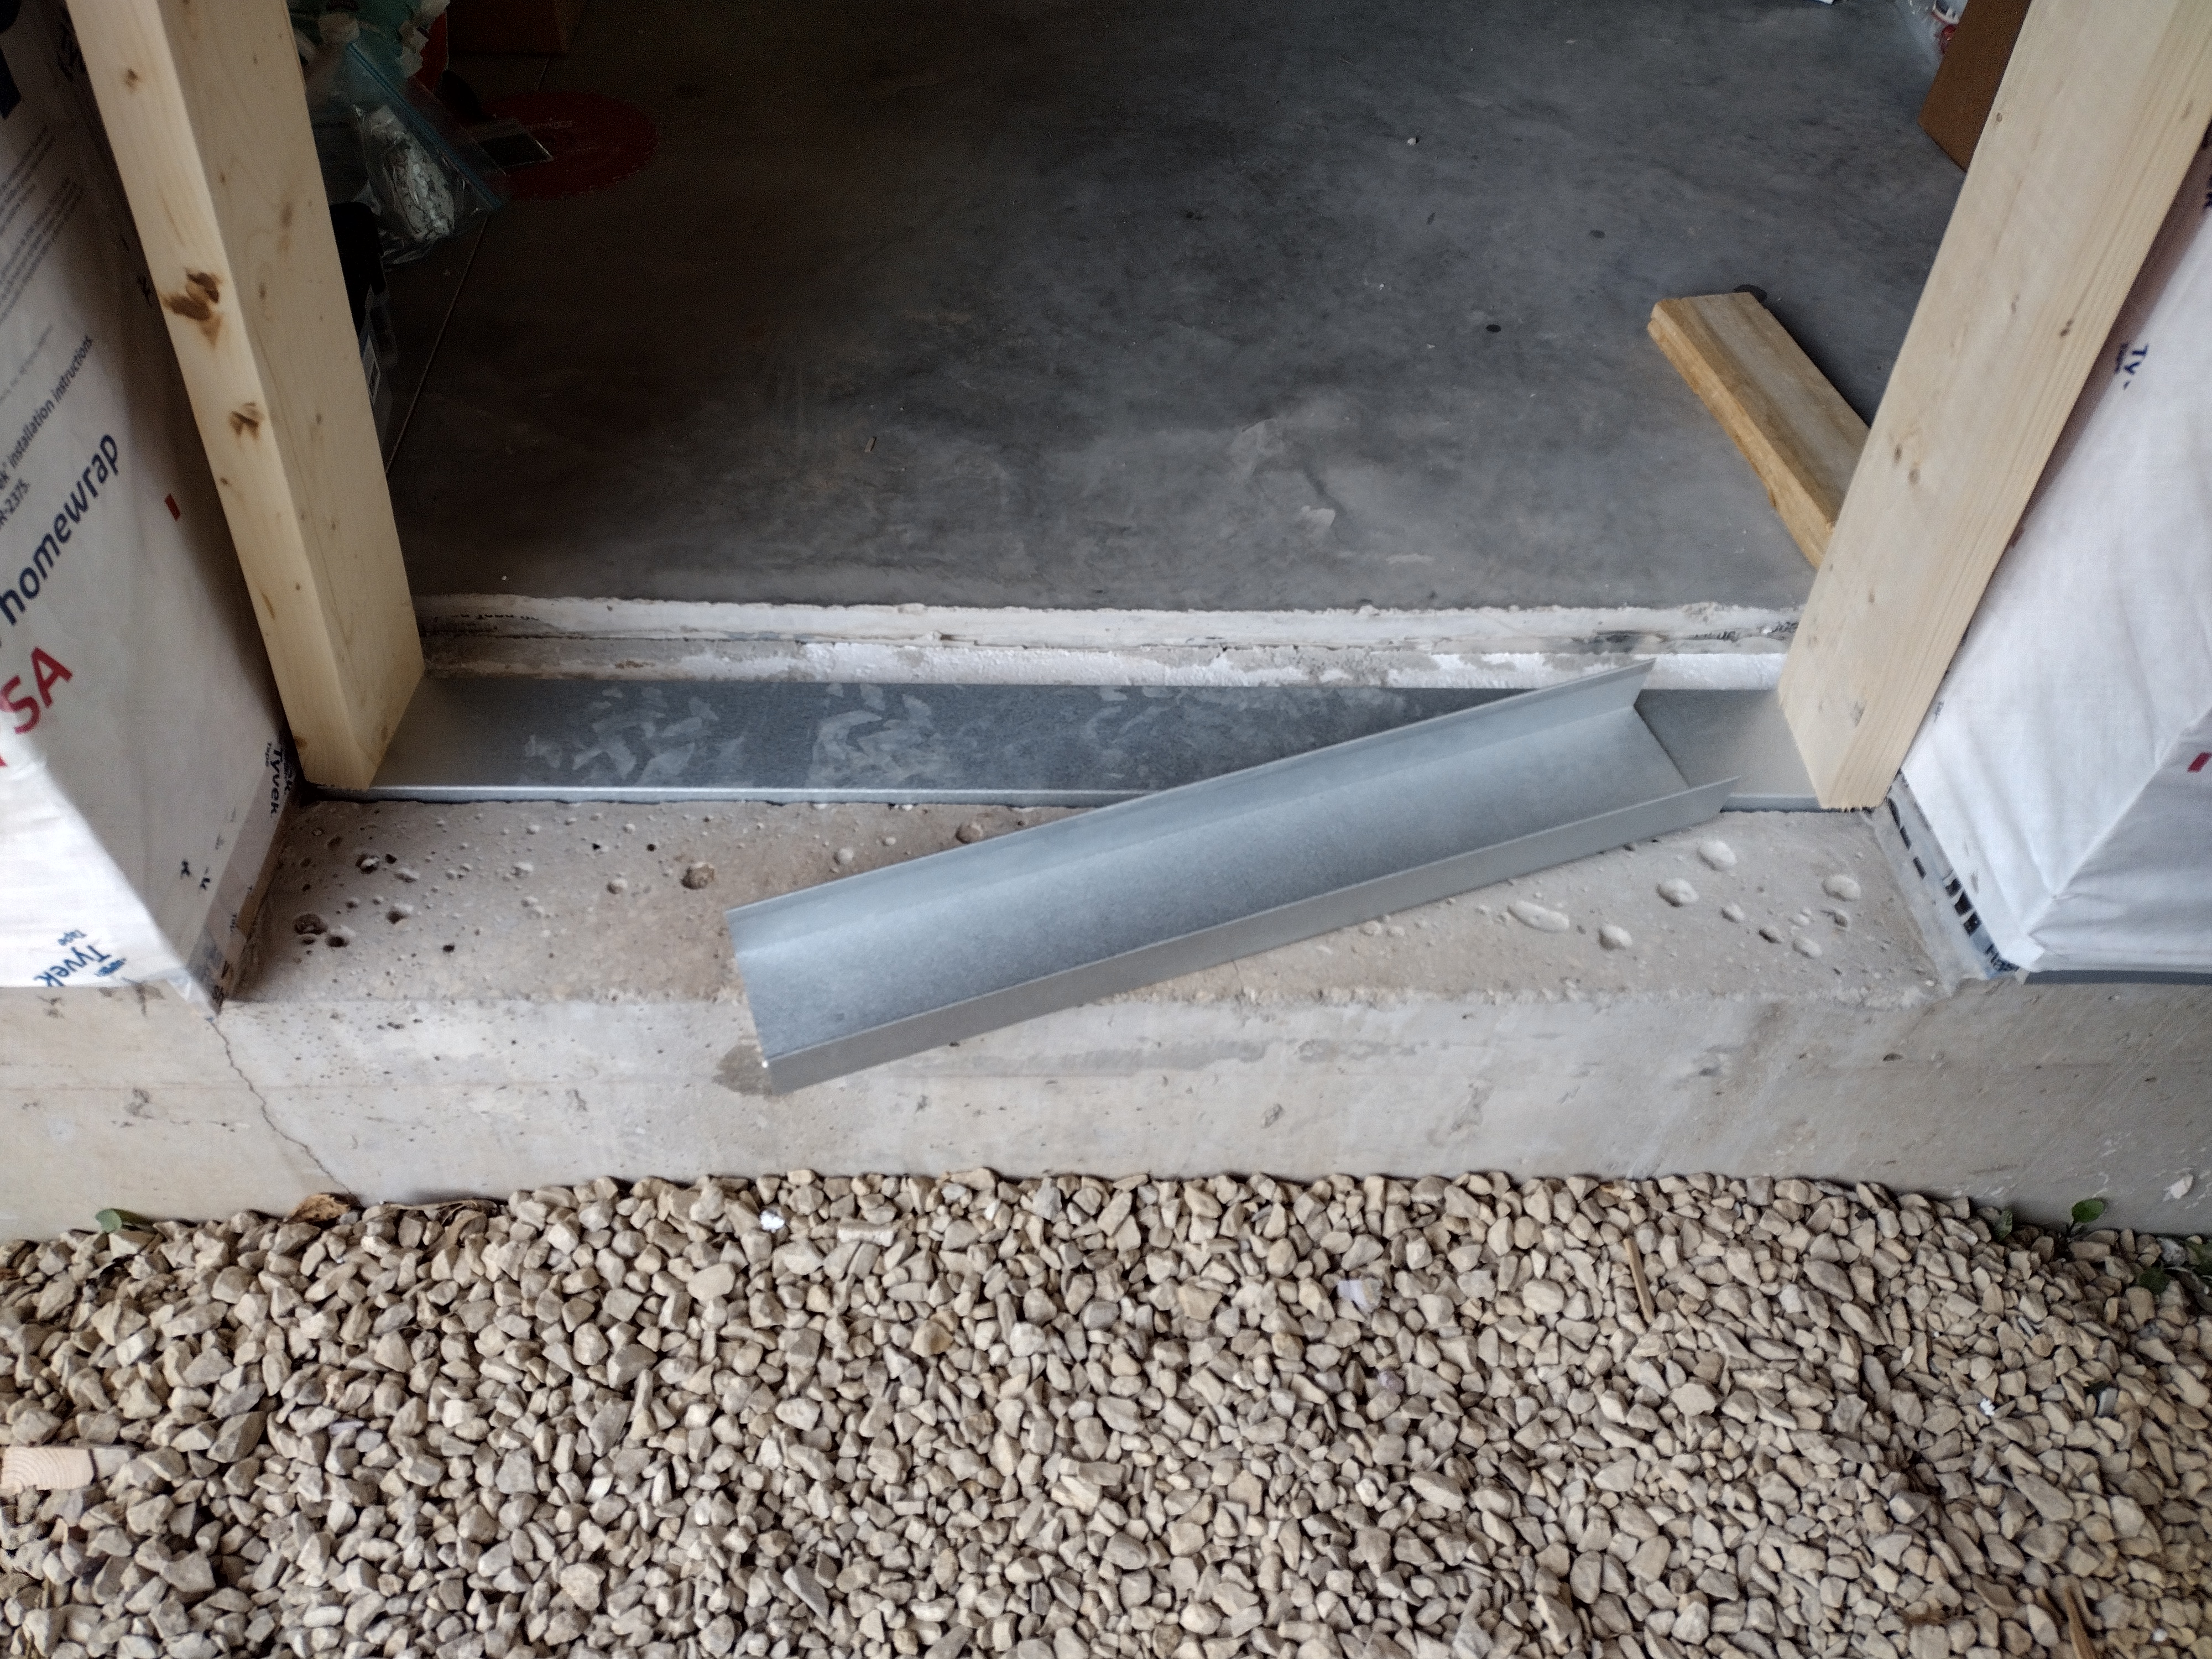

The carpenters secured a piece of plywood and a section of galvanized steel channel over the foam to provide a solid base for the door sill, adjusting it to the exact height needed to flush out with the slab. I caulked and taped and FlexWrapped as before.
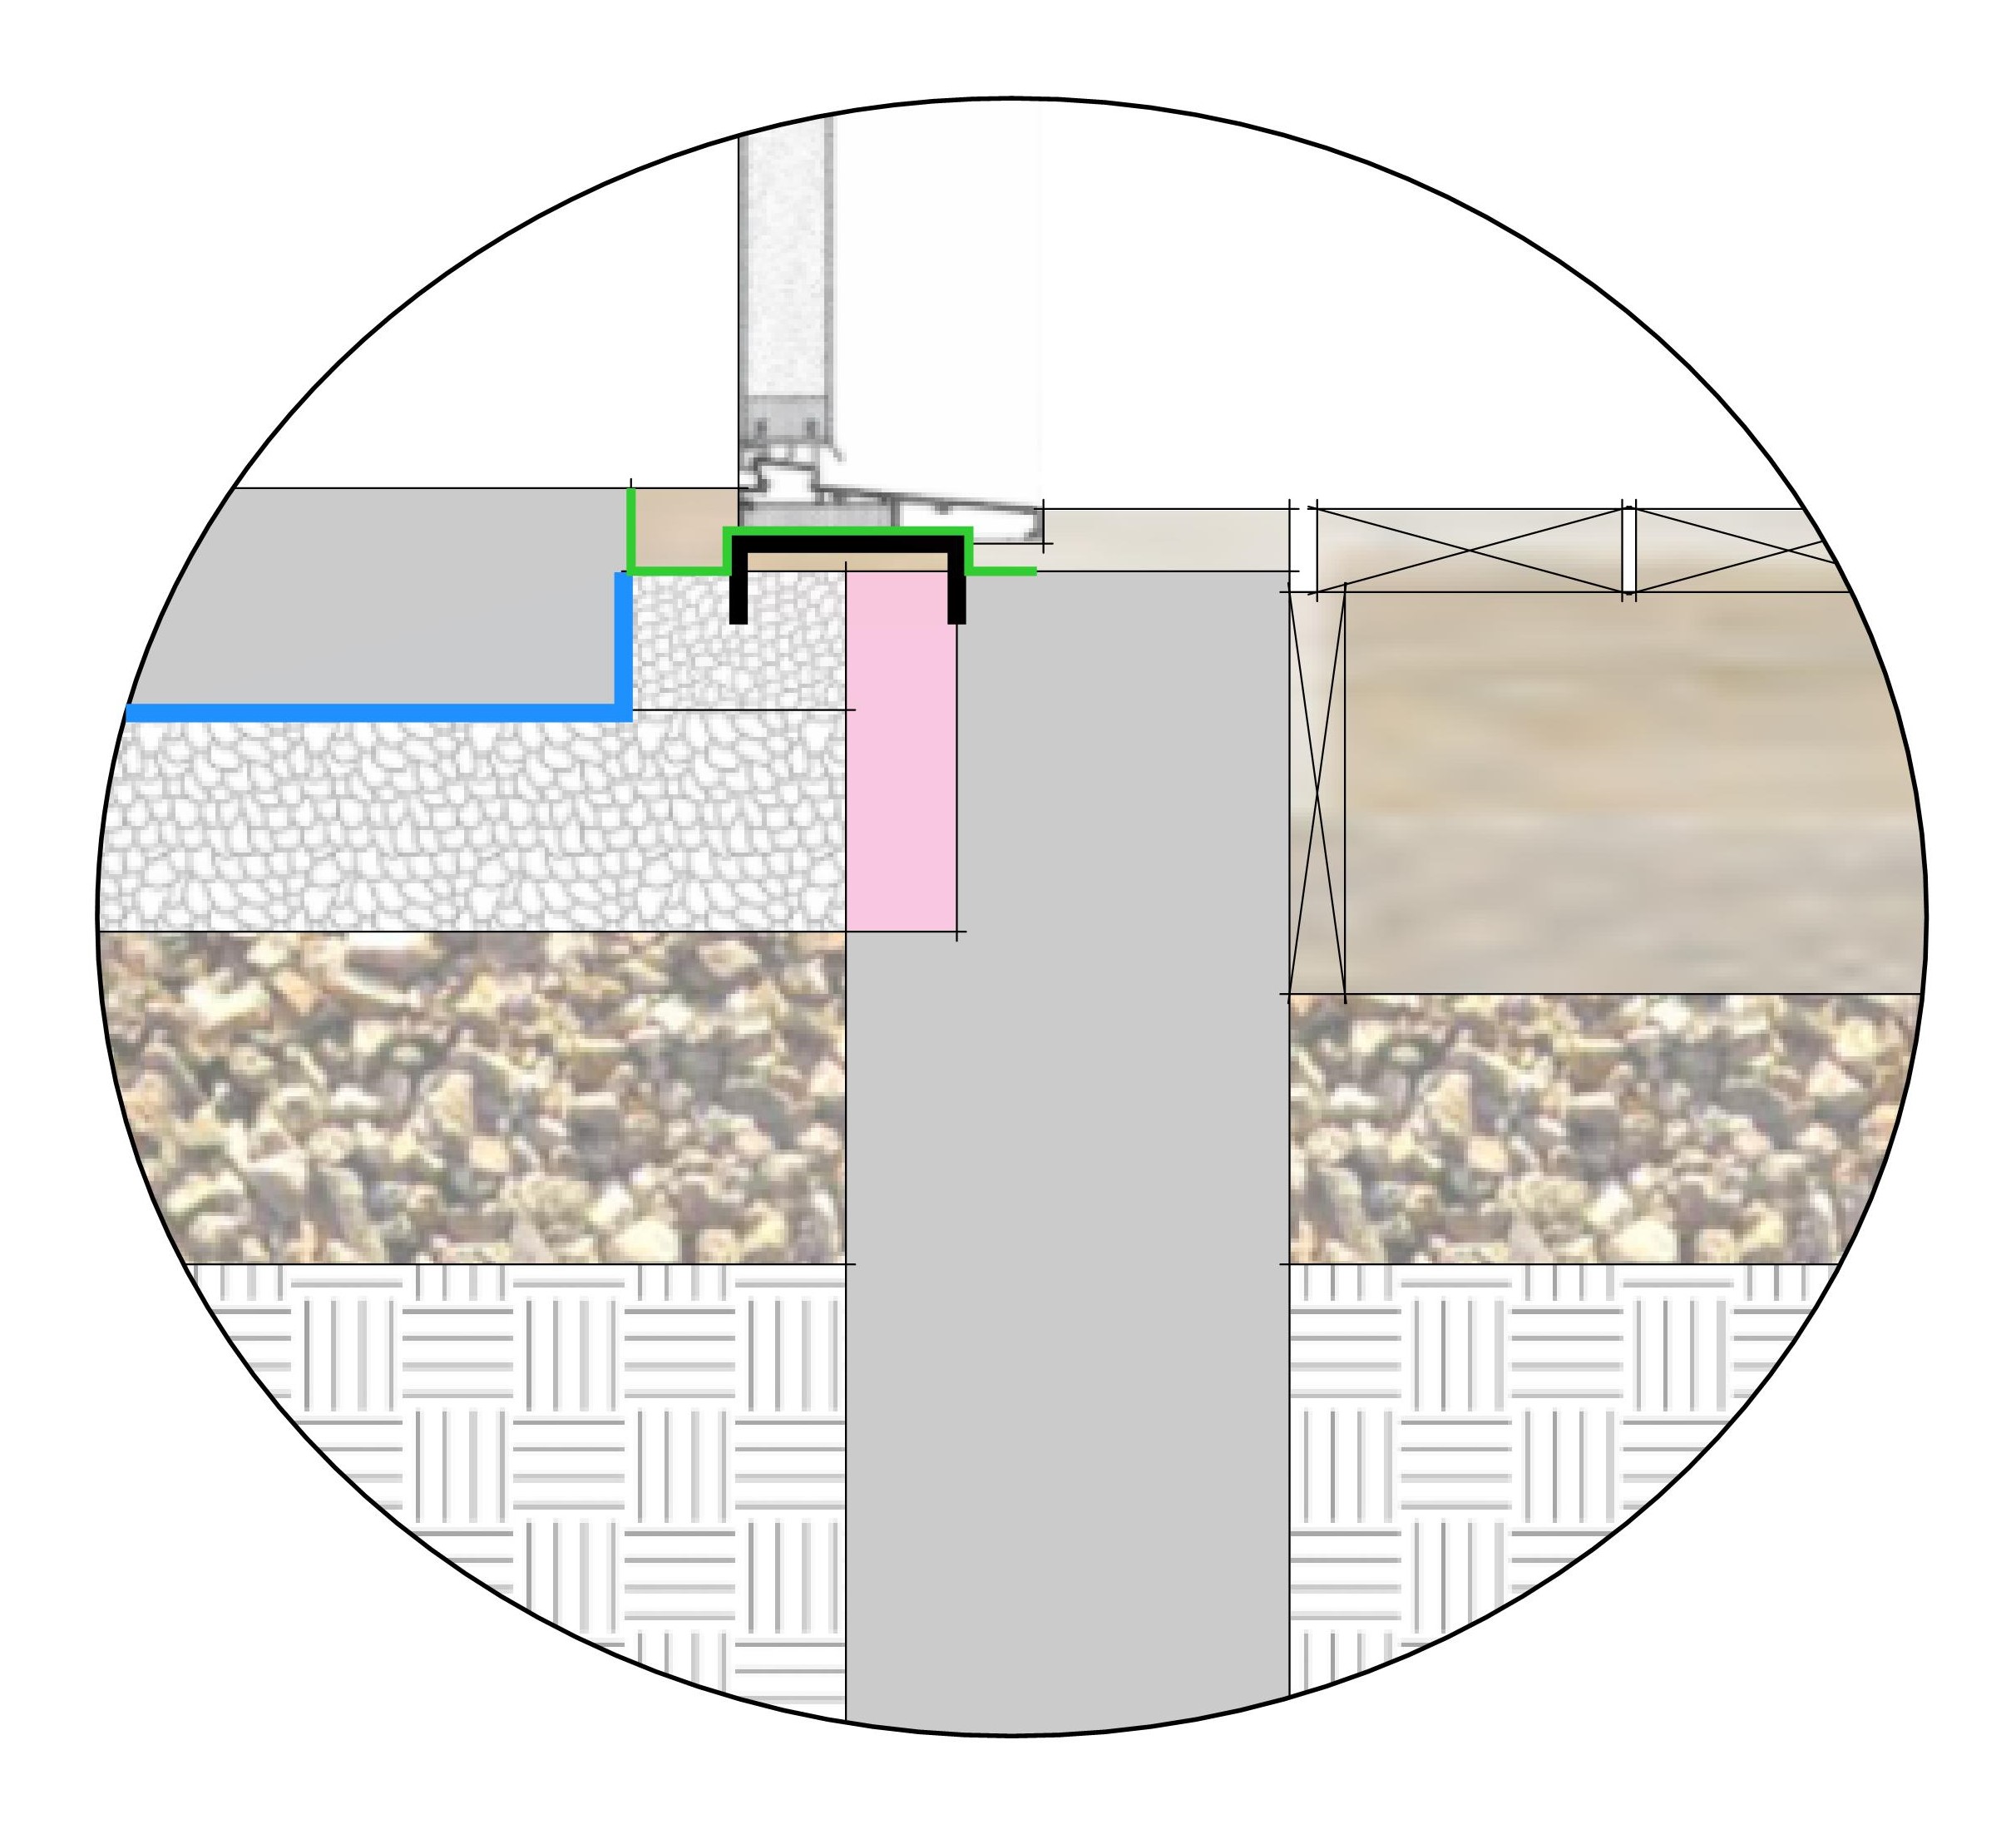
Here is a section drawing showing the front door sill assembly. The green line is the 3M tape paired with FlexWrap to create a waterproof layer over the galvanized steel channel and plywood strip. A deck board will be notched to slip under the door’s aluminum sill to provide support.
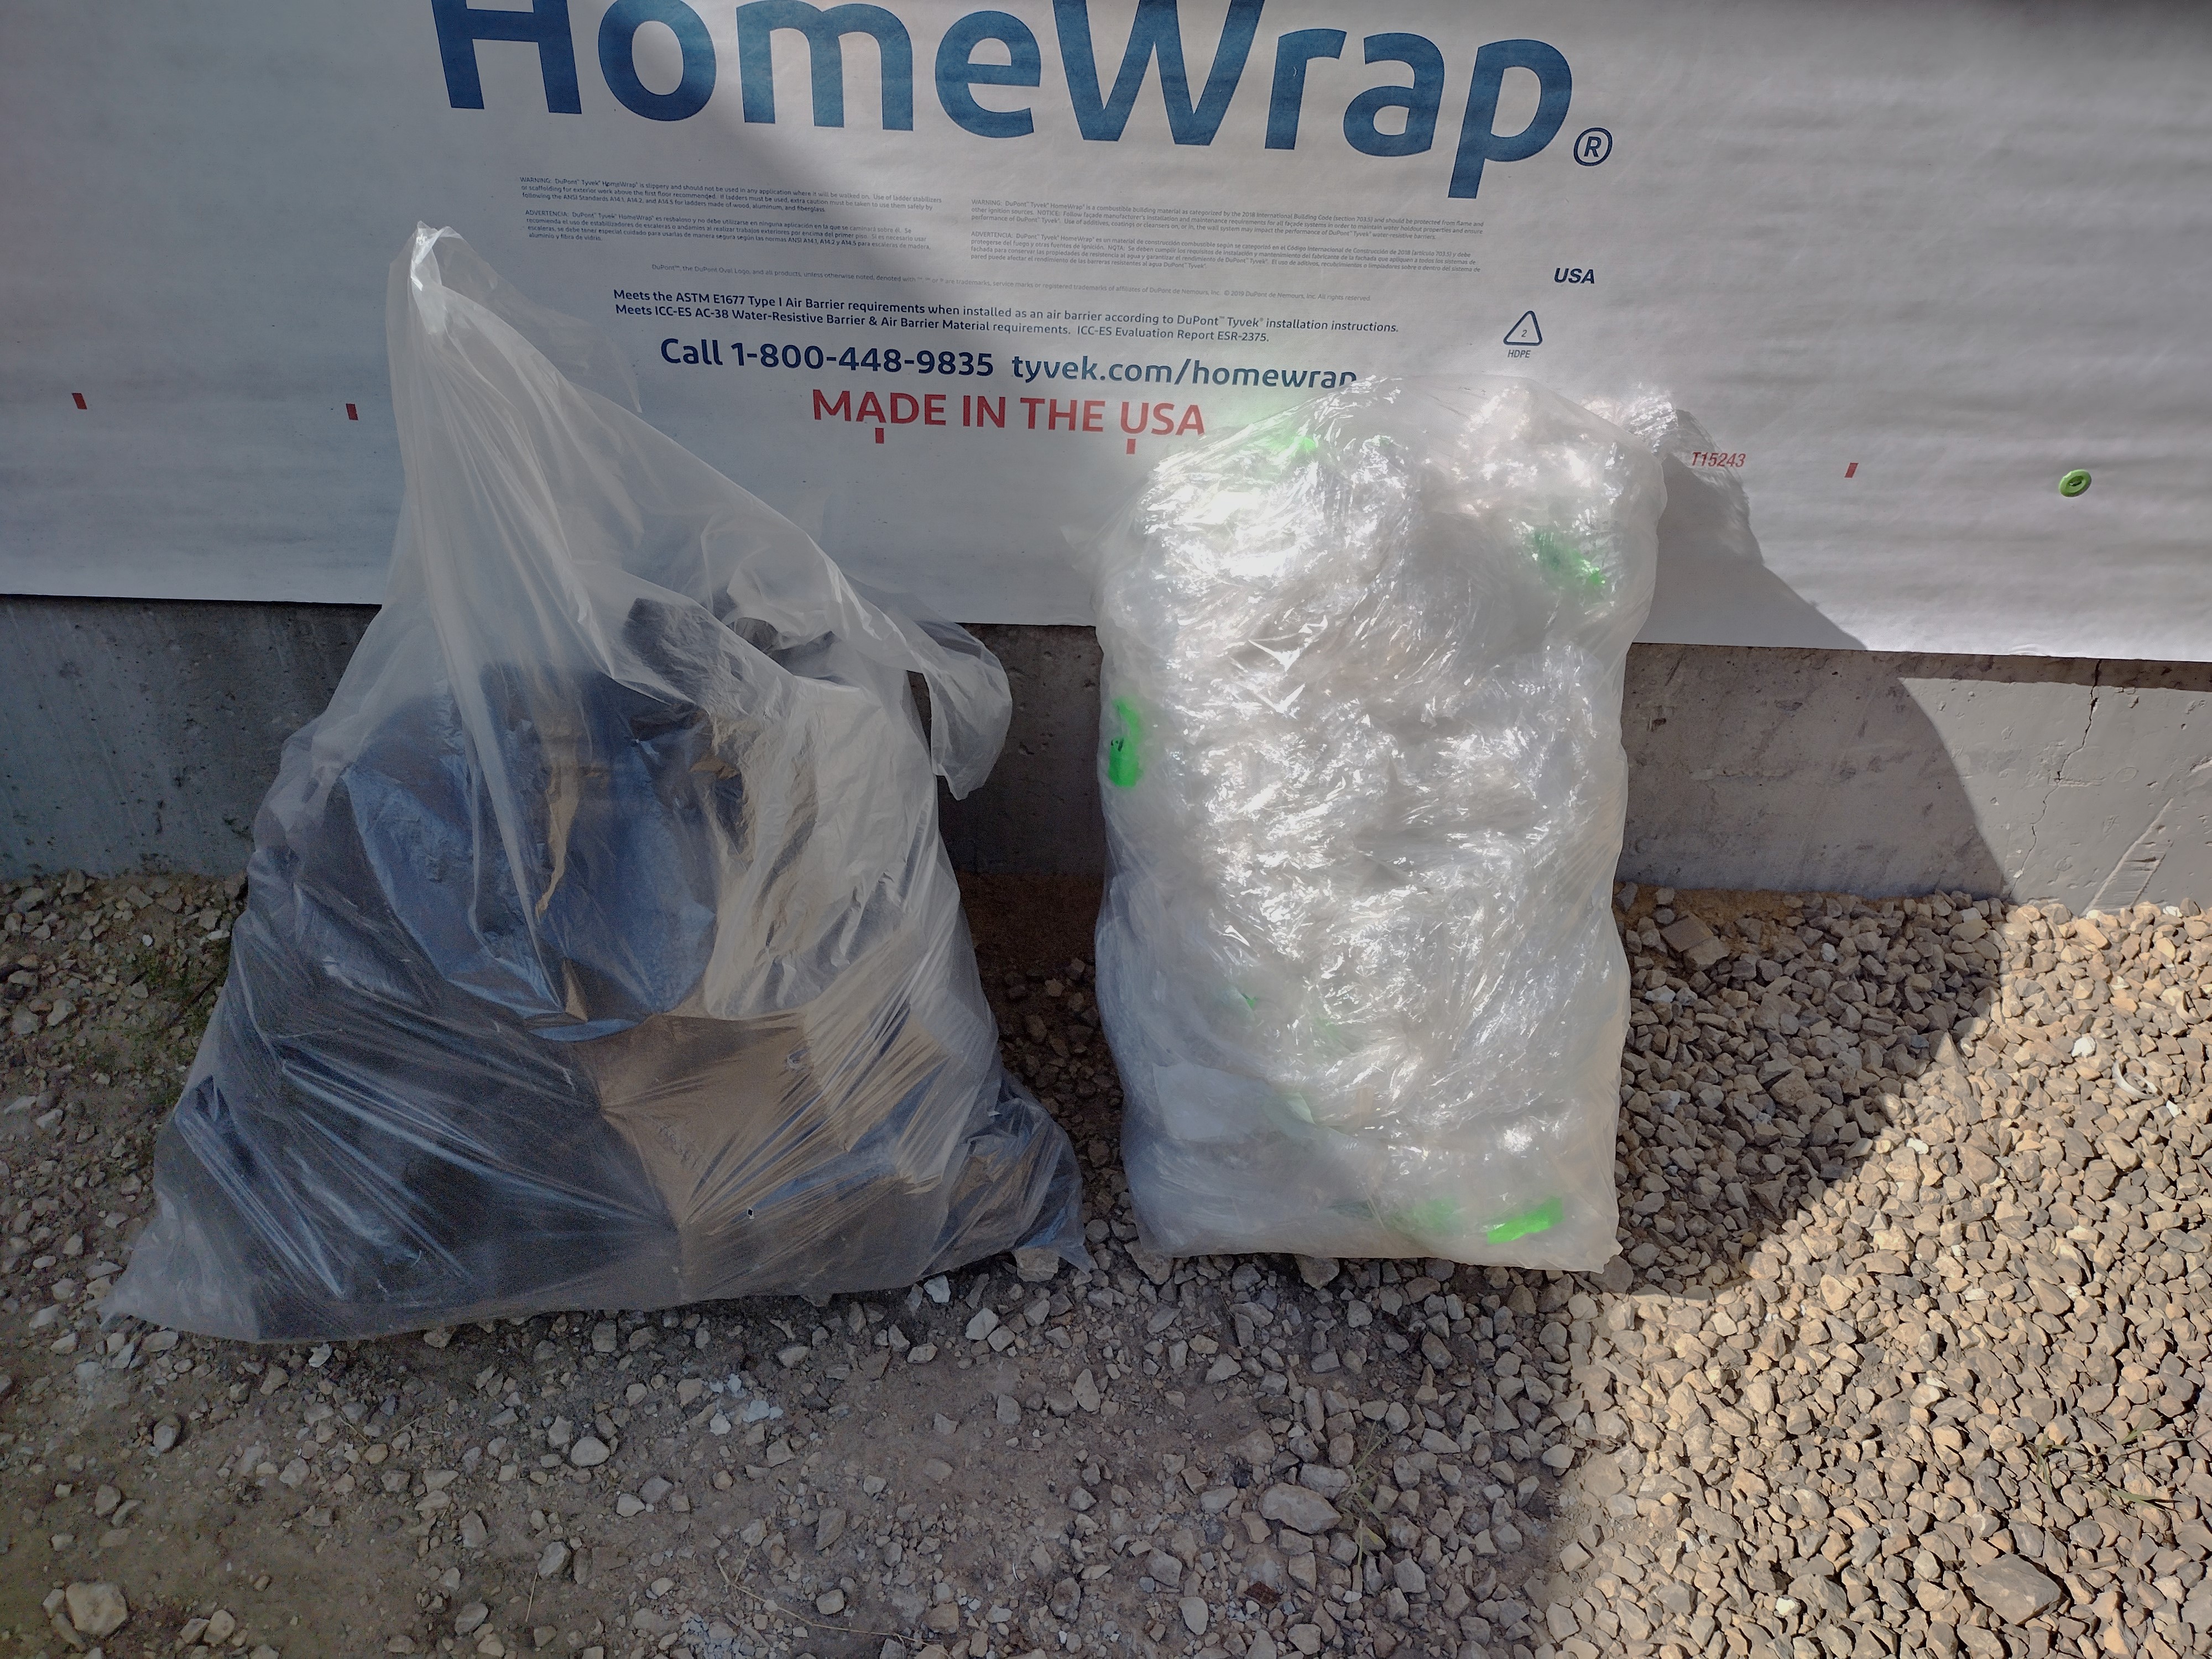
This phase of work generated very little trash. The paper backing from the various tapes used is recyclable as miscellaneous paper. The clear plastic shrink wrap is also recyclable. There wasn’t much cardboard used in the packaging, but each bit was separated out and recycled. Many of the window and door corners came protected with black foam corners, and the heavier units came with black handles. These were coveted by Mike who could use them in his shop when shipping out his cabinetry work.
