September 4-November 22, 2024: While roofing and siding work continued on the exterior, our crew jumped back indoors to build out the perimeter and partition walls so that the mechanical trades could run their lines. The rooms took shape quickly. The soffit and blocking took more time.

For the perimeter walls, the framing crew first tacked the strip of blue vapor barrier, previously draped over the outside stud (see picture right and my previous blog post Exterior Framing), to the underside of the trusses. They then installed a single top plate, instead of the conventional double, to save time and gain just a bit more space for insulation. As a result, 9-foot pre-cut studs would be too short so instead the crew cut down 10-footers, for more-or-less a wash in lumber and labor costs.
Before framing up the partition walls, the crew tacked strips of Certainteed MemBrain vapor-variable retarder to go behind the end studs and above the top plate, shown here in pink.
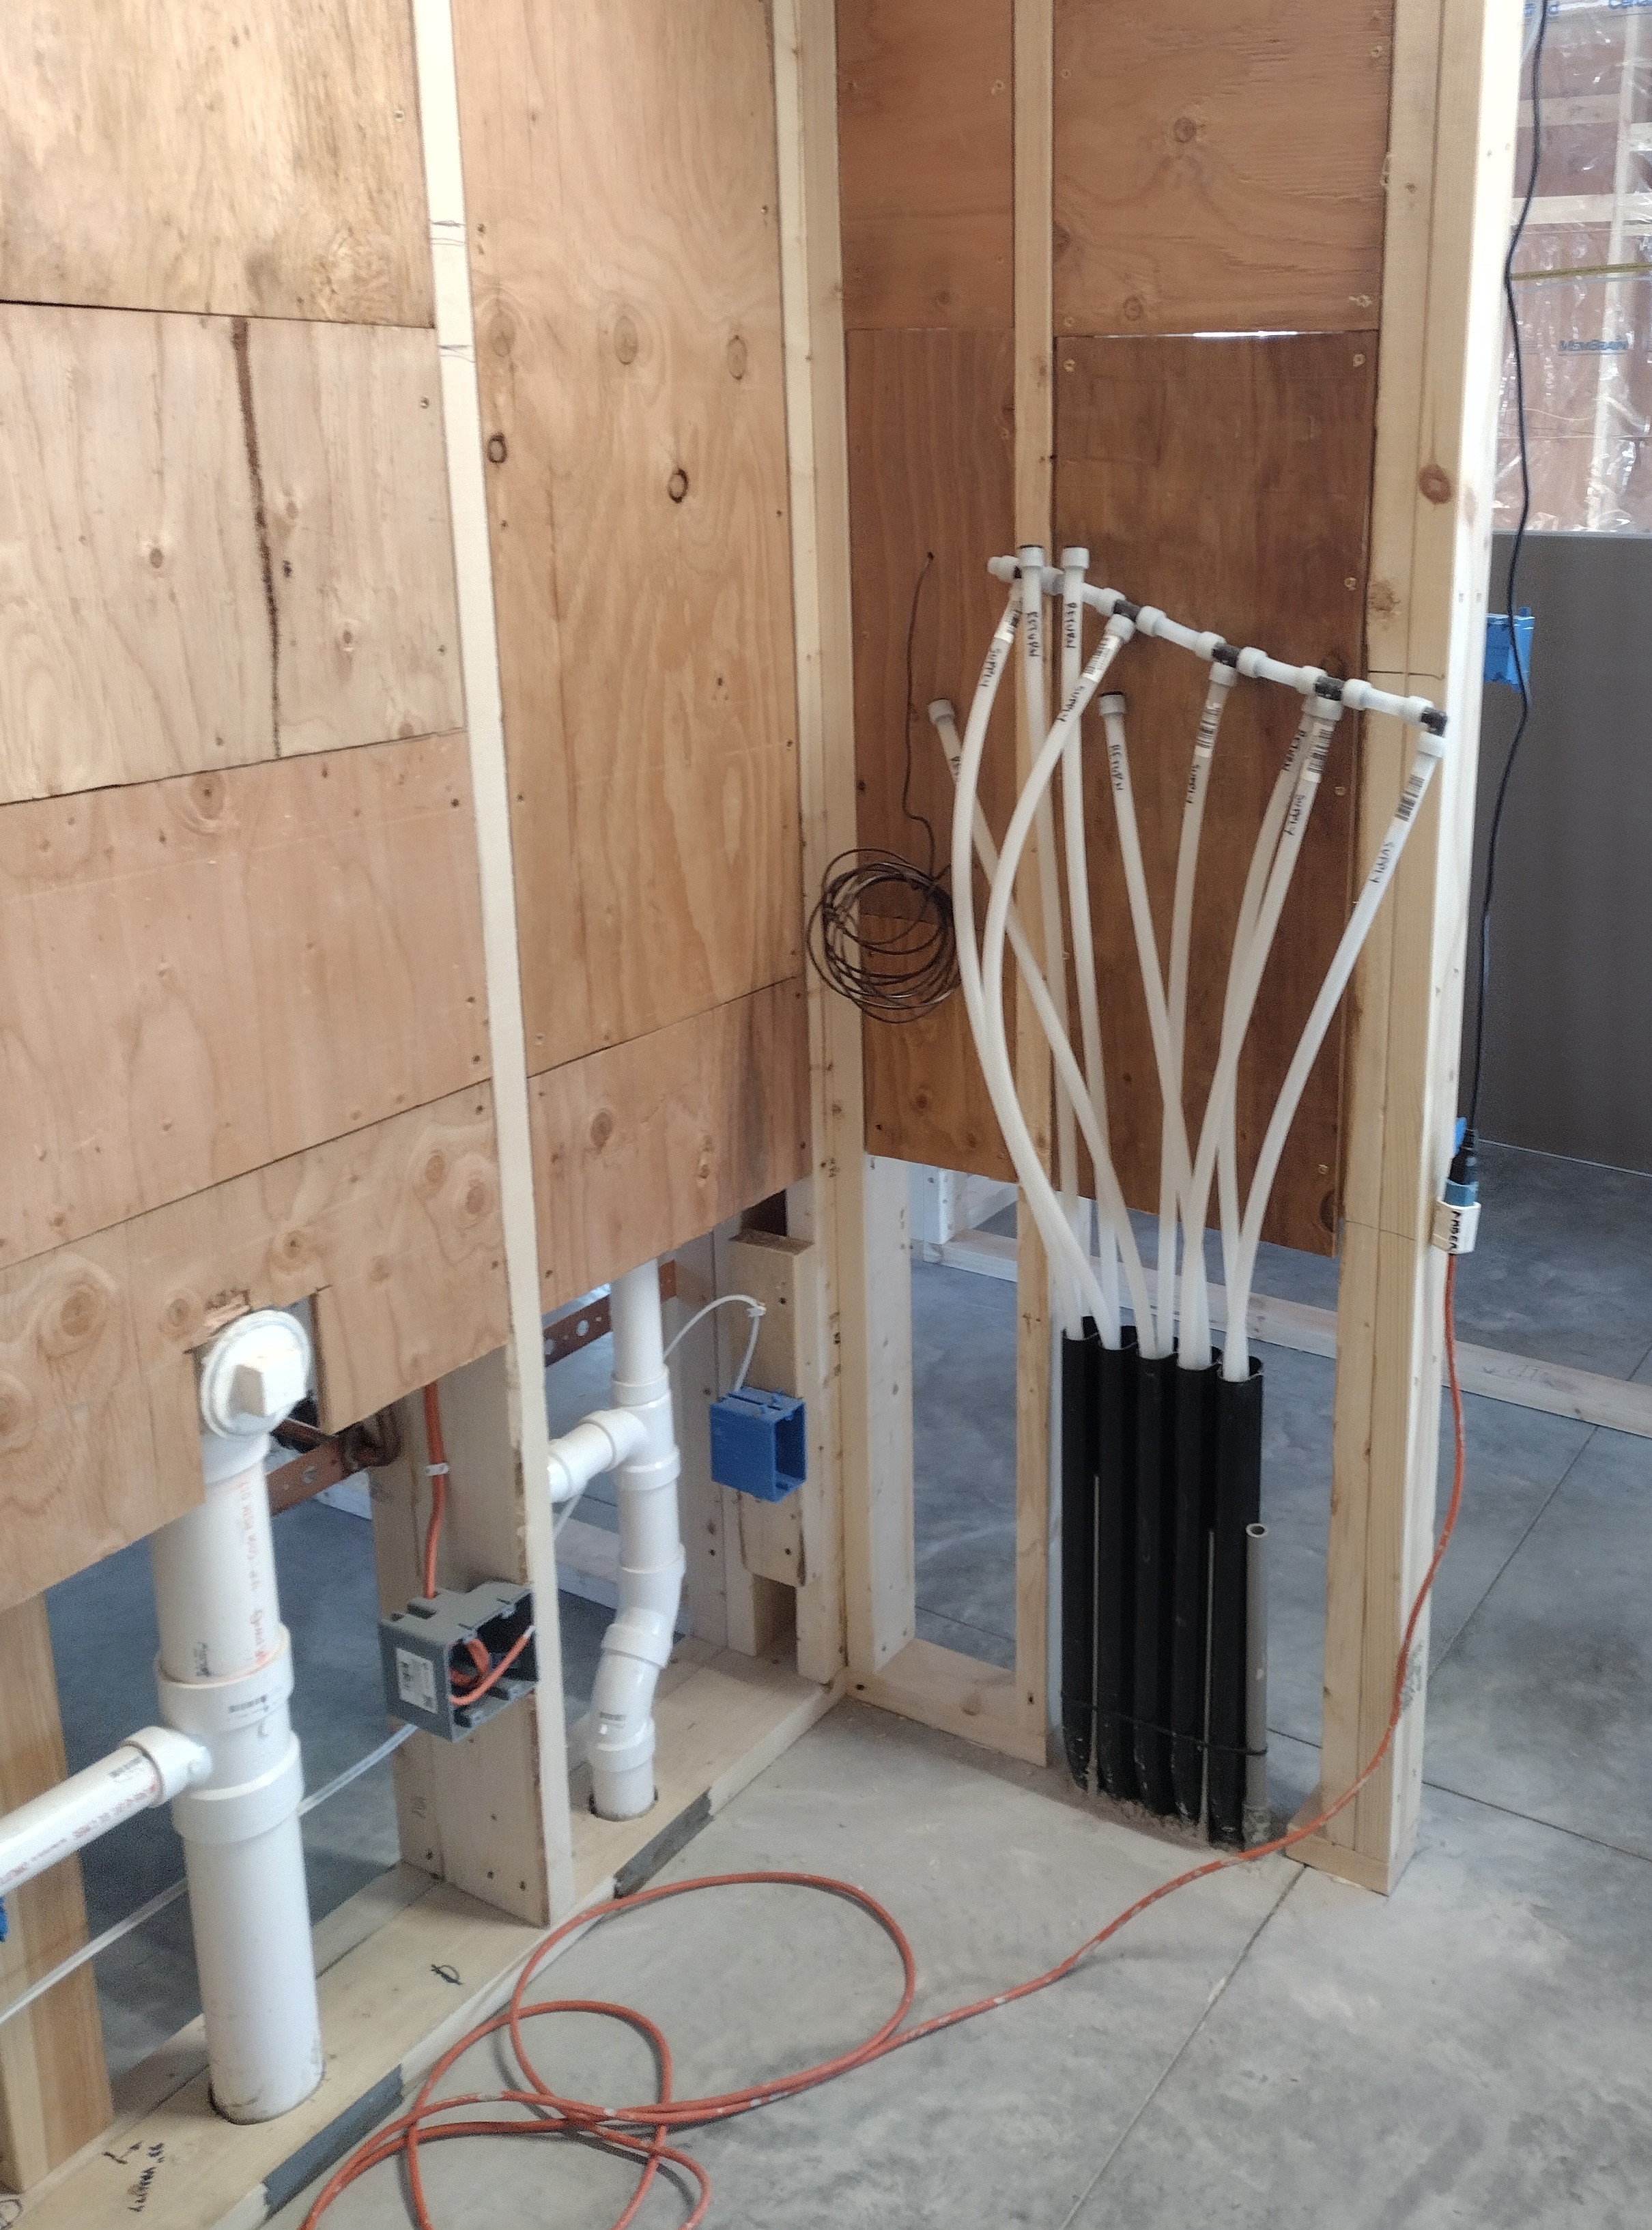
The MemBrain vapor retarder (in reality, clear plastic) can be seen stretched over ladder blocking where these partition walls attach. The copper piping for a hot/cold hose bib in the right hand photo will later be stabilized in place with a block of 2×6. Solid backing is preferred wherever MemBrain seams land and wherever the MemBrain needs to be taped or caulked to a mechanical penetration.

In this picture, the hot/cold hose bib on the opposite side of the house has been secured to a 2×6 block and sealed with DuPont FlexWrap EZ. Blocking is also in place where the kitchen base cabinets will attach to the wall. There’s a piece of plywood visible adjacent to the plumbing pipes—-these gussets are attached to every other stud pair and serve to tie the exterior wall to the interior perimeter wall. Note the bottom plate is air-sealed to the slab with caulk.

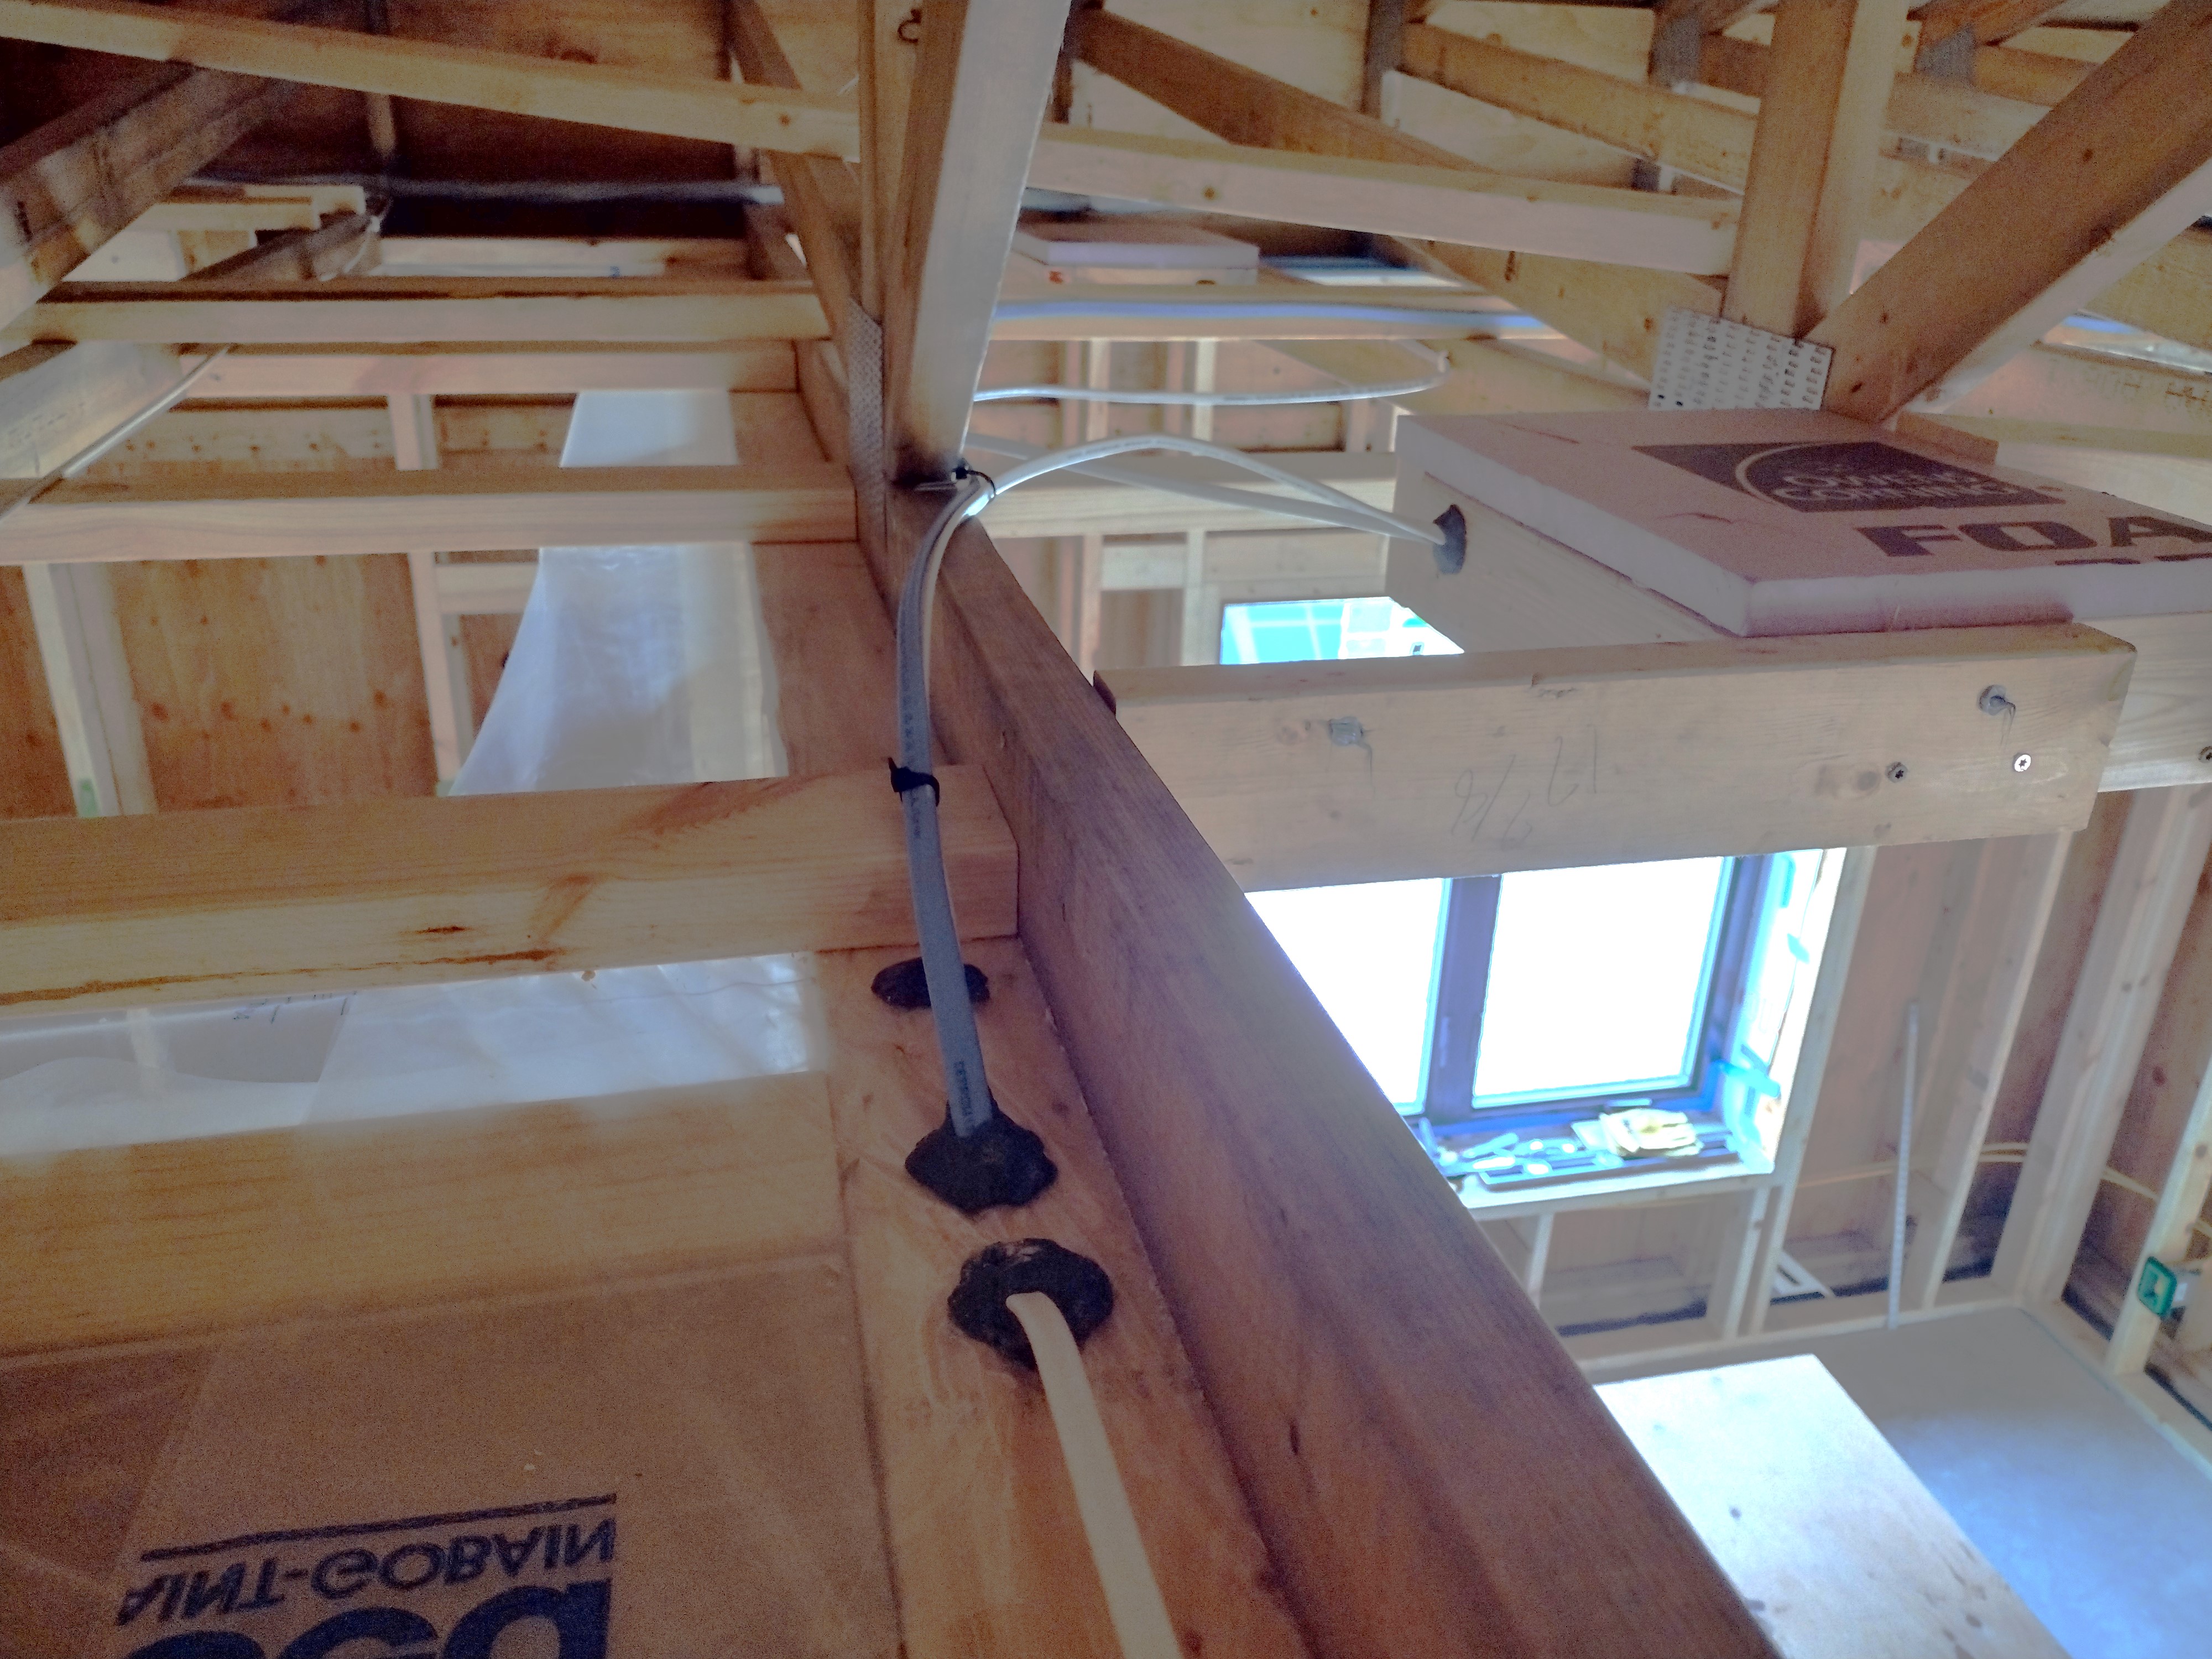
The middle part of the house will have a dropped ceiling, like a soffit, to house ductwork. It will also serve as an architectural feature, defining the circulation areas with a warm and attractive wood ceiling.

An important feature of any energy efficient house is to locate ductwork within the air + thermal envelope—-not buried in the attic’s insulation or worse, laying on top of the attic insulation. The crew extended the vapor retarder across the dropped ceiling areas and installed drywall, which I later mudded and taped.


The crew framed the soffits with 2×4’s, and placed 2×4 or 2×6 blocking wherever needed for the sliding barn doors, kitchen and bath cabinets, wardrobe cabinets, window curtain rods, bathroom grab bars, soap + shampoo niches, and electrical + mechanical penetrations. The electrician began wiring. The gray boxes in the soffit are the drivers for the can lights.
Our “weekend warrior” crew nailed up scraps of plywood on leftover 2×2’s in the mechanical room, for solid backing wherever we anticipated equipment will be hung.

We also busied ourselves making can light boxes out of leftover 2×4’s and Styrofoam. These we installed between the trusses where the finished (drywall) ceiling will be at 9 feet. The boxes are generously sized to fit the LED fixture, its driver (the gray box), and the electricians hand for making the connection after the drywall is hung and a circular hole cut.
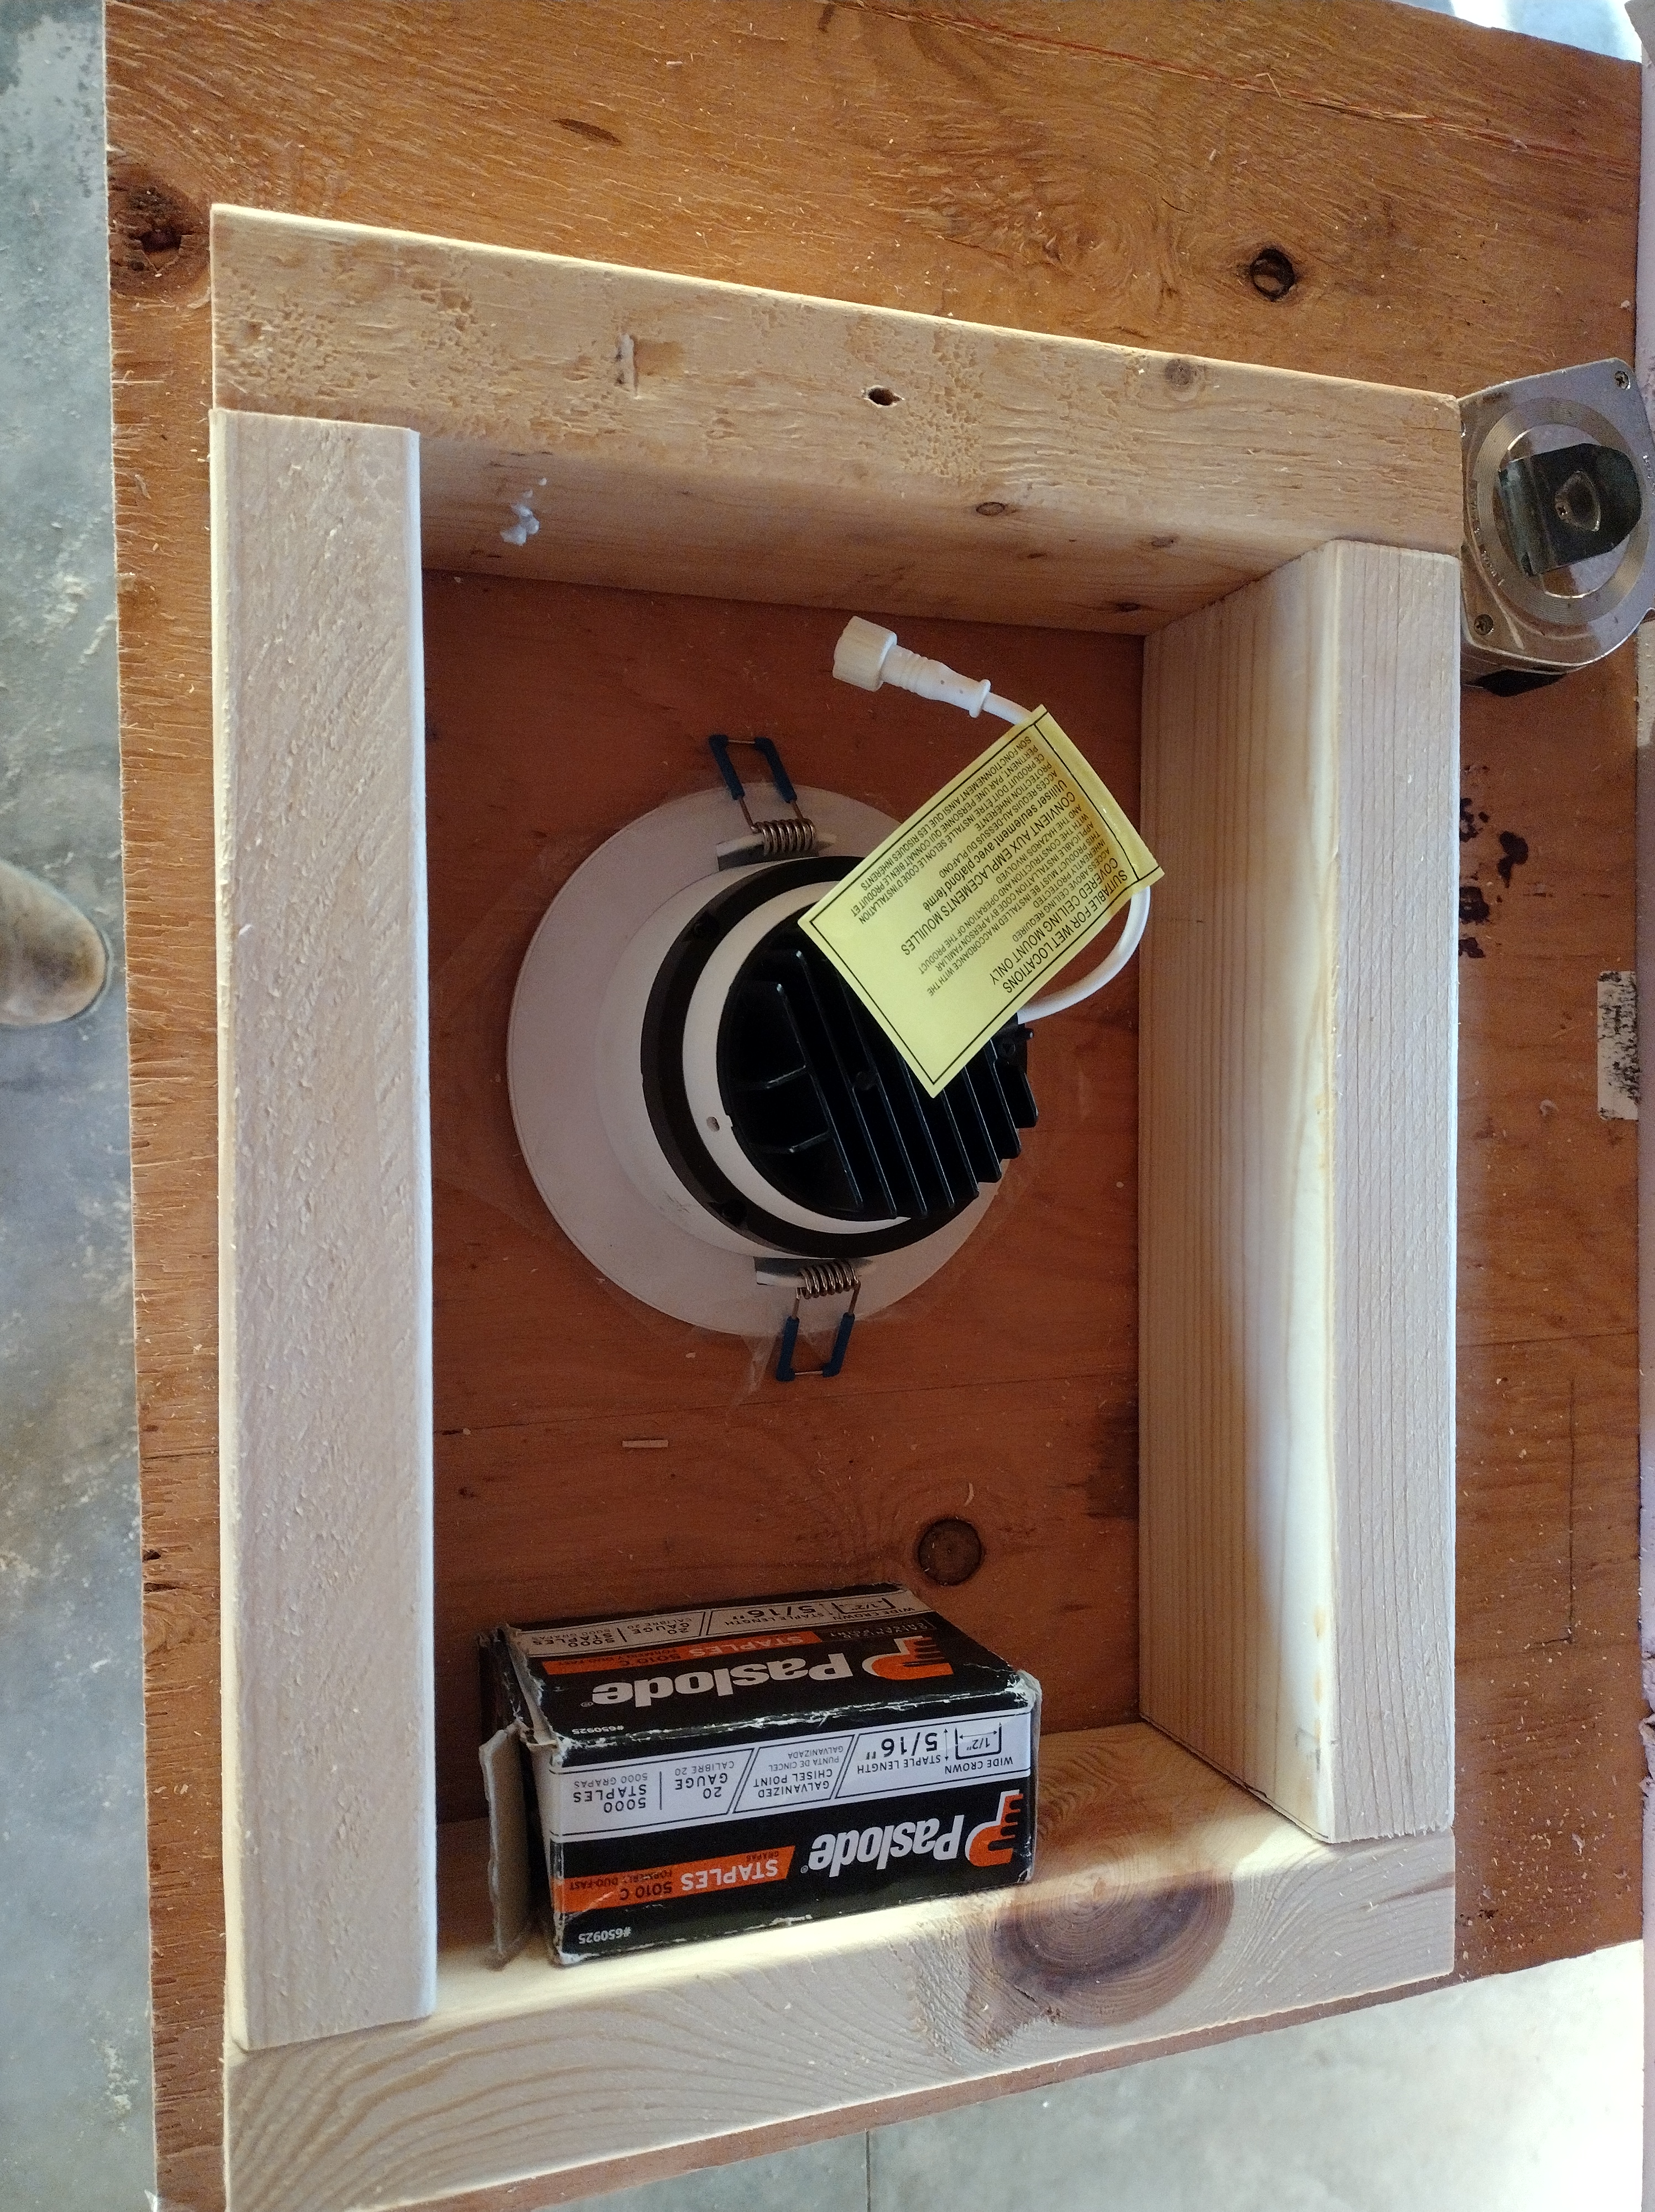
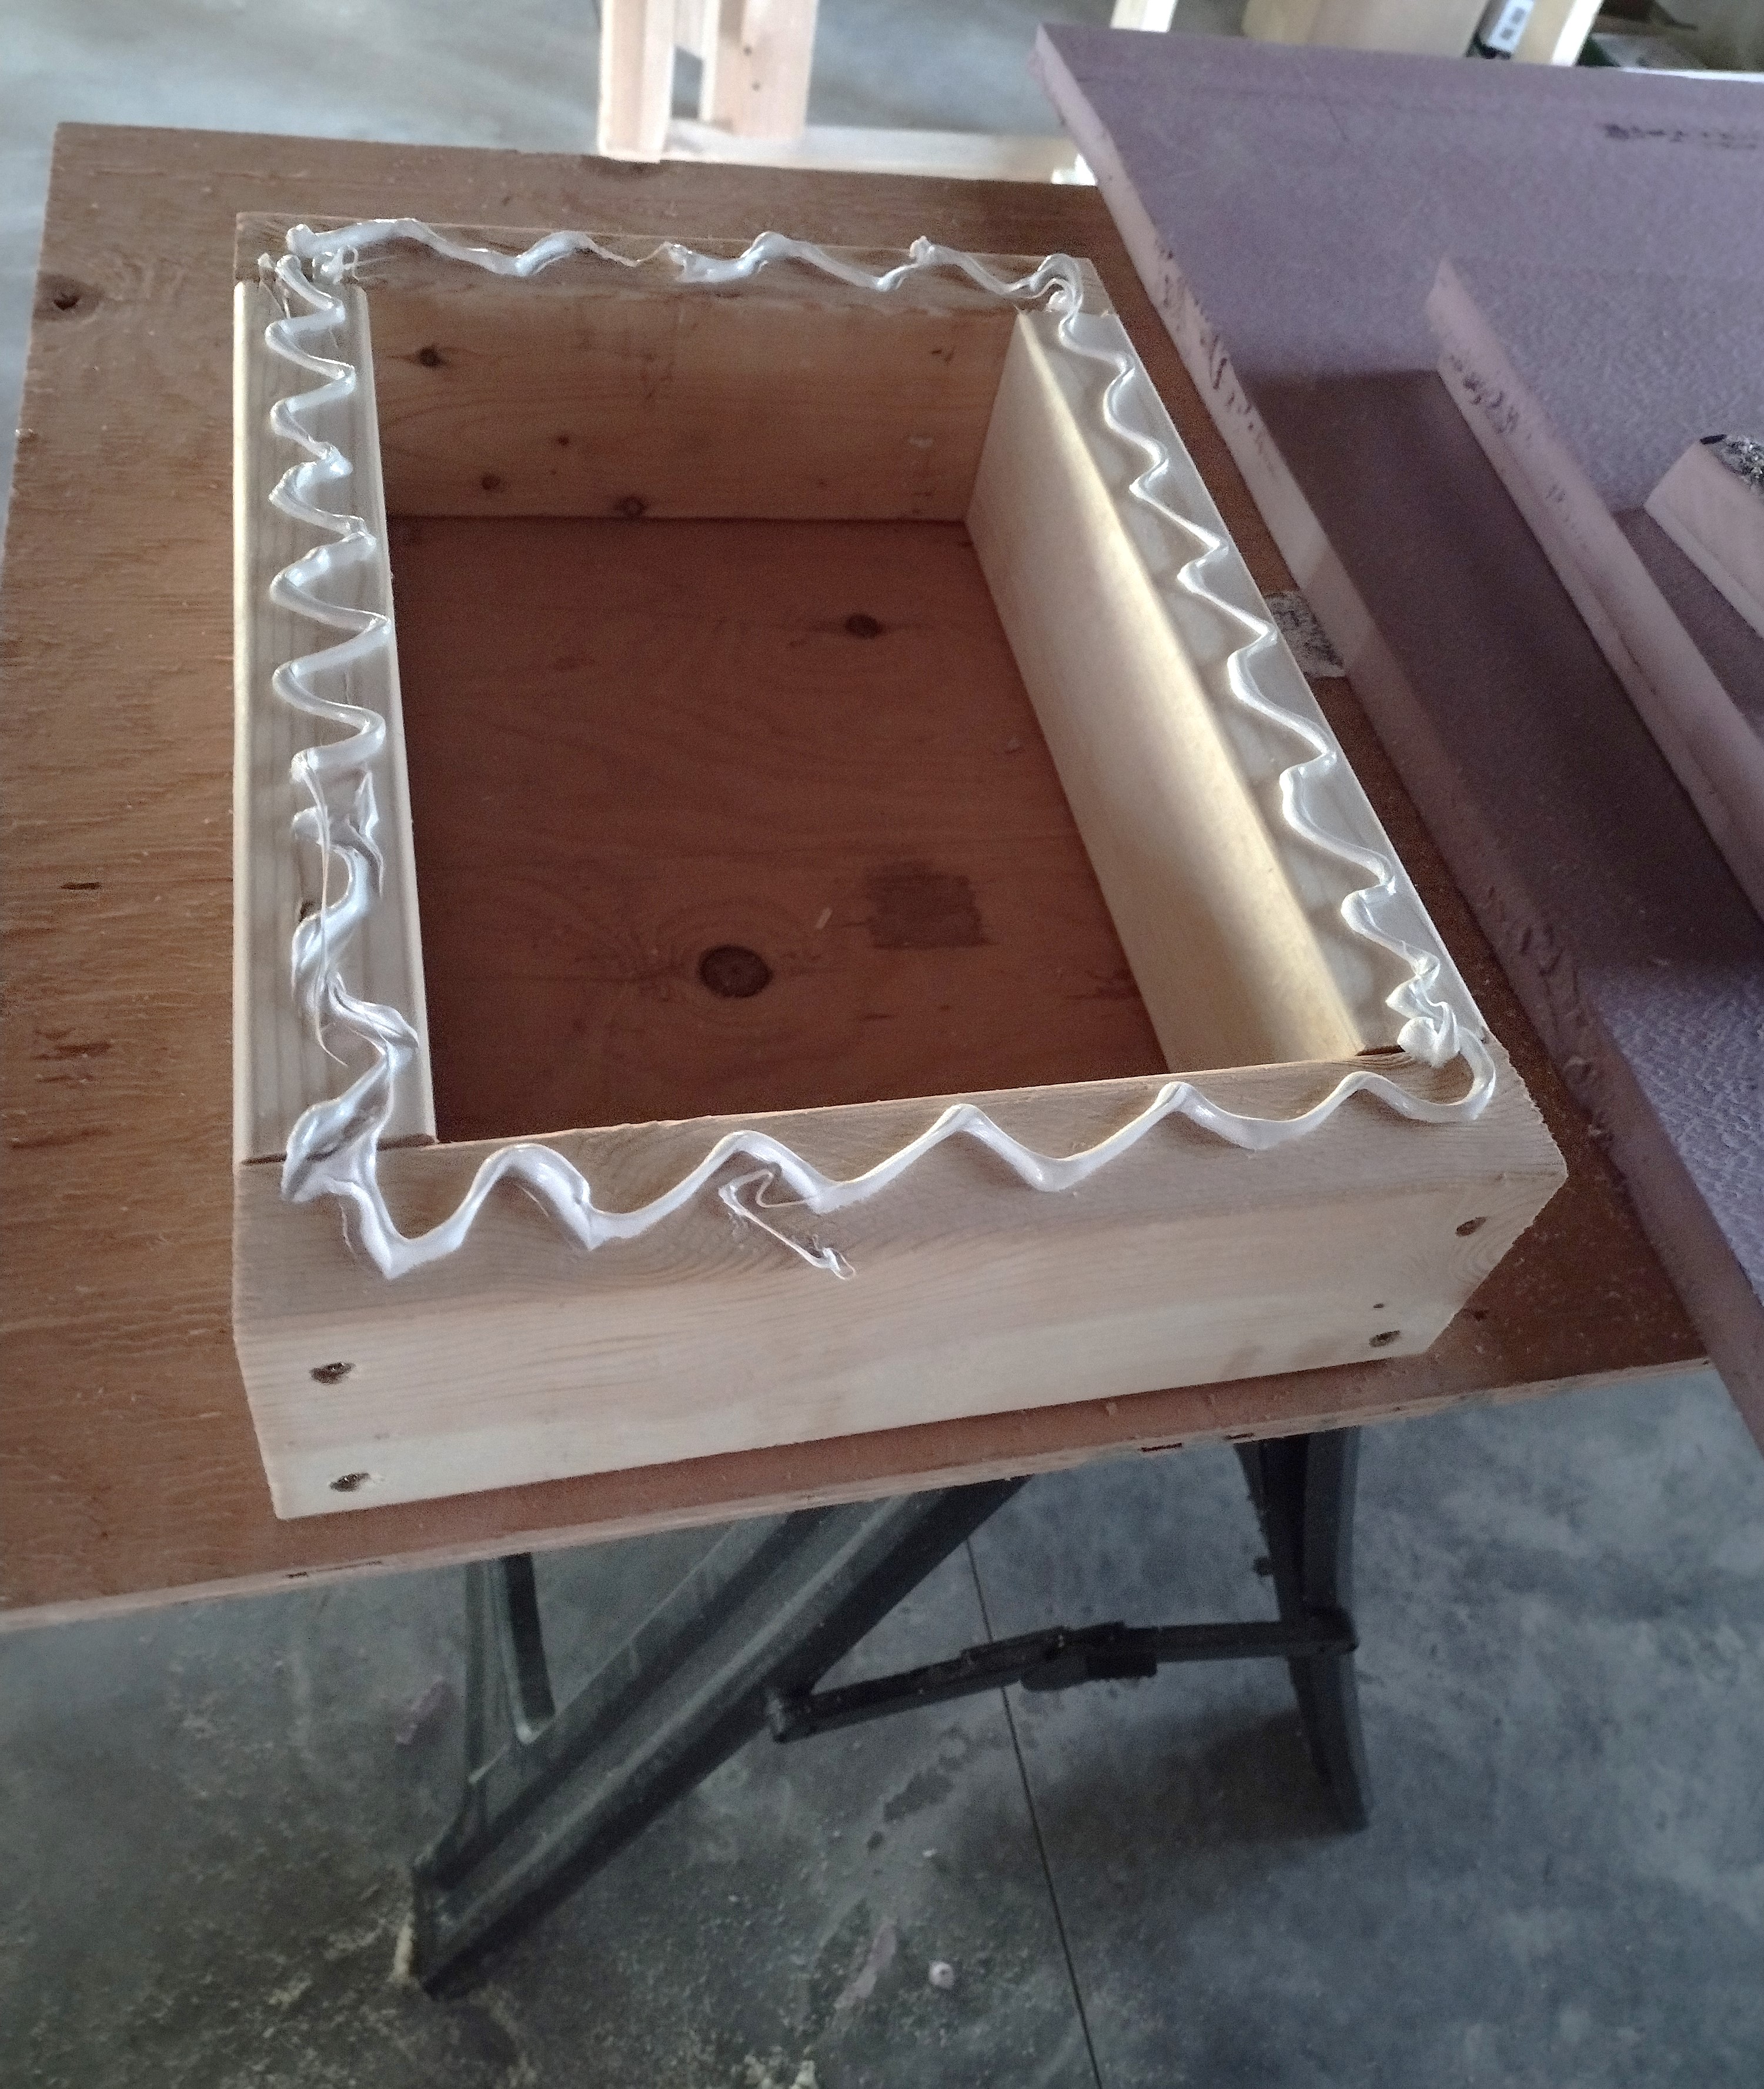
The inside 2×4 joints were caulked and the Styrofoam was sealed to the face with adhesive caulk. These boxes will displace 3-1/2″ of insulation, for a penalty of (3.5) x (3.75) = R12. The attic will be insulated with blown-in cellulose for a settled depth of 16″, which is rated at R-60.
We fashioned an attic hatchway out of scraps of plywood and patched-together sheets of Styrofoam. This foam “plug” can be pushed up and placed out of the way on the adjacent truss framing in the rare instance that access to the attic is needed in the future. It’s air-sealed with weather-stripping.


It was also important to get the wall behind the tub air-sealed before the plumber set the tub. I installed a section of MemBrain, a sheet of drywall, and a waterproof membrane from Schluter, caulked at the perimeter to the framing. Later, a second layer of drywall + Schluter will be installed over this back wall, to overlay the tub’s lip.
With much relief, we got all the parts and pieces in place for the finish carpenters and the mechanical contractors, while along the way doing a bang-up job of air-sealing! This phase of work generated very little waste. Every scrap of wood was saved or sent to recycling, as were the drywall cut-offs. Bits of clear plastic were saved to be recycled later when the entire scope of the vapor retarder work is completed. Foam waste isn’t recyclable in our area; it was sent to the landfill.
