September 25-December 11, 2024: As the mechanical contractors installed their wires, ducts, and pipes our “weekend warrior” crew swooped in behind them to do what we do best: AIR-SEALING. The task of meticulously caulking, taping, and spray foaming any and all type of joints between building materials is what differentiates our job site from the average one.
We’re dedicated to this work. It’s essential for three reasons: to assure the long-term durability of the structure, materials, equipment, and finishes; to help keep the indoor air dust-free, mold-free and dry; and to save on the operational costs of heating, cooling, and filtering the air.
A tangible test of our efforts came with a visit from Joe Paprocki from Trinity Environmental. Joe spent several hours with us inspecting our work and conducting an initial, pre-insulation “blower door test”.

Here’s Joe setting up the blower door equipment. The red tarp is secured to the front door frame to create a tight seal. The fan is powered up gradually until the pull of air out simulates a 20 mph wind bearing down on all sides of the house.
As the house depressurized, the ceiling vapor retarder ballooned and we heard a few pops as several staples lost their hold.
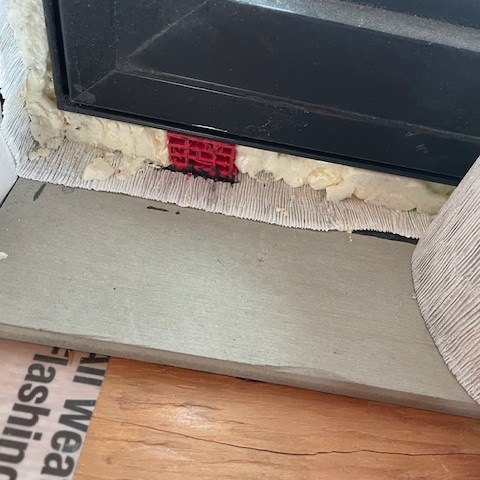

We double-checked that the windows were latched tight and had another look around at the mechanical penetrations we’d spent so many hours sealing to the best of our ability. We knew that replacement or “makeup” air was being forced to come from somewhere. At such pressures, even the smallest pinhole or crack becomes noticeable. The draft can be felt by hand, or seen with the aid of a smoke stick. As it turned out, the only leak Joe could find was from the plastic eggcrate-style shims the crew had used to level the window sills. He recommended we smear caulk across their face to seal their tiny, tiny gaps.
1.45 ACH @50Pa or 0.07 cfm/sf
After checking his gauges and running some numbers, Joe looked up and announced his number. I’d been crossing my fingers for anything under 2. For context, a new home built in Wisconsin can be as leaky as 7.0 ACH (air changes per hour)— literally the number of times per hour the volume of air in the home is replaced with outside air sneaking in through holes in the building shell.
Joe tests all manner of homes in his capacity as a rater for Wisconsin’s Focus on Energy New Homes Program (a utility-funded agency charged with helping builders and home owners achieve certification in energy-efficiency). The program requires a final post-occupancy blower door test equivalent to approximately 4.4 ACH (depending on the size of the home). Our score is the lowest or nearly so in the program’s history, and will no doubt drop to half that or less when the house is fully insulated and drywalled and we have him back for the final test.
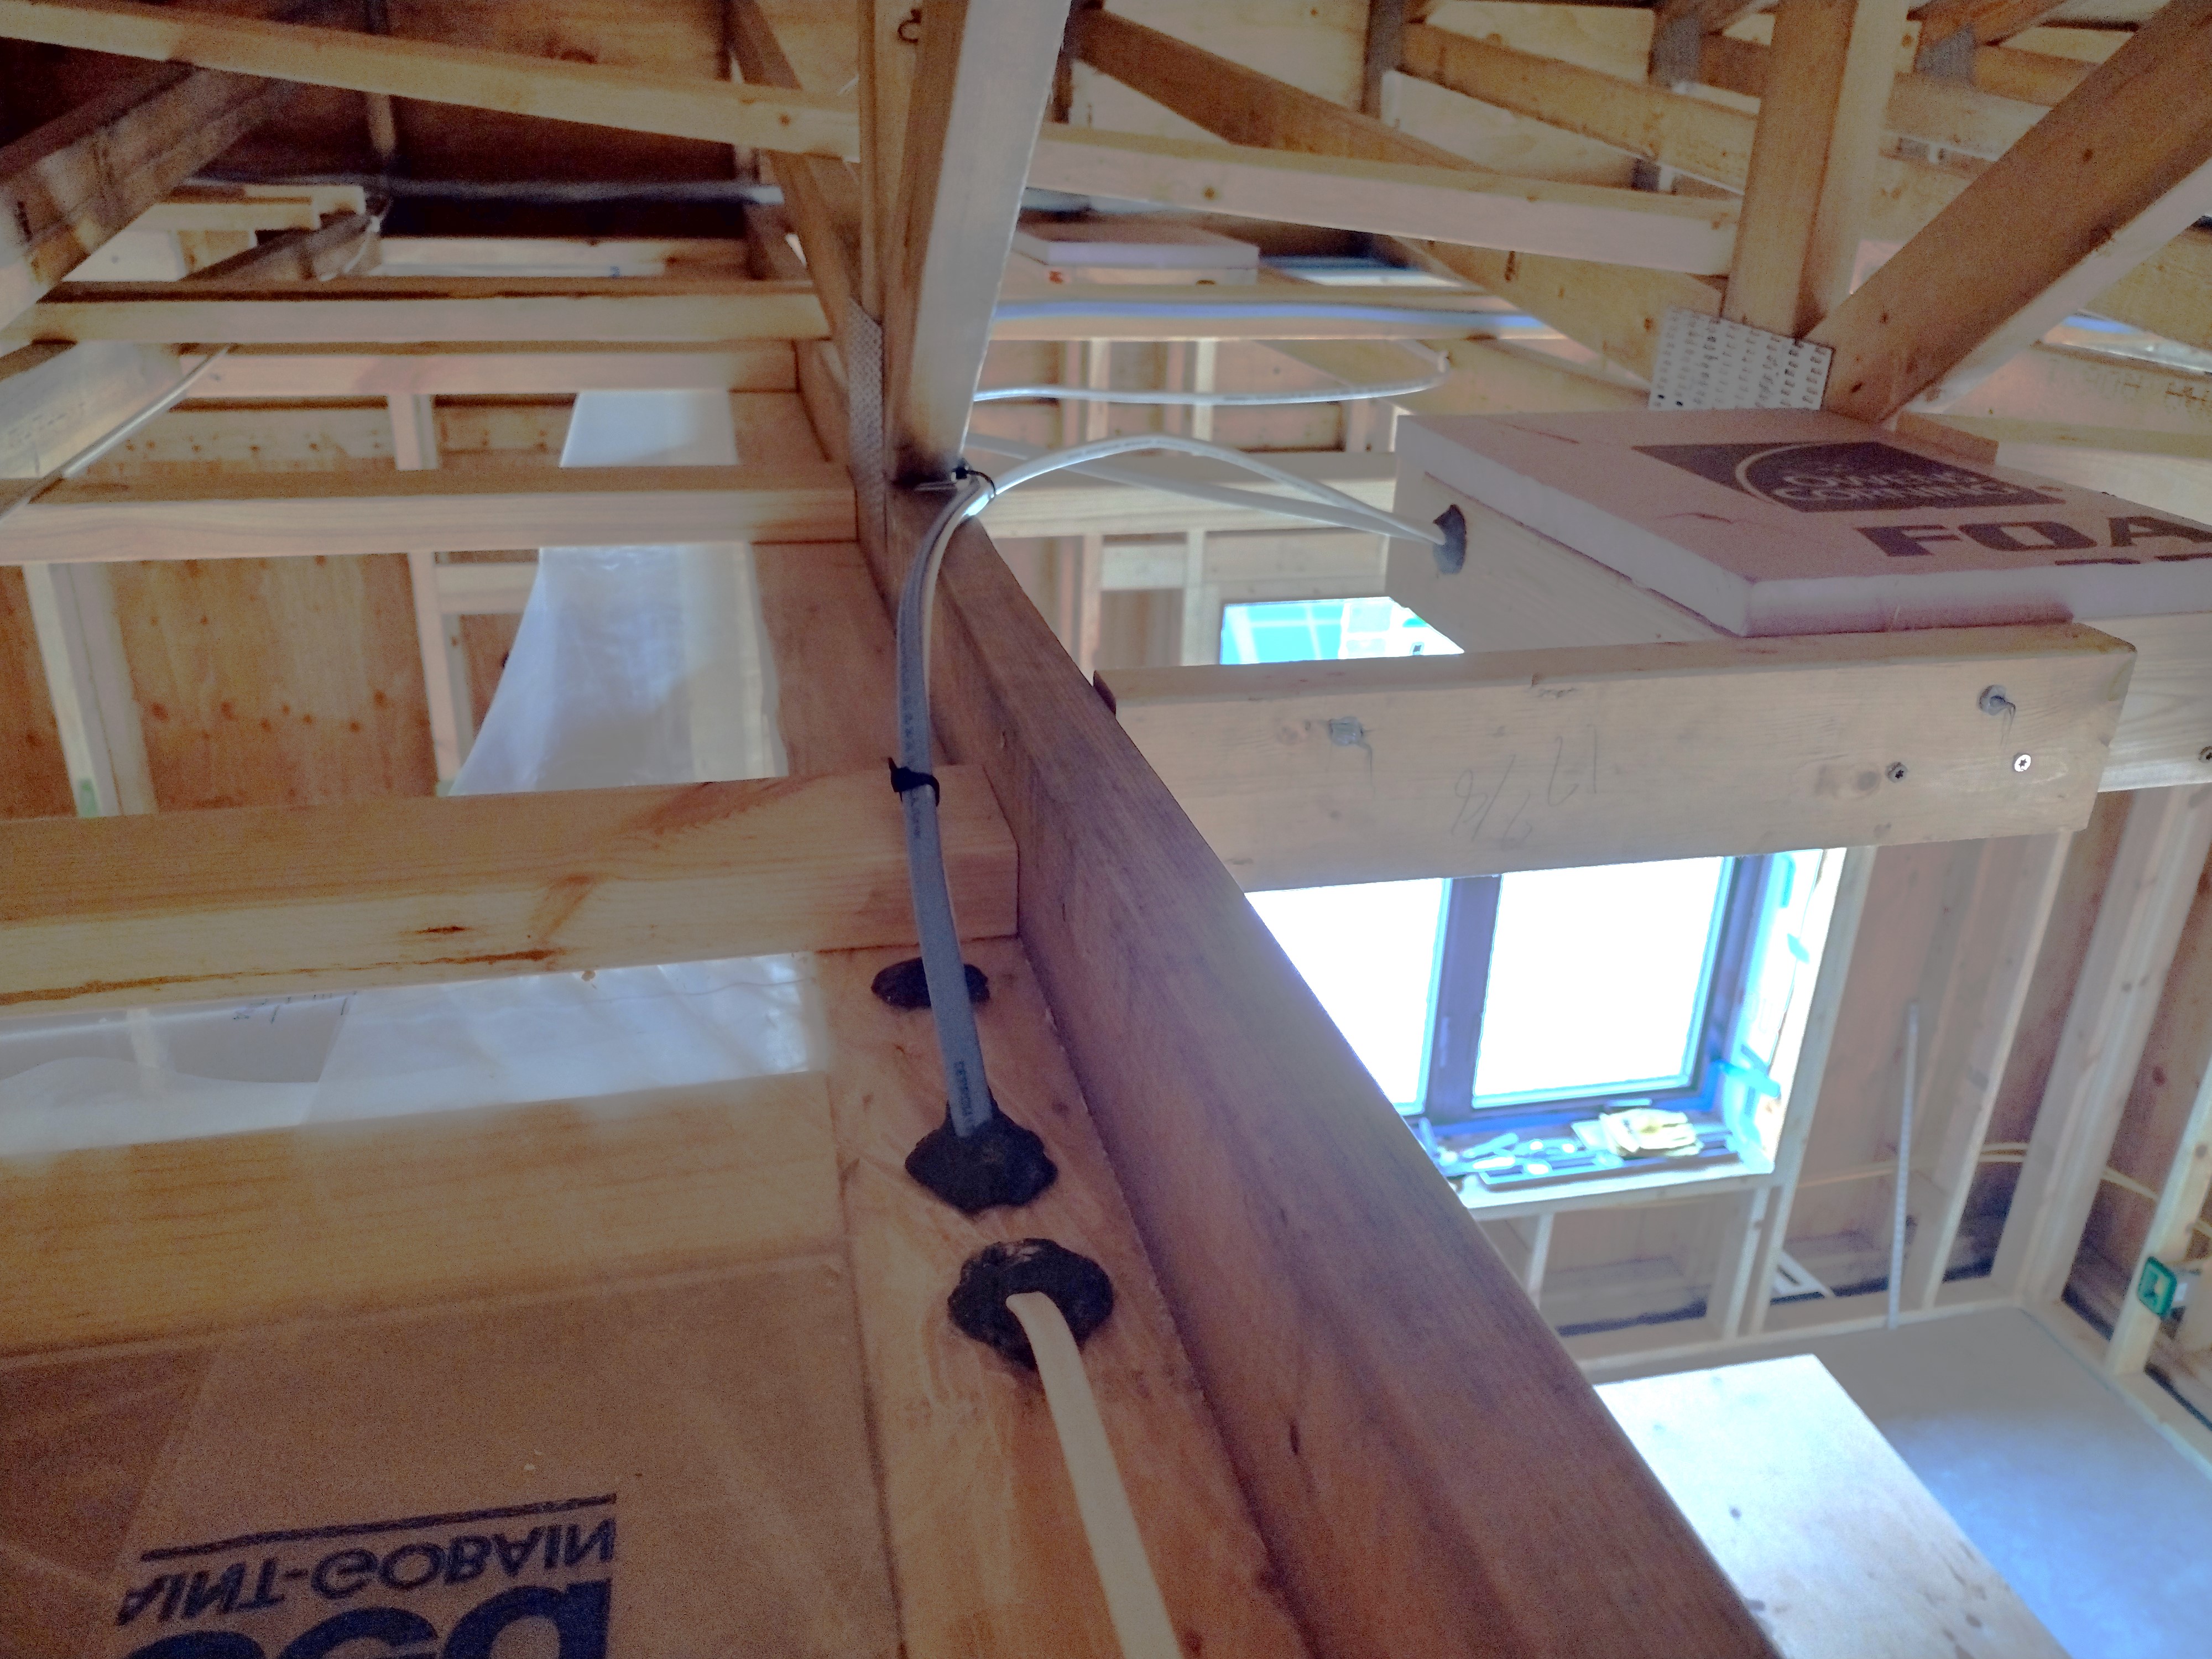
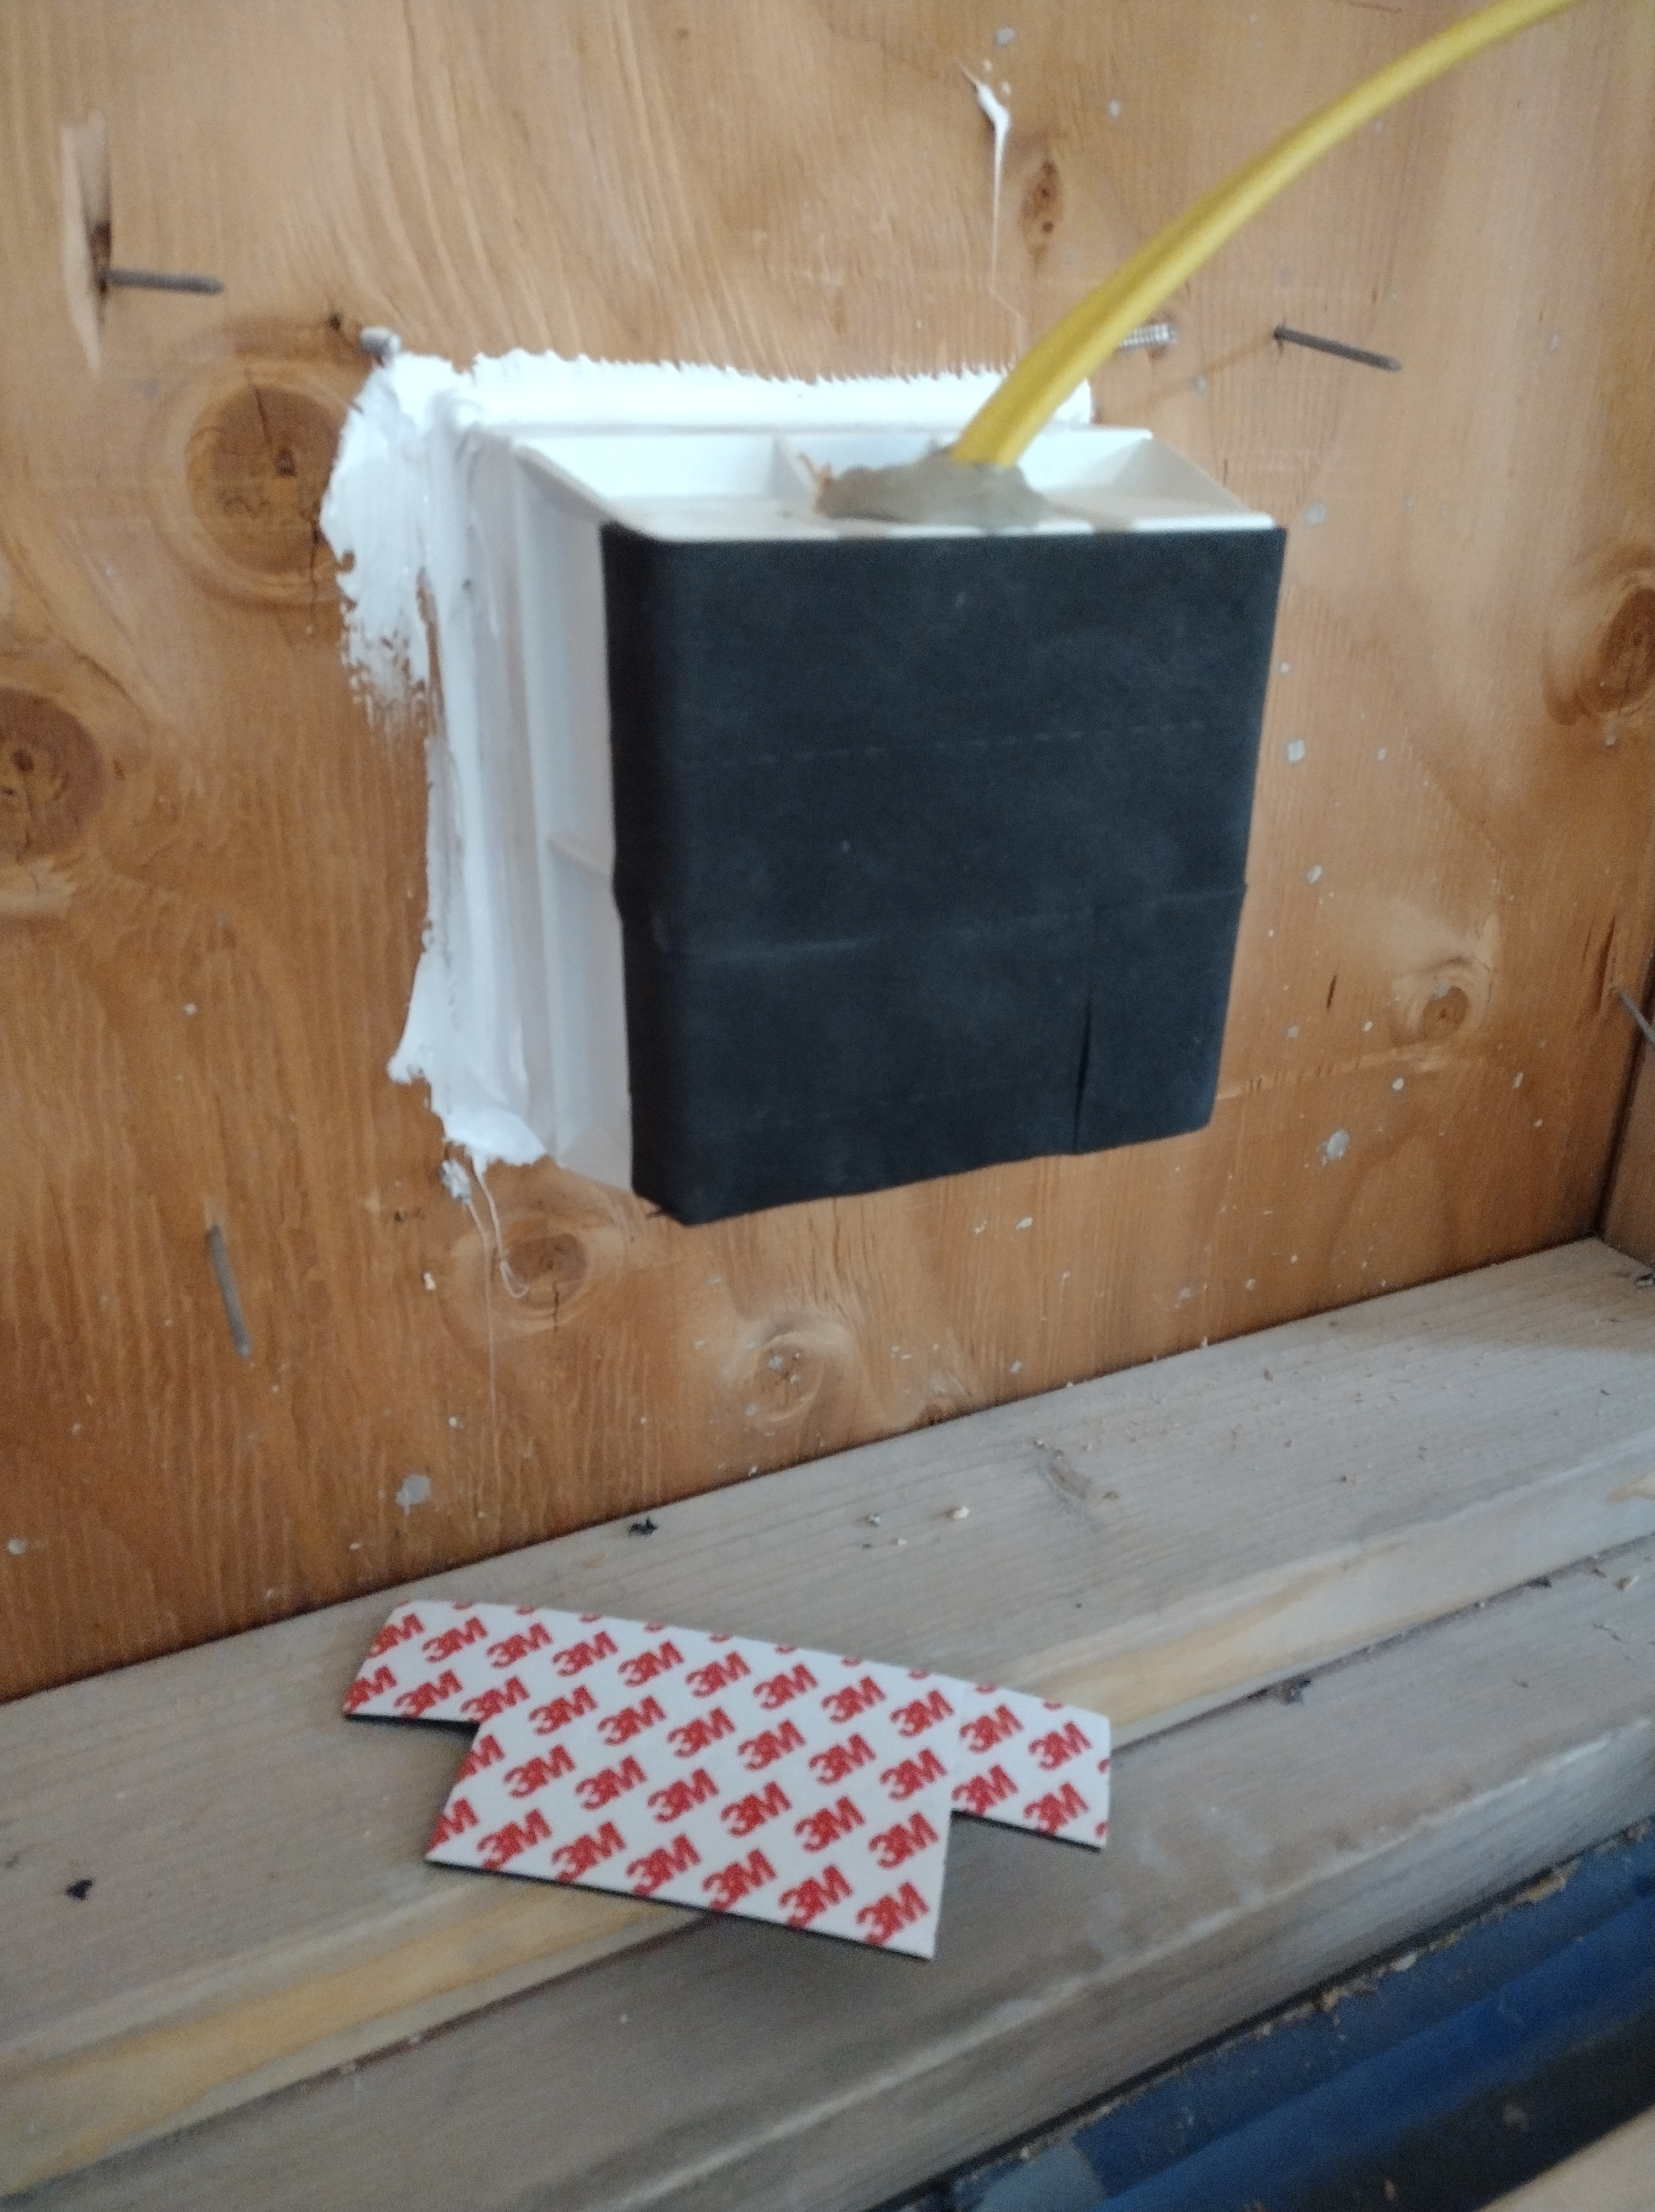
How did we do it? We simply paid attention to each and every mechanical penetration and material seam and chose high quality sealing materials. The picture on the left shows the electrical wires in the attic poking through the partition wall’s top plate to run to the guest room’s recessed lighting. See how we made these boxes in my previous post Interior Framing. The wires are sealed on both sides of the framing with electrician’s putty, a highly moldable product that remains flexible over time. On the right, an exterior-facing electrical outlet for the back porch, sealed with ChemLInk’s Durasill silicon caulk and 3M’s peel-and-stick black foam pads. The wire is puttied to the box.

The electrician supplied these green flanged electrical outlet and switch boxes, which he installed at the exterior walls. The flange gave us solid backing for attaching the vapor retarder (sealed with a bead of caulk around the perimeter), and the black foam gasket further aids in creating a tight seal to the drywall. Plumbing pipes, including this hot/cold hose bib, were sealed with DuPont FlexWrap EZ.
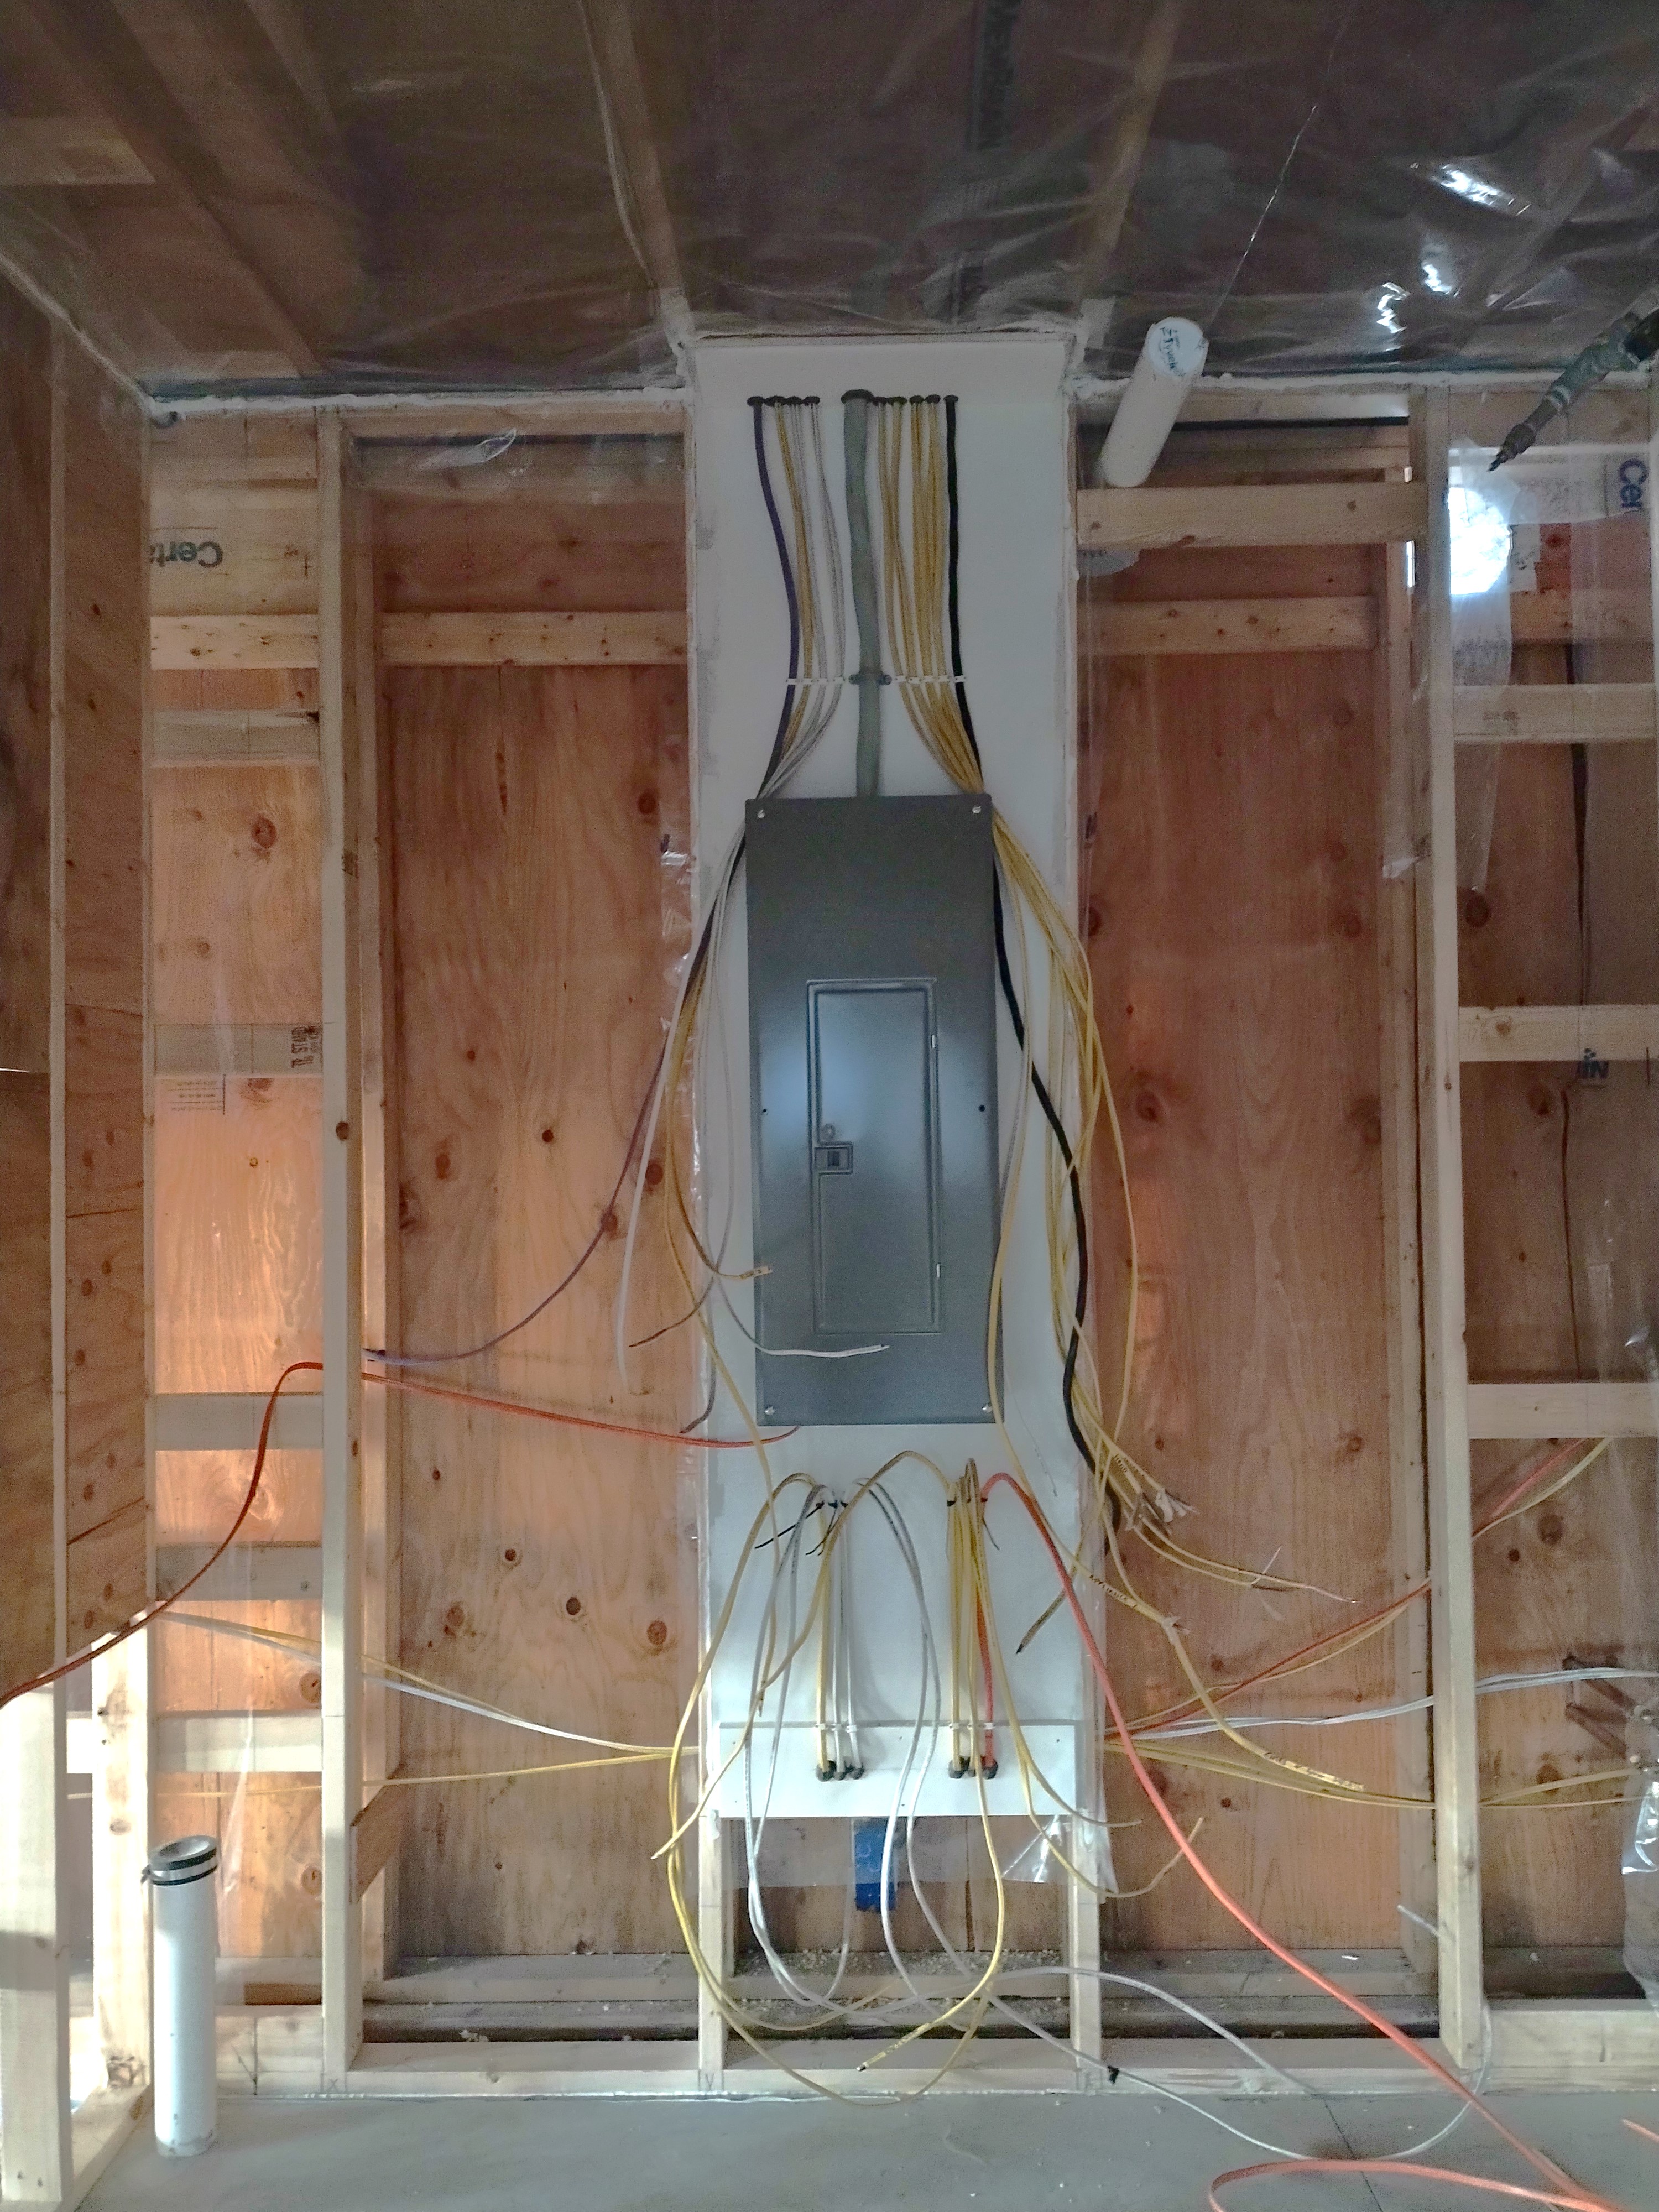
Instead of burying the electrical panel in the wall, where it would displace insulation and present extra air-sealing challenges, I ran a sheet of vapor retarder and drywall over the middle stud bay in the mechanical room. So that we could make a neat and effective seal at each wire penetration, I added a PVC 1×6 board at the bottom edge and at the ceiling. Each wire was puttied on each side of its hole. Wherever possible (there were some exceptions), our goal was “one hole, one wire” for the most effective air-sealing.
For larger wires, like this service wire that connects the garage electrical panel with the main one in the mechanical room, I used ProClima’s Roflex gaskets. These tight-fitting EPDM sleeves come in a number of hole sizes and are quick to install and attach with Tescon tape. Their main advantage here is that they remain flexible—-the wire can be tugged on from either side as adjustments are made.
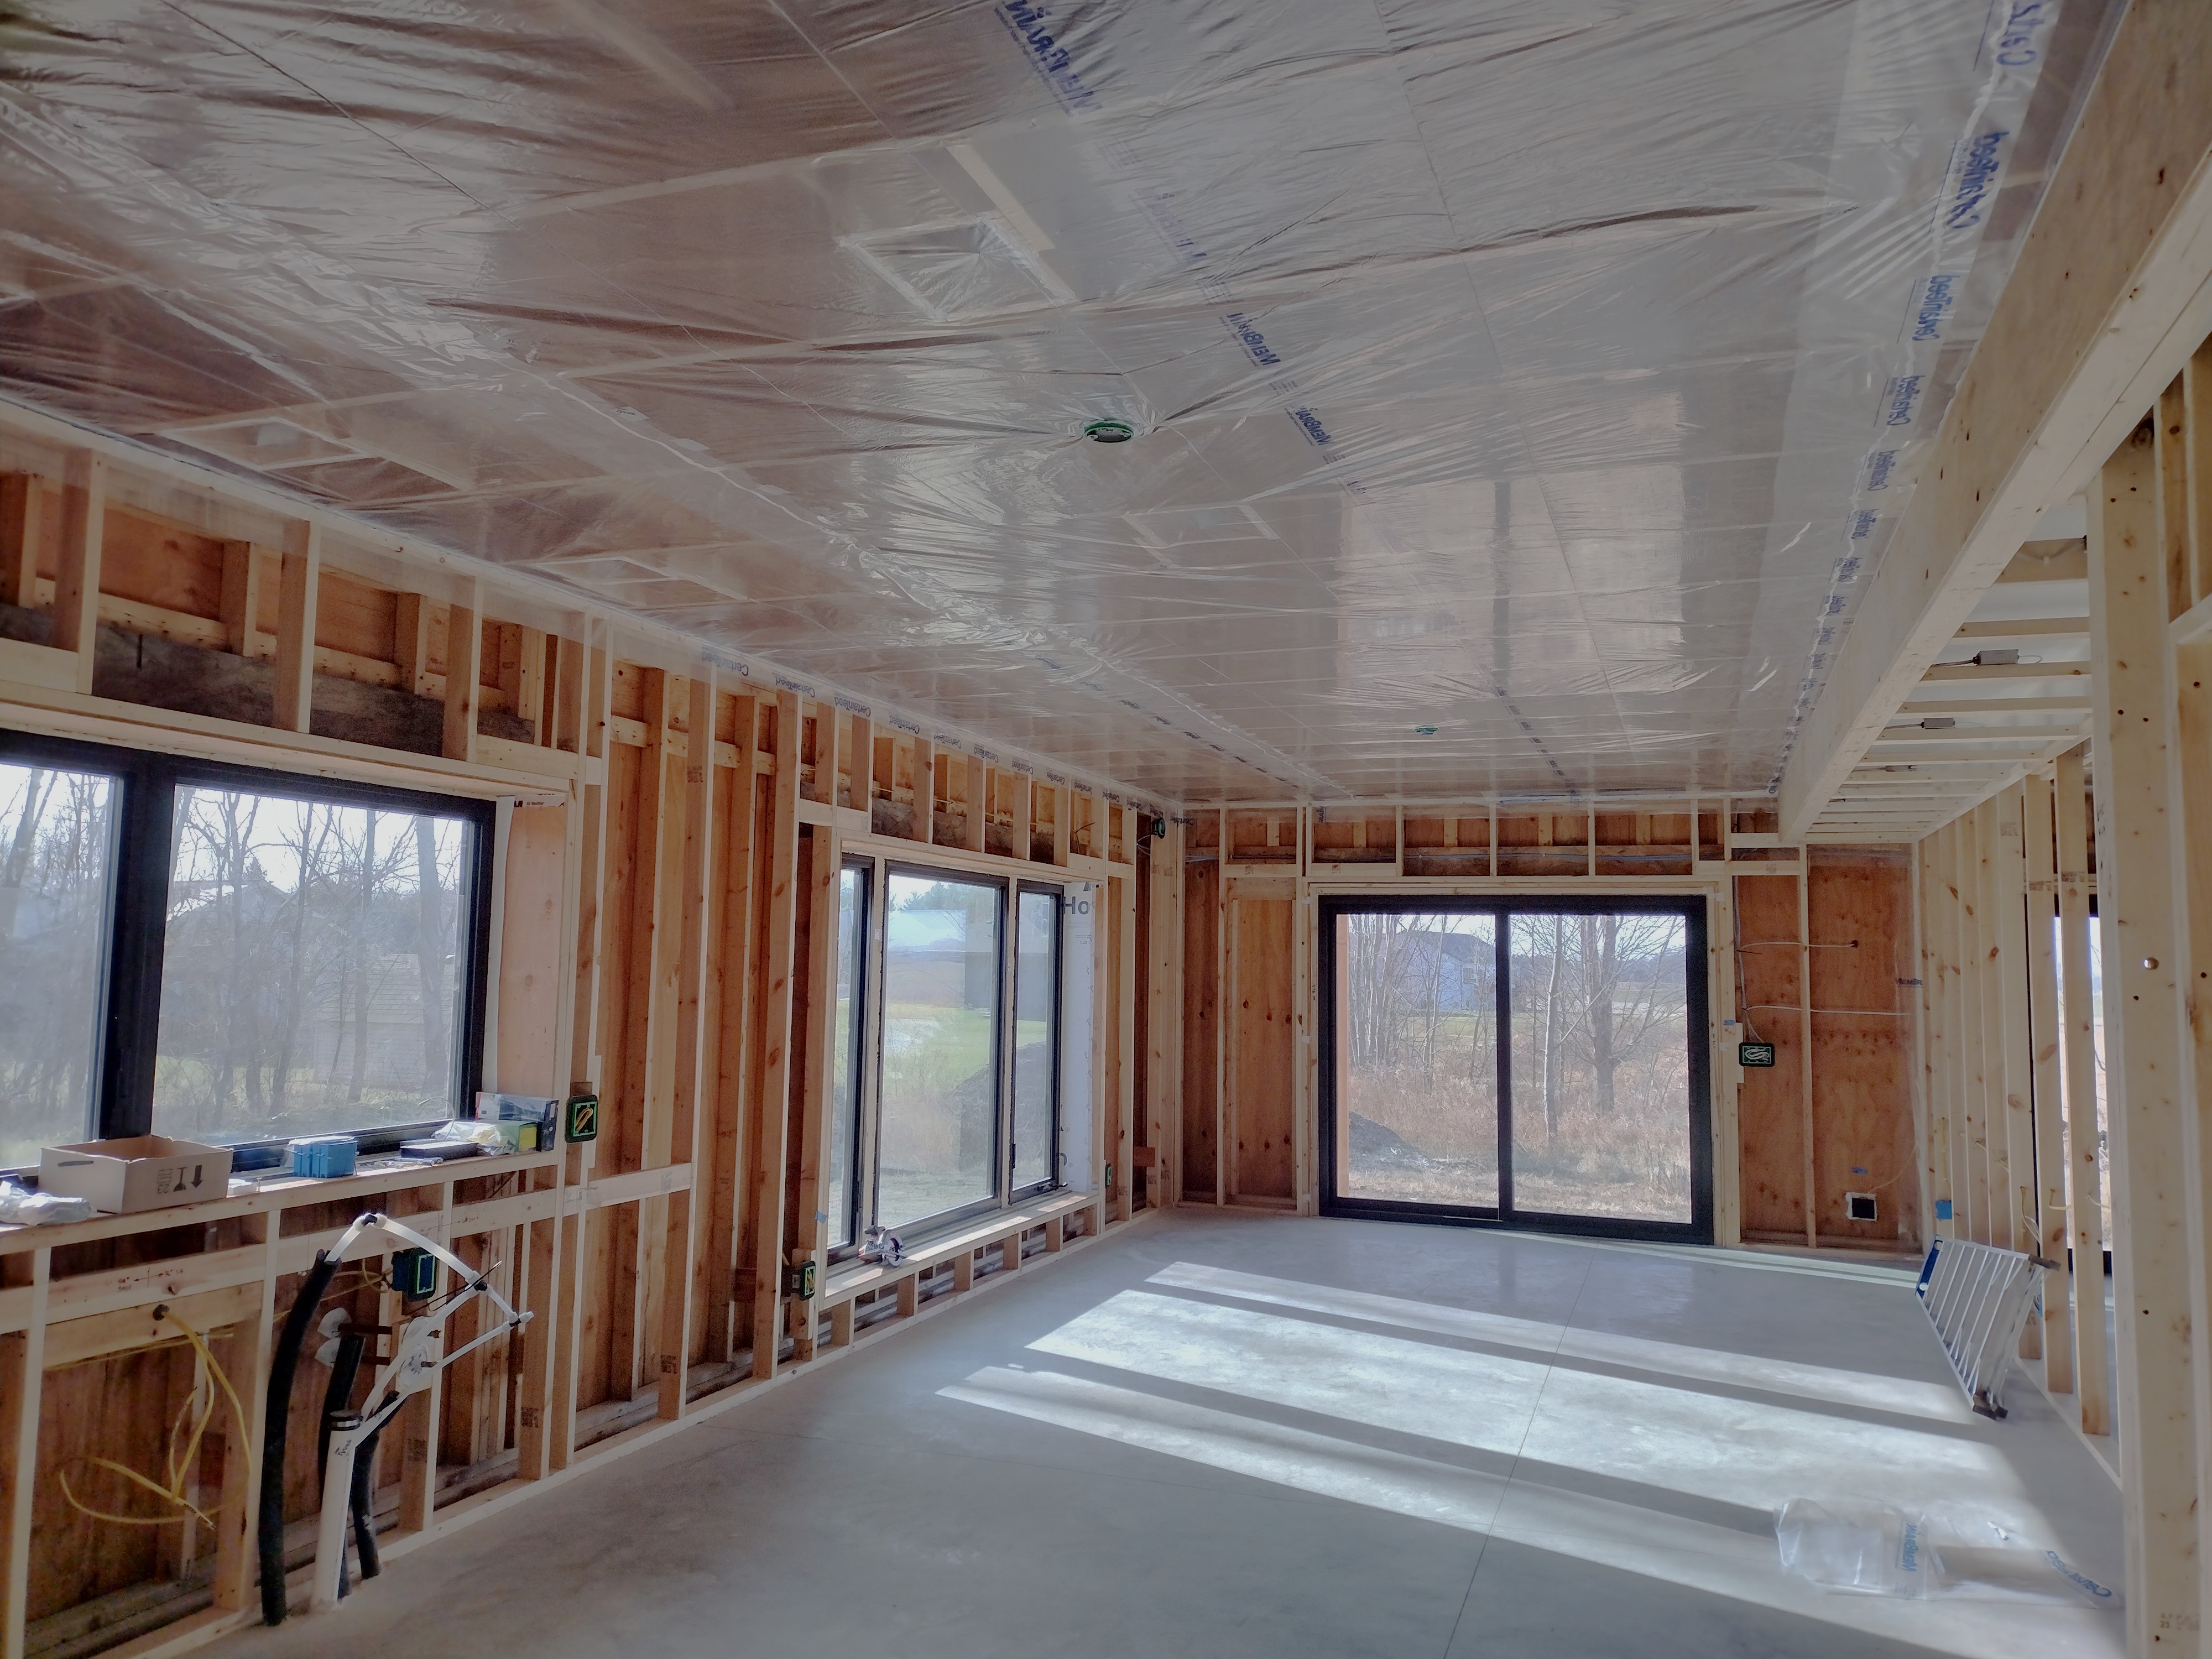
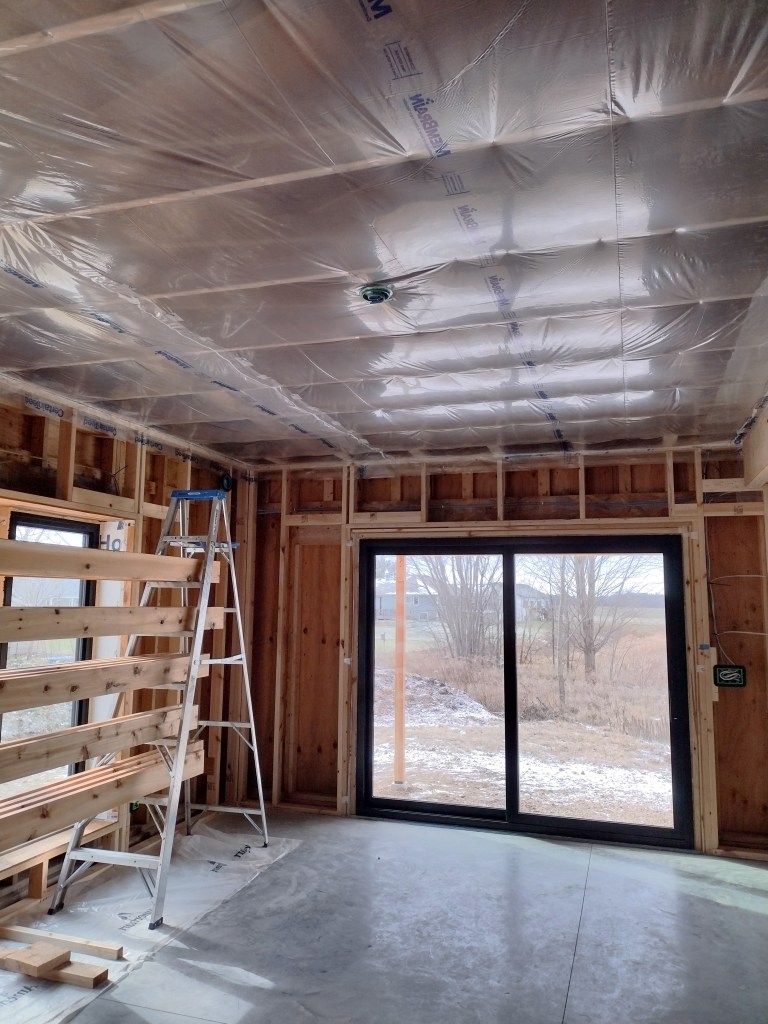
As a final step before the blower door test, we ran Certainteed’s MemBrain, a vapor-variable retarder across the ceilings, air-sealing the edges and seams with ChemLink’s Durasil adhesive or Tyvek tape. In this picture, you can see several recessed light boxes and two ceiling fan outlets sealed to the vapor retarder.
The vapor retarder we used isn’t your typical lumberyard “visqueen” or 6 mil polyethylene. Instead, it’s a thin, 2 mil engineered plastic called “polymide film” that can expand its pores to adjust the flow of vapor diffusion depending on which side of the wall or ceiling is facing higher relative humidity. For more understanding of how important vapor retarders are for the longevity of the home and for the health of its people, please see the article “Smart Vapor Retarders” in Green Building Advisor.
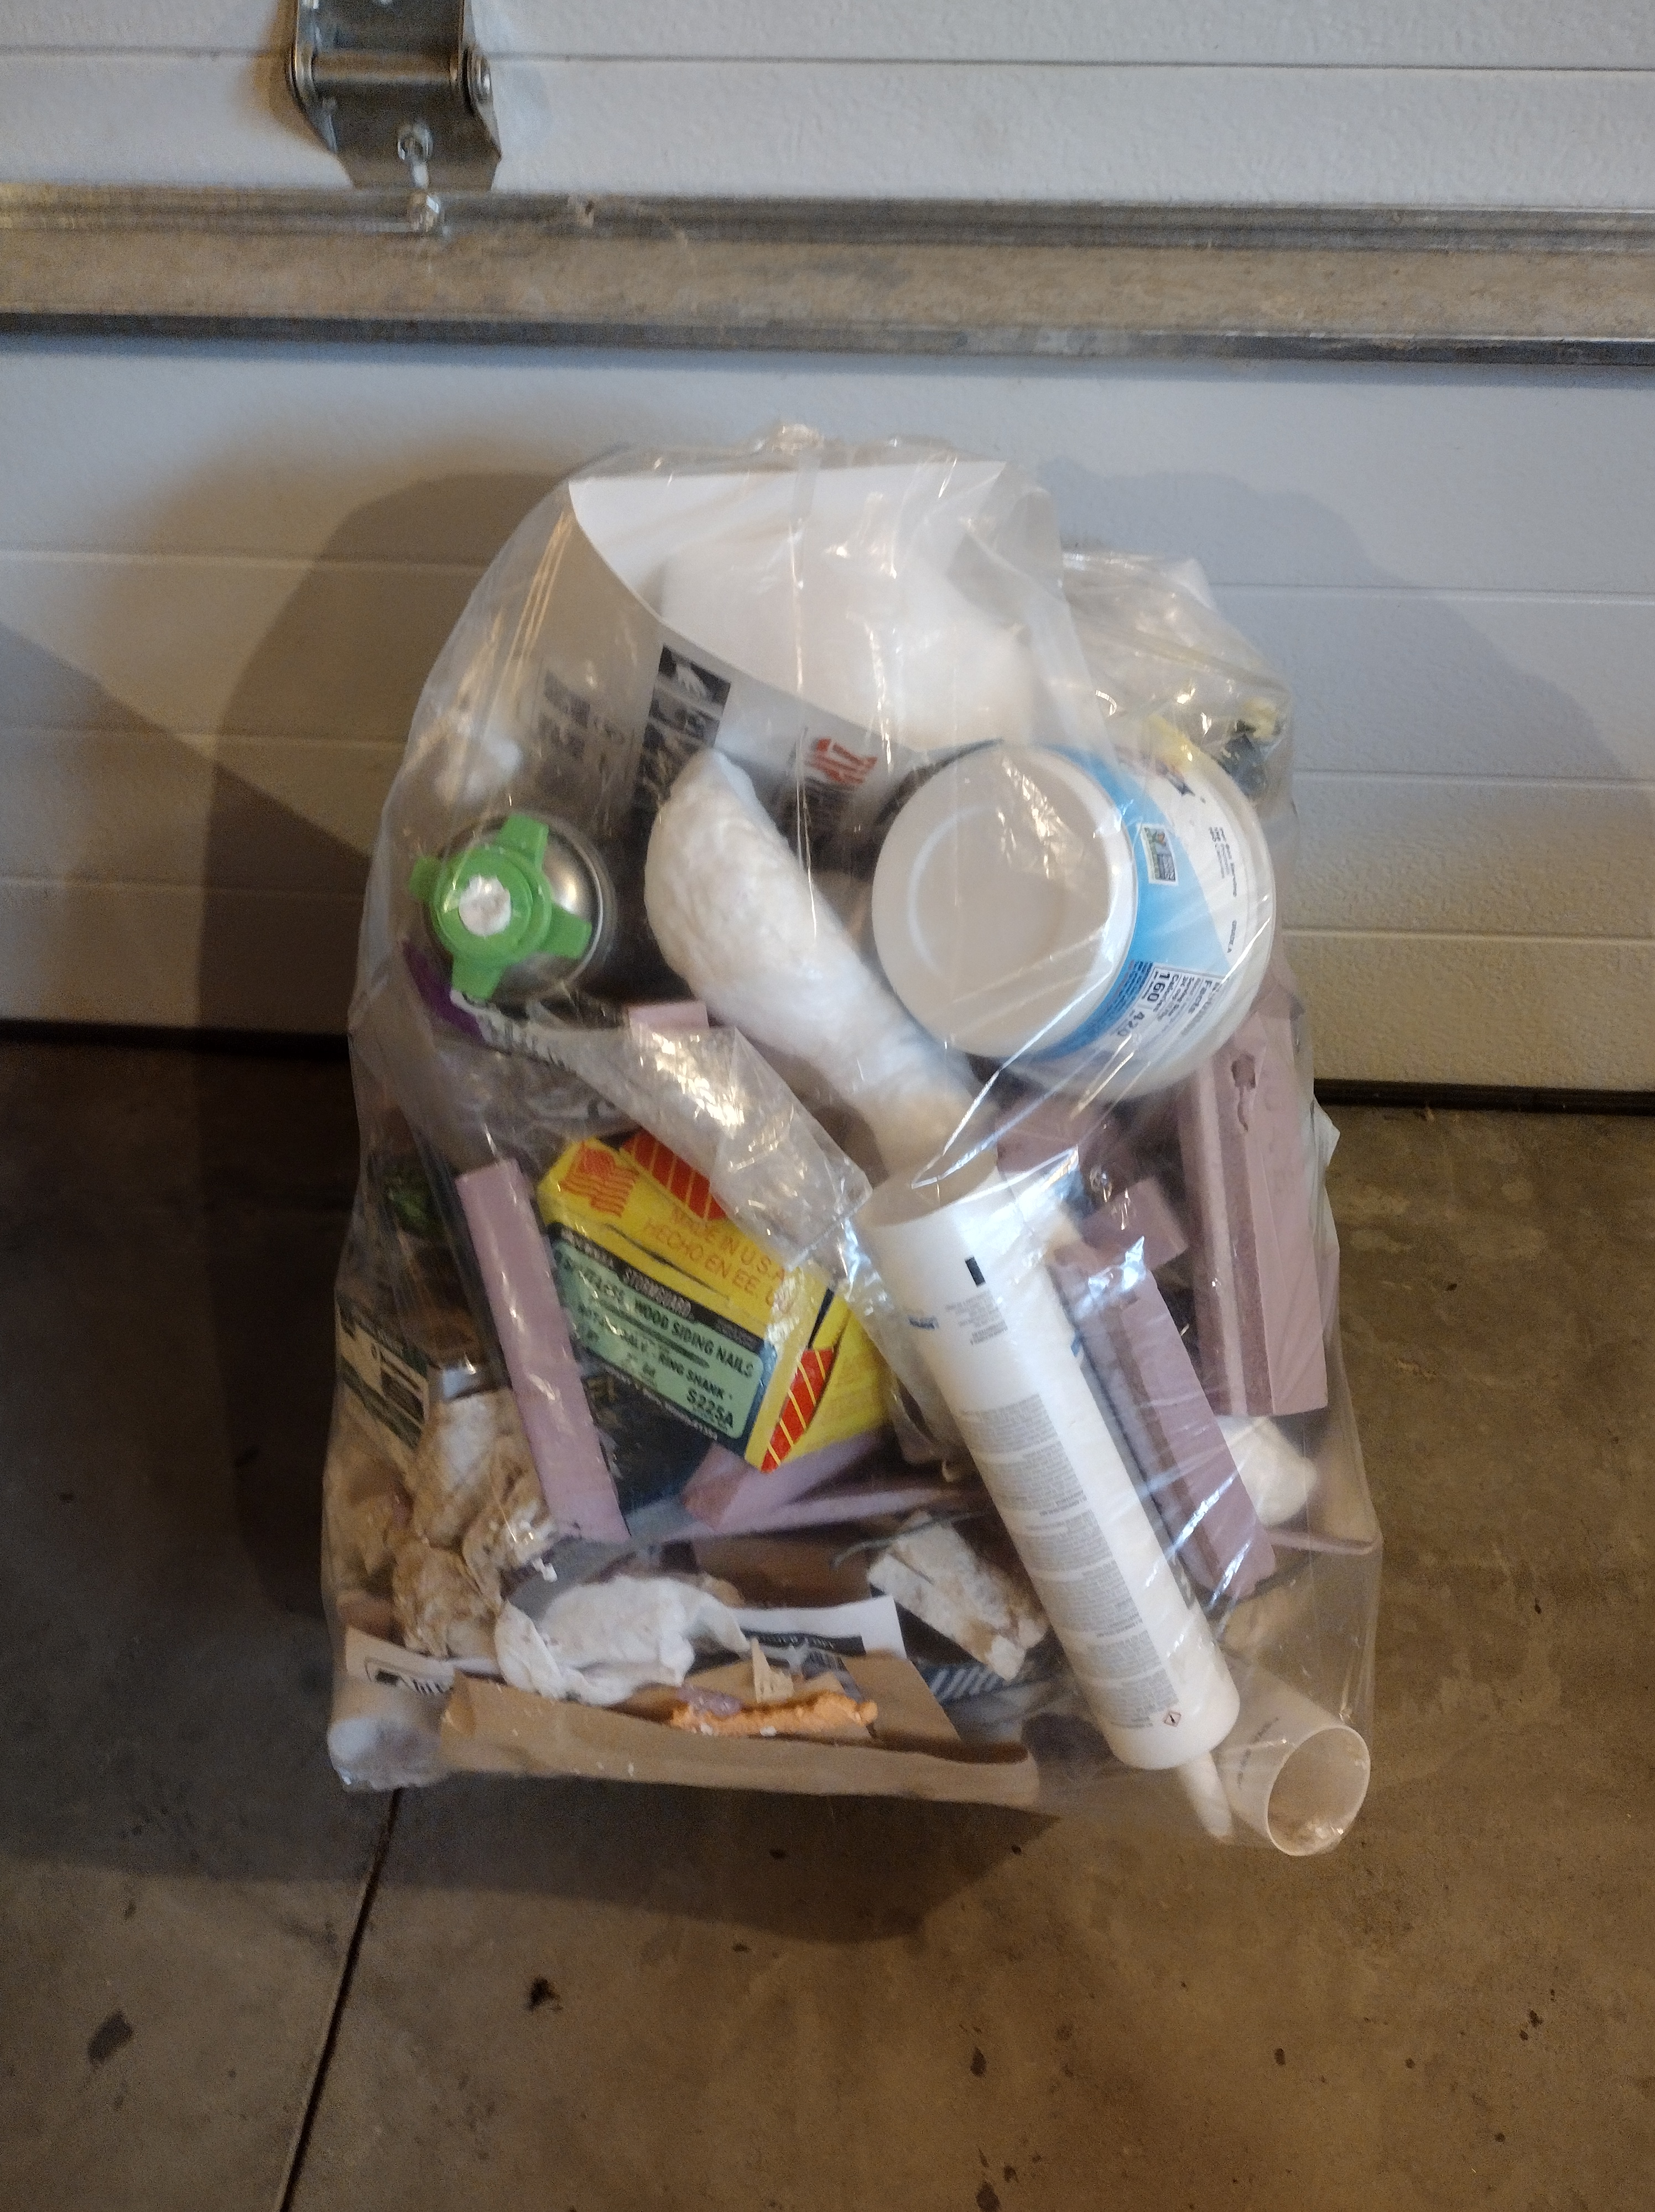
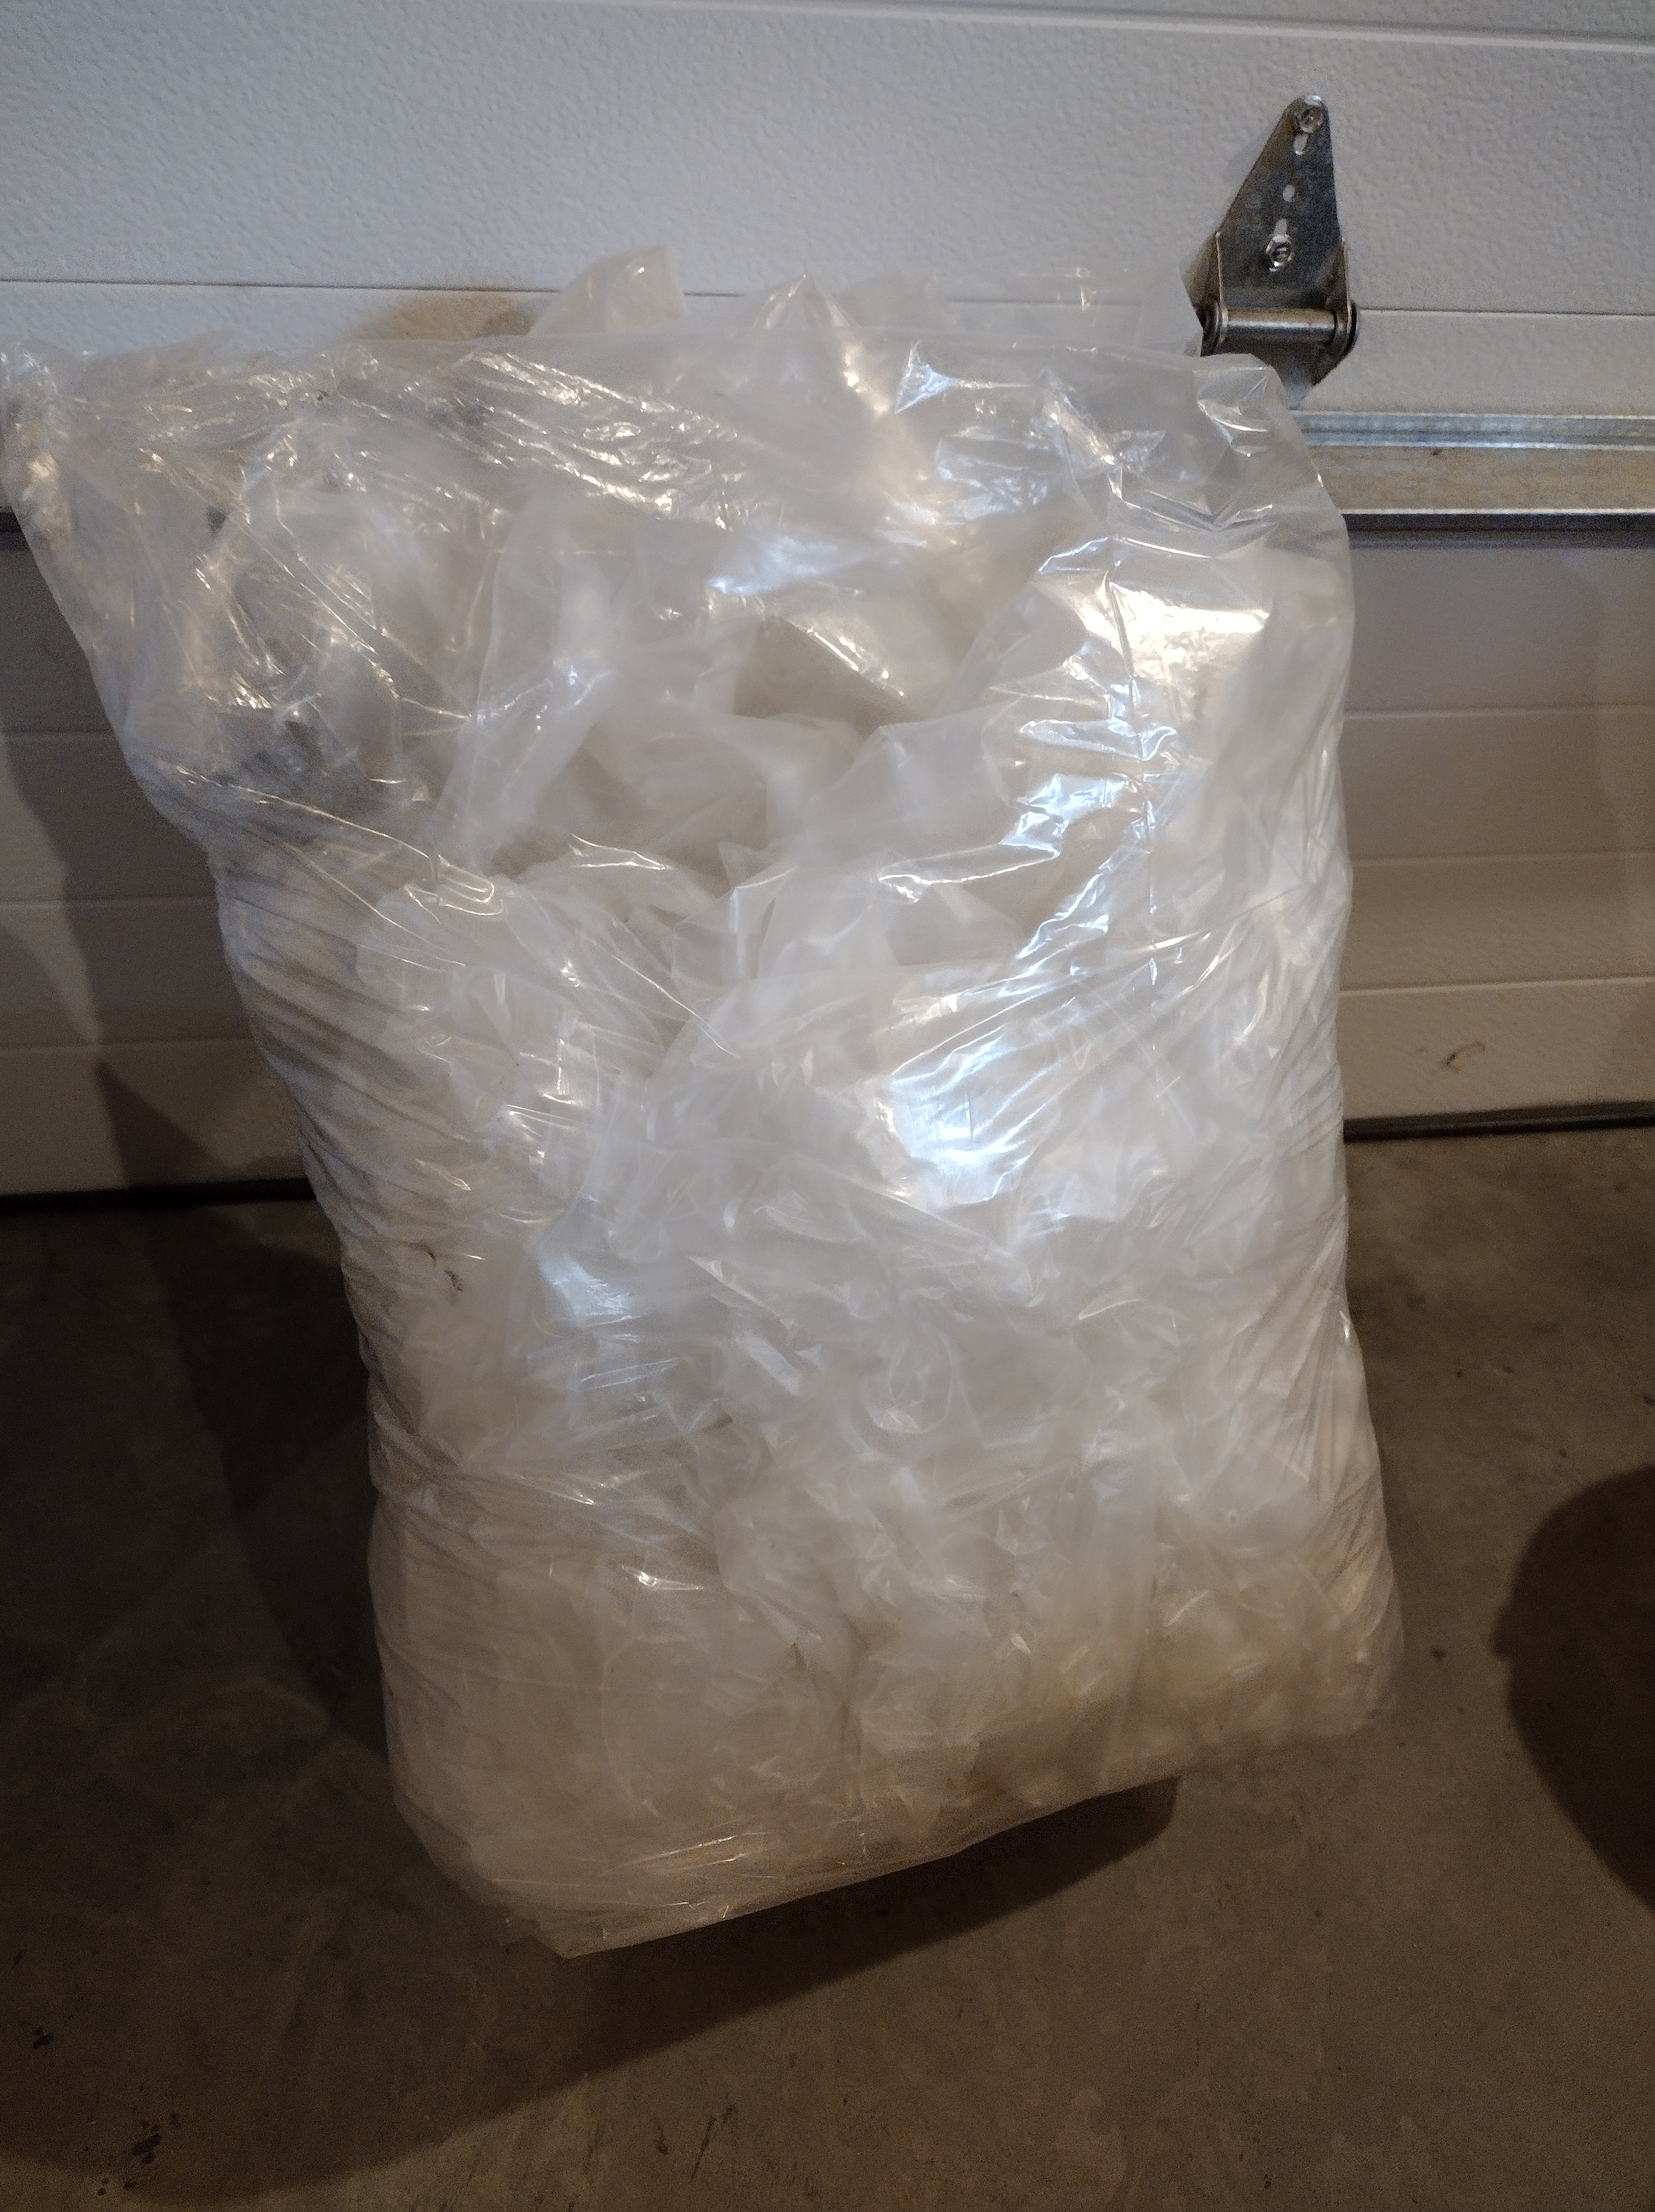
For this phase of work, we had several bags of miscellaneous trash (caulk tubes, dirty rags, bits of Styrofoam), and a bag or two of vapor retarder scraps. Our recycling facility accepts “clear” and clean plastic sheeting, and readily took the Certainteed MemBrain, even with some writing inked on it.
