December 12, 2024-February 7, 2025: With full confidence that we’d done everything we could to seal up the mechanical penetrations and building material seams, our “weekend warrior” crew began wrapping the walls with vapor retarder; of course caulking and taping as we went. For a better understanding of how important this work is, see the previous blog post “Testing Our Work”.
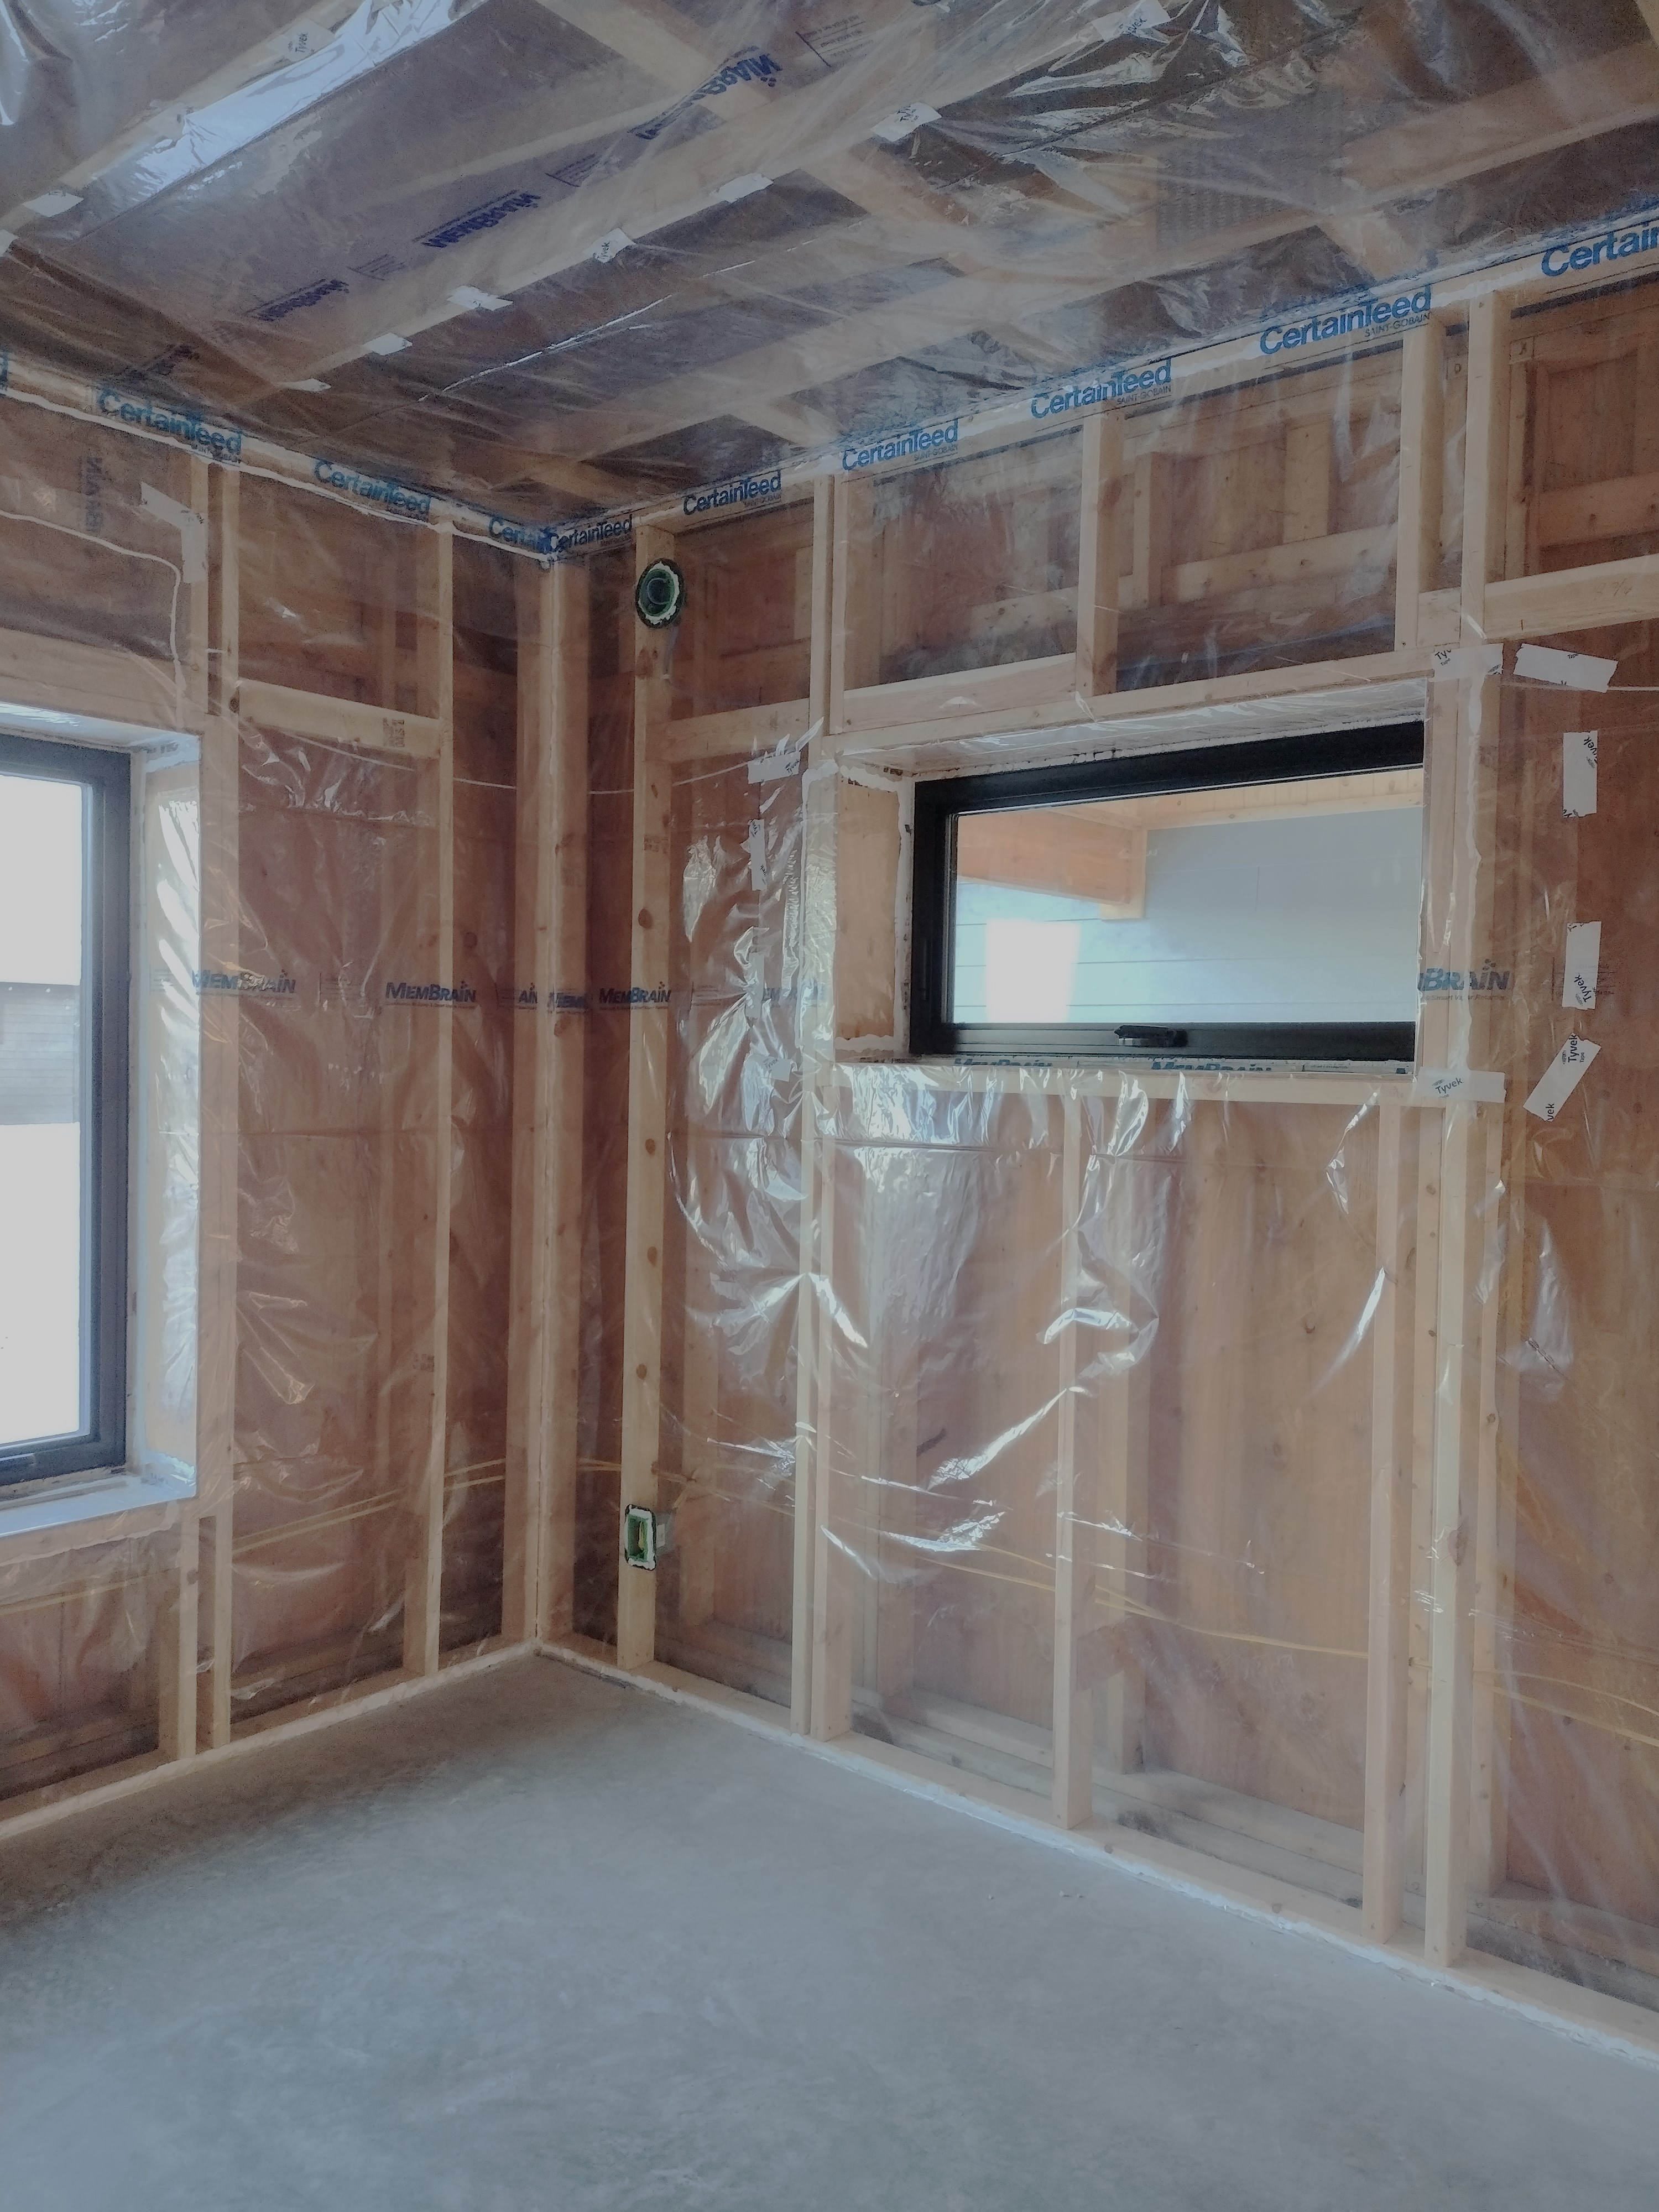
Here you can see Certainteed’s MemBrain vapor-variable retarder neatly stretched across the studs and caulked at the bottom and top plates. It wraps into the window openings and is cut and caulked to the perimeter of the electrical outlets, switches, and fixtures.
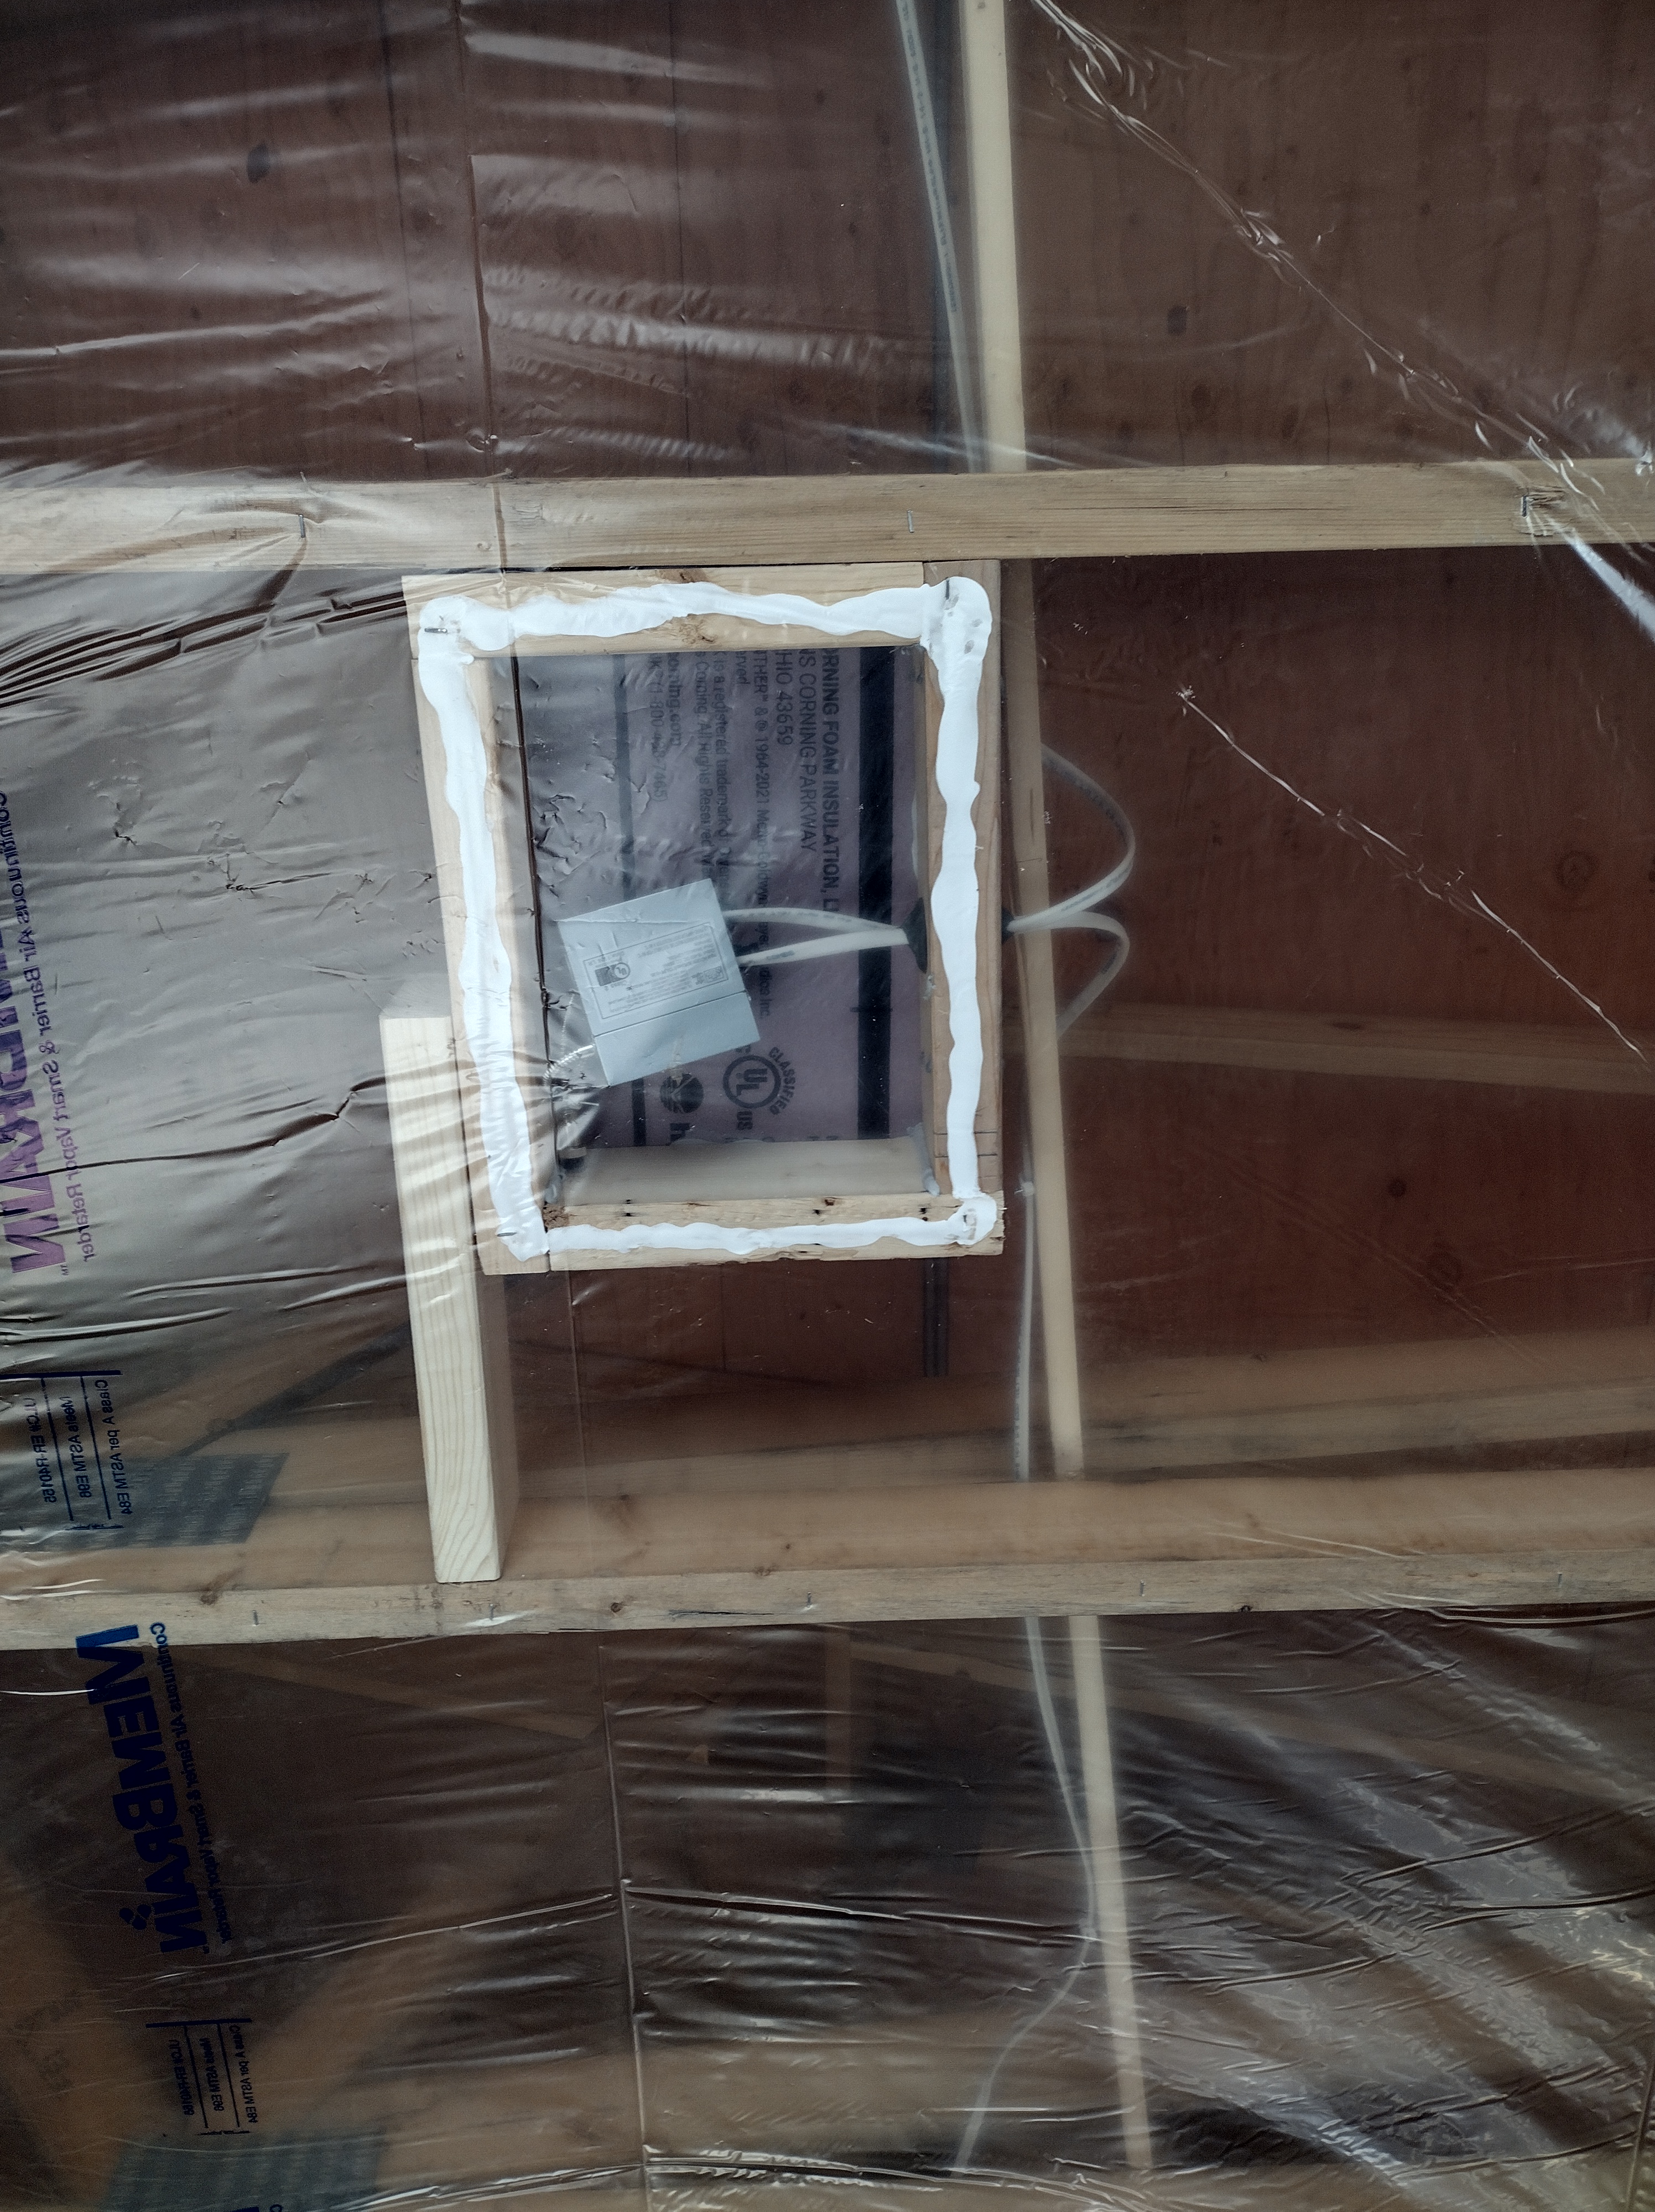
Basically, we went nuts and air-sealed everything, like this box for a future ceiling fixture that’s thermally isolated from the attic insulation and caulked to the vapor retarder. Our work will pay dividends for the lifetime of the home: in lower heating and cooling bills AND in healthy indoor air free of outside pollutants, mold, mildew, and pests.
Air-sealing saves our homeowner $528 per year in heating and cooling costs compared to a new home built to Wisconsin’s minimum standard.
I can’t seem to get enough of running energy models of my designs and iterating alternate scenarios. For this project, I turned to REM/Design software to compare Wisconsin’s Uniform Dwelling Code minimum standards to our high performance goals. The Code is uneven: many standards provide good guidance based in building science and other standards are wildly off base. To meet the air-tightness standard would be to build a shockingly leaky home at 7 ACH (air changes per hour). Most new homes today using conventional building methods and materials easily achieve 3 ACH with a blower door test. For this reason, the $528 savings cited above is unfair. Let’s change that:
Air-sealing saves our homeowner $206 per year in heating and cooling costs compared to a typical new home built in Wisconsin.
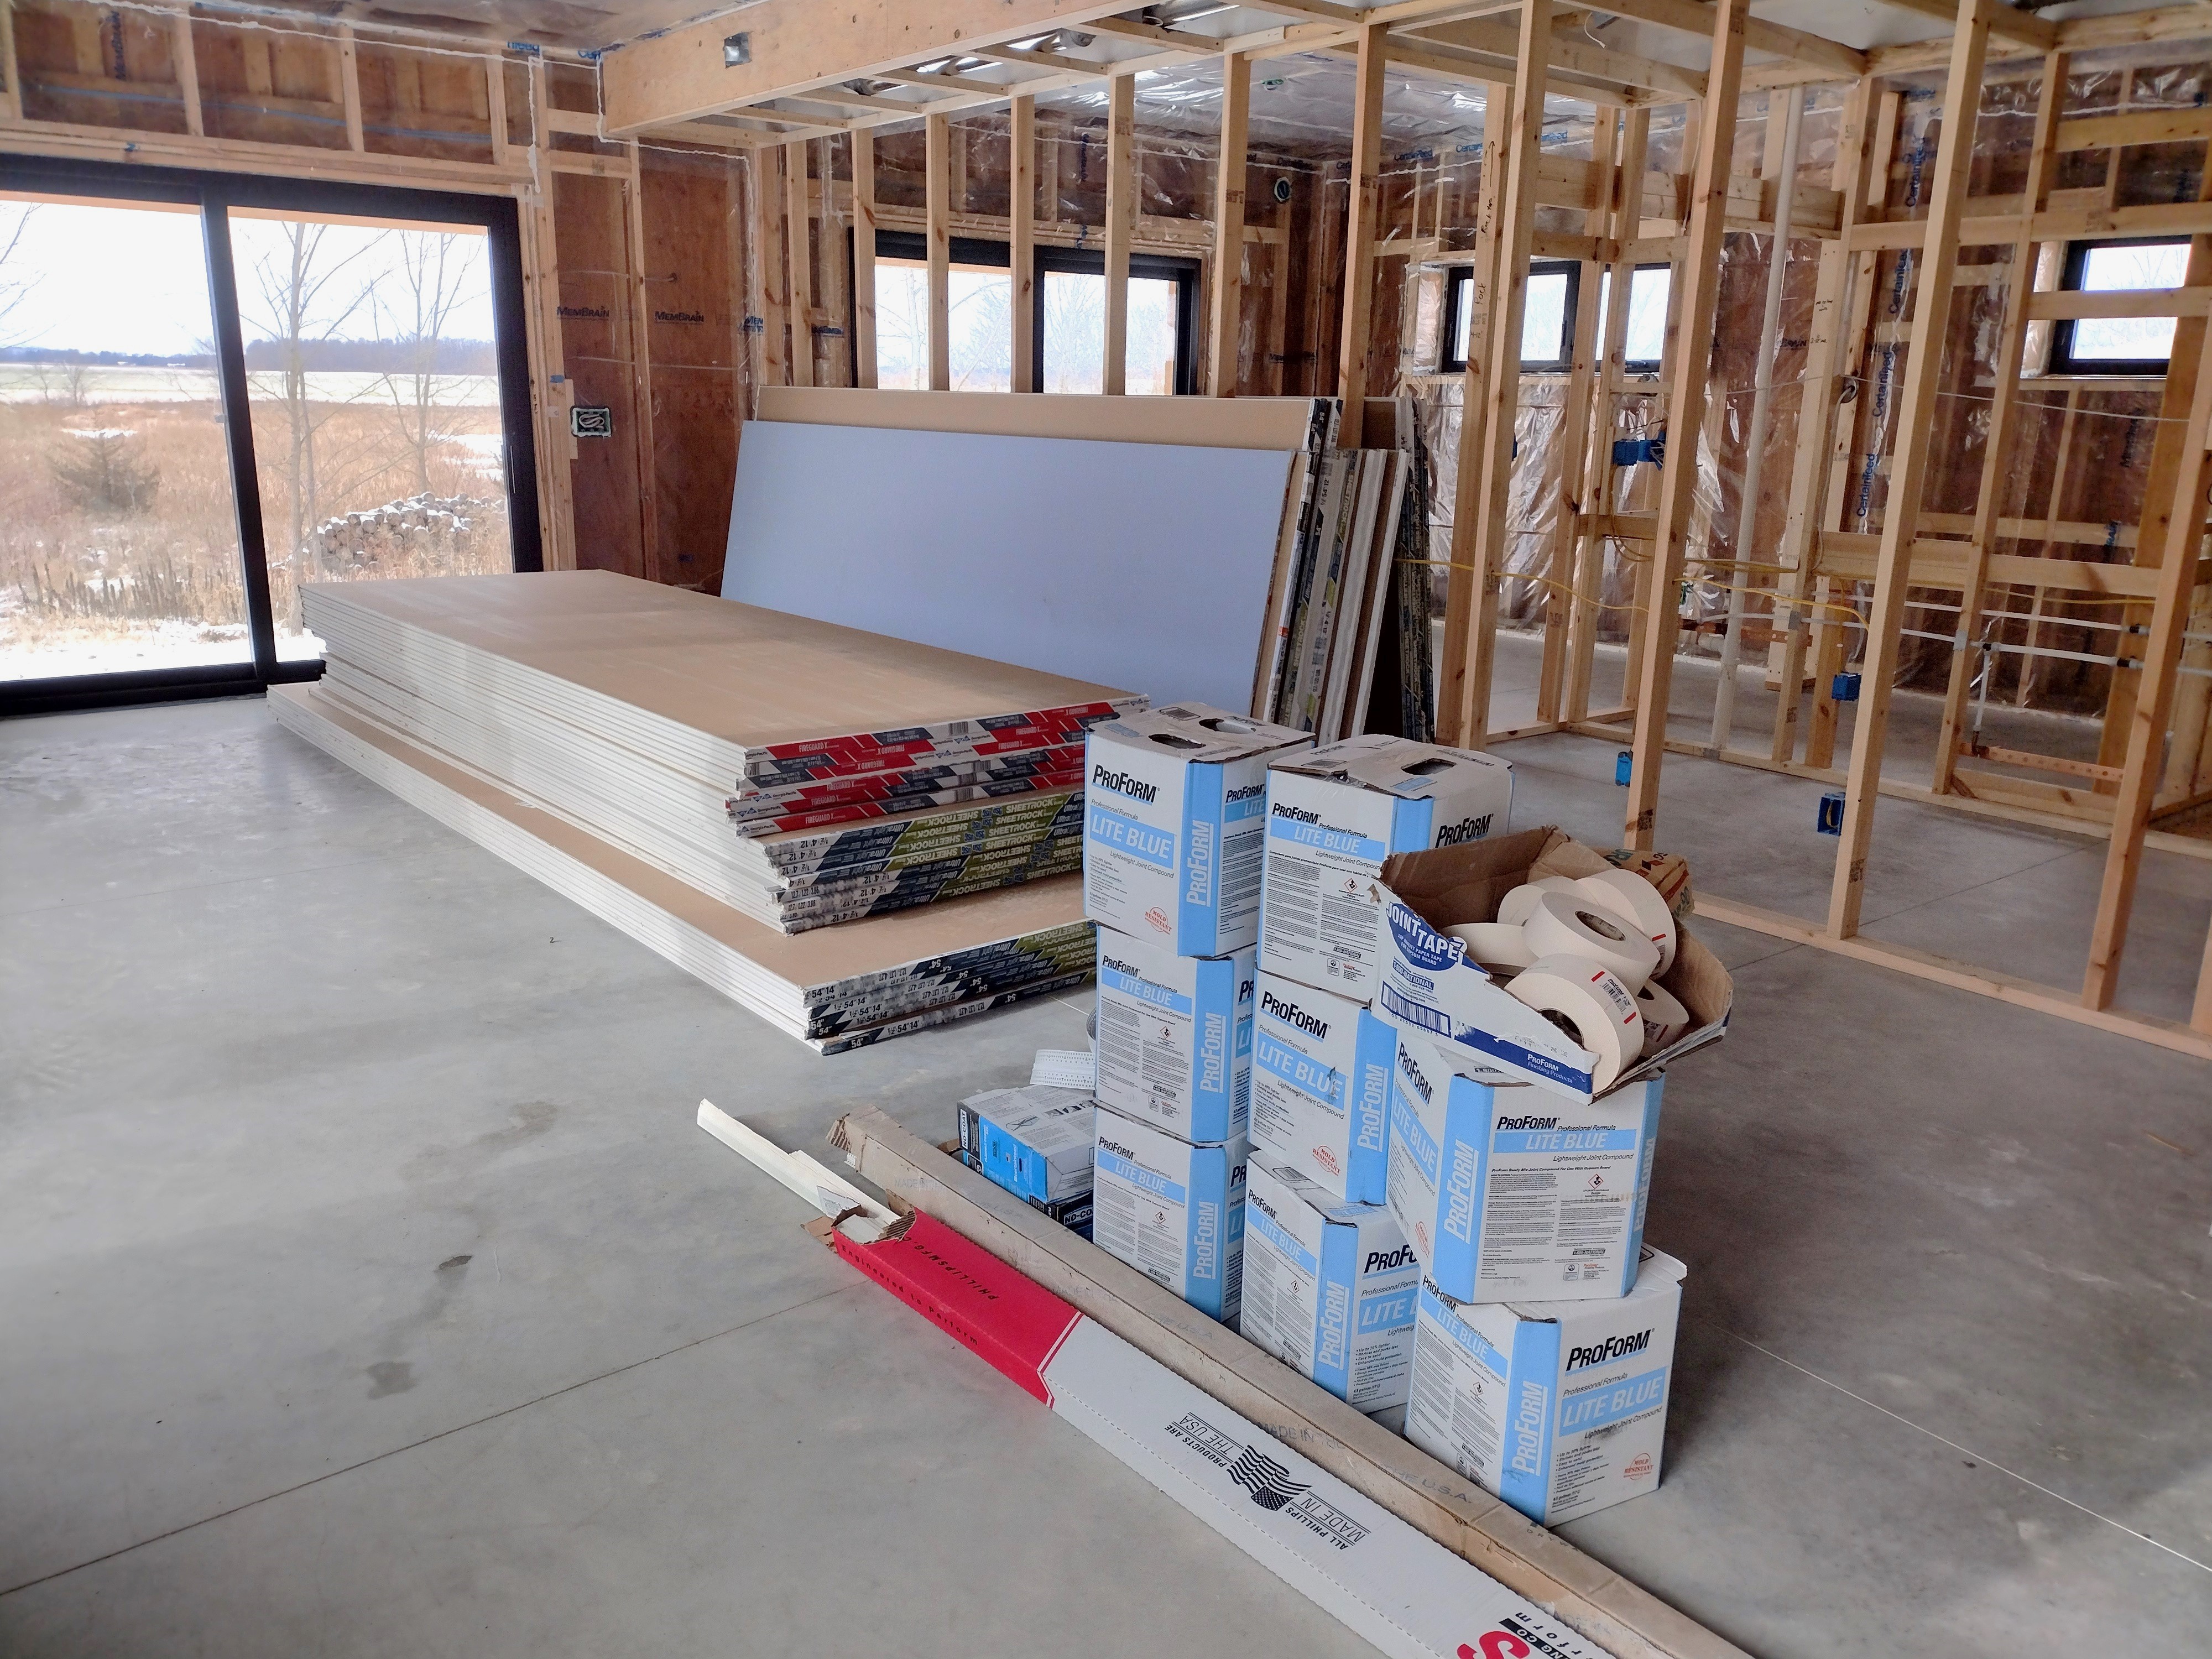
A few days later, the drywallers delivered their material. The people at First Choice Drywall were great every step of the way. The work sequence I asked for was unusual, but not difficult. It did require an extra trip.
Our insulation company likes to blow cellulose into the walls AFTER the drywall is installed. They need at least a 6 inch gap at the top of the walls and below the windows for their hose. Here you can see how the drywallers set it up: for our 9 foot walls, they delivered 54 inch wide drywall; a 12 inch strip was scored and snapped off and set aside. The remaining 48 inch sheet was installed on the bottom, factory edge up. On top, they installed a full 54 inch wide sheet. The 12 inch strip was prepped for any electrical holes and then tacked to the wall it belonged to. It will be installed later, factory edge down. Ditto for the below-the-window strips.
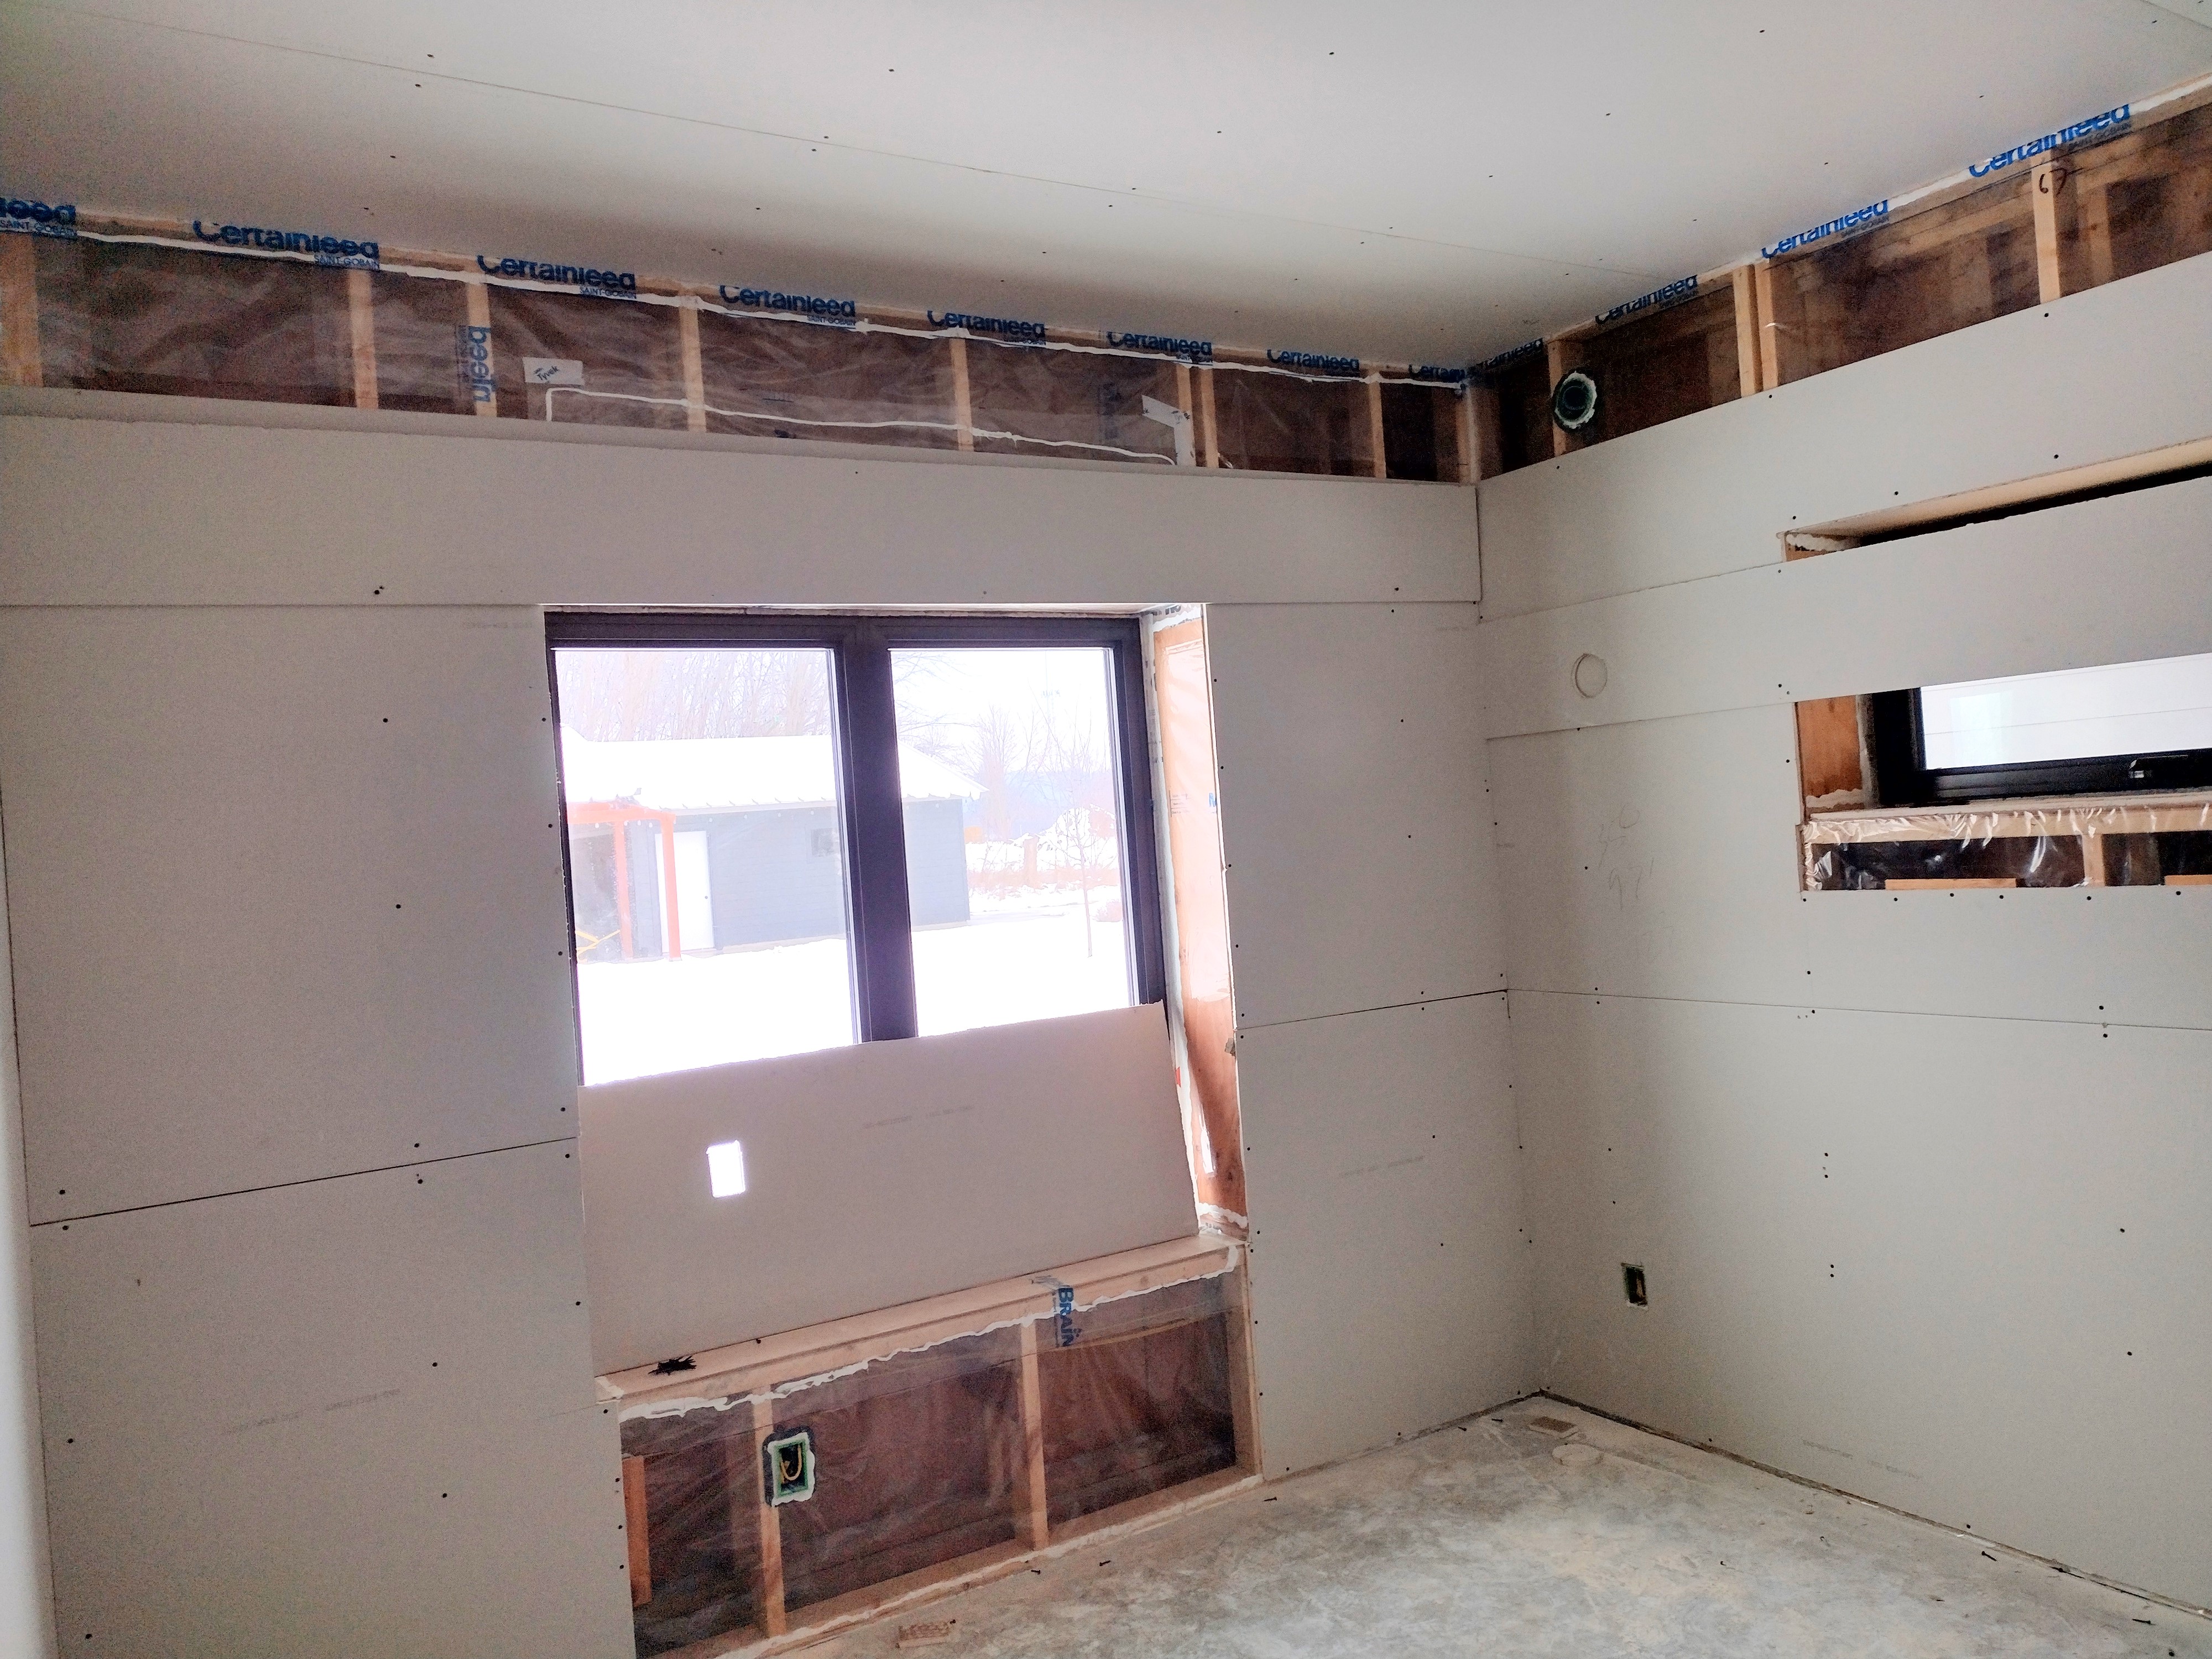
Normally, the drywallers sheet over the windows, then cut the openings out afterward with a router. Because our vapor retarder wrapped around the window jambs and was crucial to our airtight protocol, we couldn’t risk the router tearing it. Instead, the drywallers stopped at the edge of the window openings. They prepped 12 inch strips for the windows jambs and set them aside for later installation.

I have a lot of faith in the people at Accurate Airtight Exteriors. We’re on the same page when it comes to the importance of air-sealing and quality insulation work. Our “weekend warrior” crew had already taken care of all the air-sealing, including constructing an air-tight attic hatchway, but we certainly needed them for their expertise and the proper equipment to install cellulose insulation.

For the double stud walls, the crew punched their hose through a small slit (reinforced with tape) made through the vapor retarder. They added more staples as needed to keep the insulation contained in the stud bays. A good installer can tell by sound and feel when they’ve achieved the proper density. They also rely on a gauge on their equipment, and they keep count of how many bags of cellulose they’ve used. By dense-packing, all voids around pesky wires and other obstacles are filled and settling at the top of the wall is eliminated. Please see my previous blog posts Dense Pack: Take 1 and Dense Pack: Take 2 for a better understanding of the advantages of cellulose. These walls are insulated to R-45.
Blowing attics is a typical job for the crew, and access to this one is better than most (the headroom isn’t too bad). The trusses were ordered with a 20 inch high “heel”, and the exterior sheathing extended to act as a “dam” so that a full 18 inches of loose-fill cellulose could be blown uniformly across the entire ceiling. Note that this design eliminates the need for insulation baffles. The cellulose will eventually settle to approximately 16 inches, for an insulating value of R-60. The 2 inch air gap allows for a free flow of outside air from the soffit to the roof’s ridge vent.
In this close up picture, you can see where the exterior wall sheathing was installed 2 inches short of the roof sheathing, leaving a gap for ventilation. A flat ceilinged, ventilated attic is easy to build and is considered to be the least expensive—and most problem-free—type of framed roof assembly. With proper air-sealing and full R-value extending uniformly across the entire area (especially over the perimeter walls), both condensation issues and ice dams are eliminated.
Upgrading the walls and ceiling insulation above Code minimum cost an extra $6200. My REMRate energy model predicts $303/year in energy savings.
The simple payback, not accounting for inflation or the future cost of energy is: 6200 / 303 = 20 years
The simple ROI (return on investment), not accounting for inflation or the future cost of energy is: 303 / 6200 = 4.9 %

A typical new home, meeting Wisconsin’s Code for insulation levels, has 2×6 walls with R-20 fiberglass batt insulation, R-38 blown fiberglass in the ceiling, and builder-grade U-0.35 dual pane vinyl windows.
Poem Home’s upgraded insulation and triple pane windows saves our homeowner $661 per year in heating and cooling costs compared to a new home built to Wisconsin’s minimum standard.
Altogether, by upgrading the R-value of the slab, windows, ceiling, and walls AND by being fanatical about air-sealing, we save our homeowner $1189 each year for the lifetime of the home.

above-code slab insulation saves $78/year
above-code triple pane windows save $280/year
above-code ceiling insulation saves $77/year
above-code wall insulation saves $226/year
above-code air-sealing saves $528/year
When I talk with people about the type of homes I build, they often ask me what type of insulation I use. Many express surprise when they learn I don’t like spray foam. For years, spray foam has been held up as the cure-all for leaky homes and it’s true: there’s a place for it in some building assemblies. I rely on individual cans of spray foam for cracks and crevices that are otherwise hard to air-seal or insulate. But for a new home with conventional framing cavities, it’s a budget-buster and terrible for the environment.
According to Builders for Climate Action BEAM carbon estimator and the EPA’s greenhouse gas calculator, using spray foam in my walls and ceiling would place a significant burden on our planet’s dwindling resources and air quality compared to the more affordable and commonly used fiberglass, or the somewhat more expensive and labor-specialty but “carbon negative” cellulose:
Closed Cell Spray Polyurethane HFC gas (now being phased out) = 33,959 kg Carbon Dioxide equiv = driving 86,478 miles
Closed Cell Spray Polyurethane HFO gas (now more widely available) = 10,735 kg Carbon Dioxide equiv = driving 27,337 miles
Fiberglass = 2079 kg Carbon Dioxide equiv = driving 5294 miles
Cellulose = (2742) kg Carbon Dioxide equiv = not driving 6983 miles
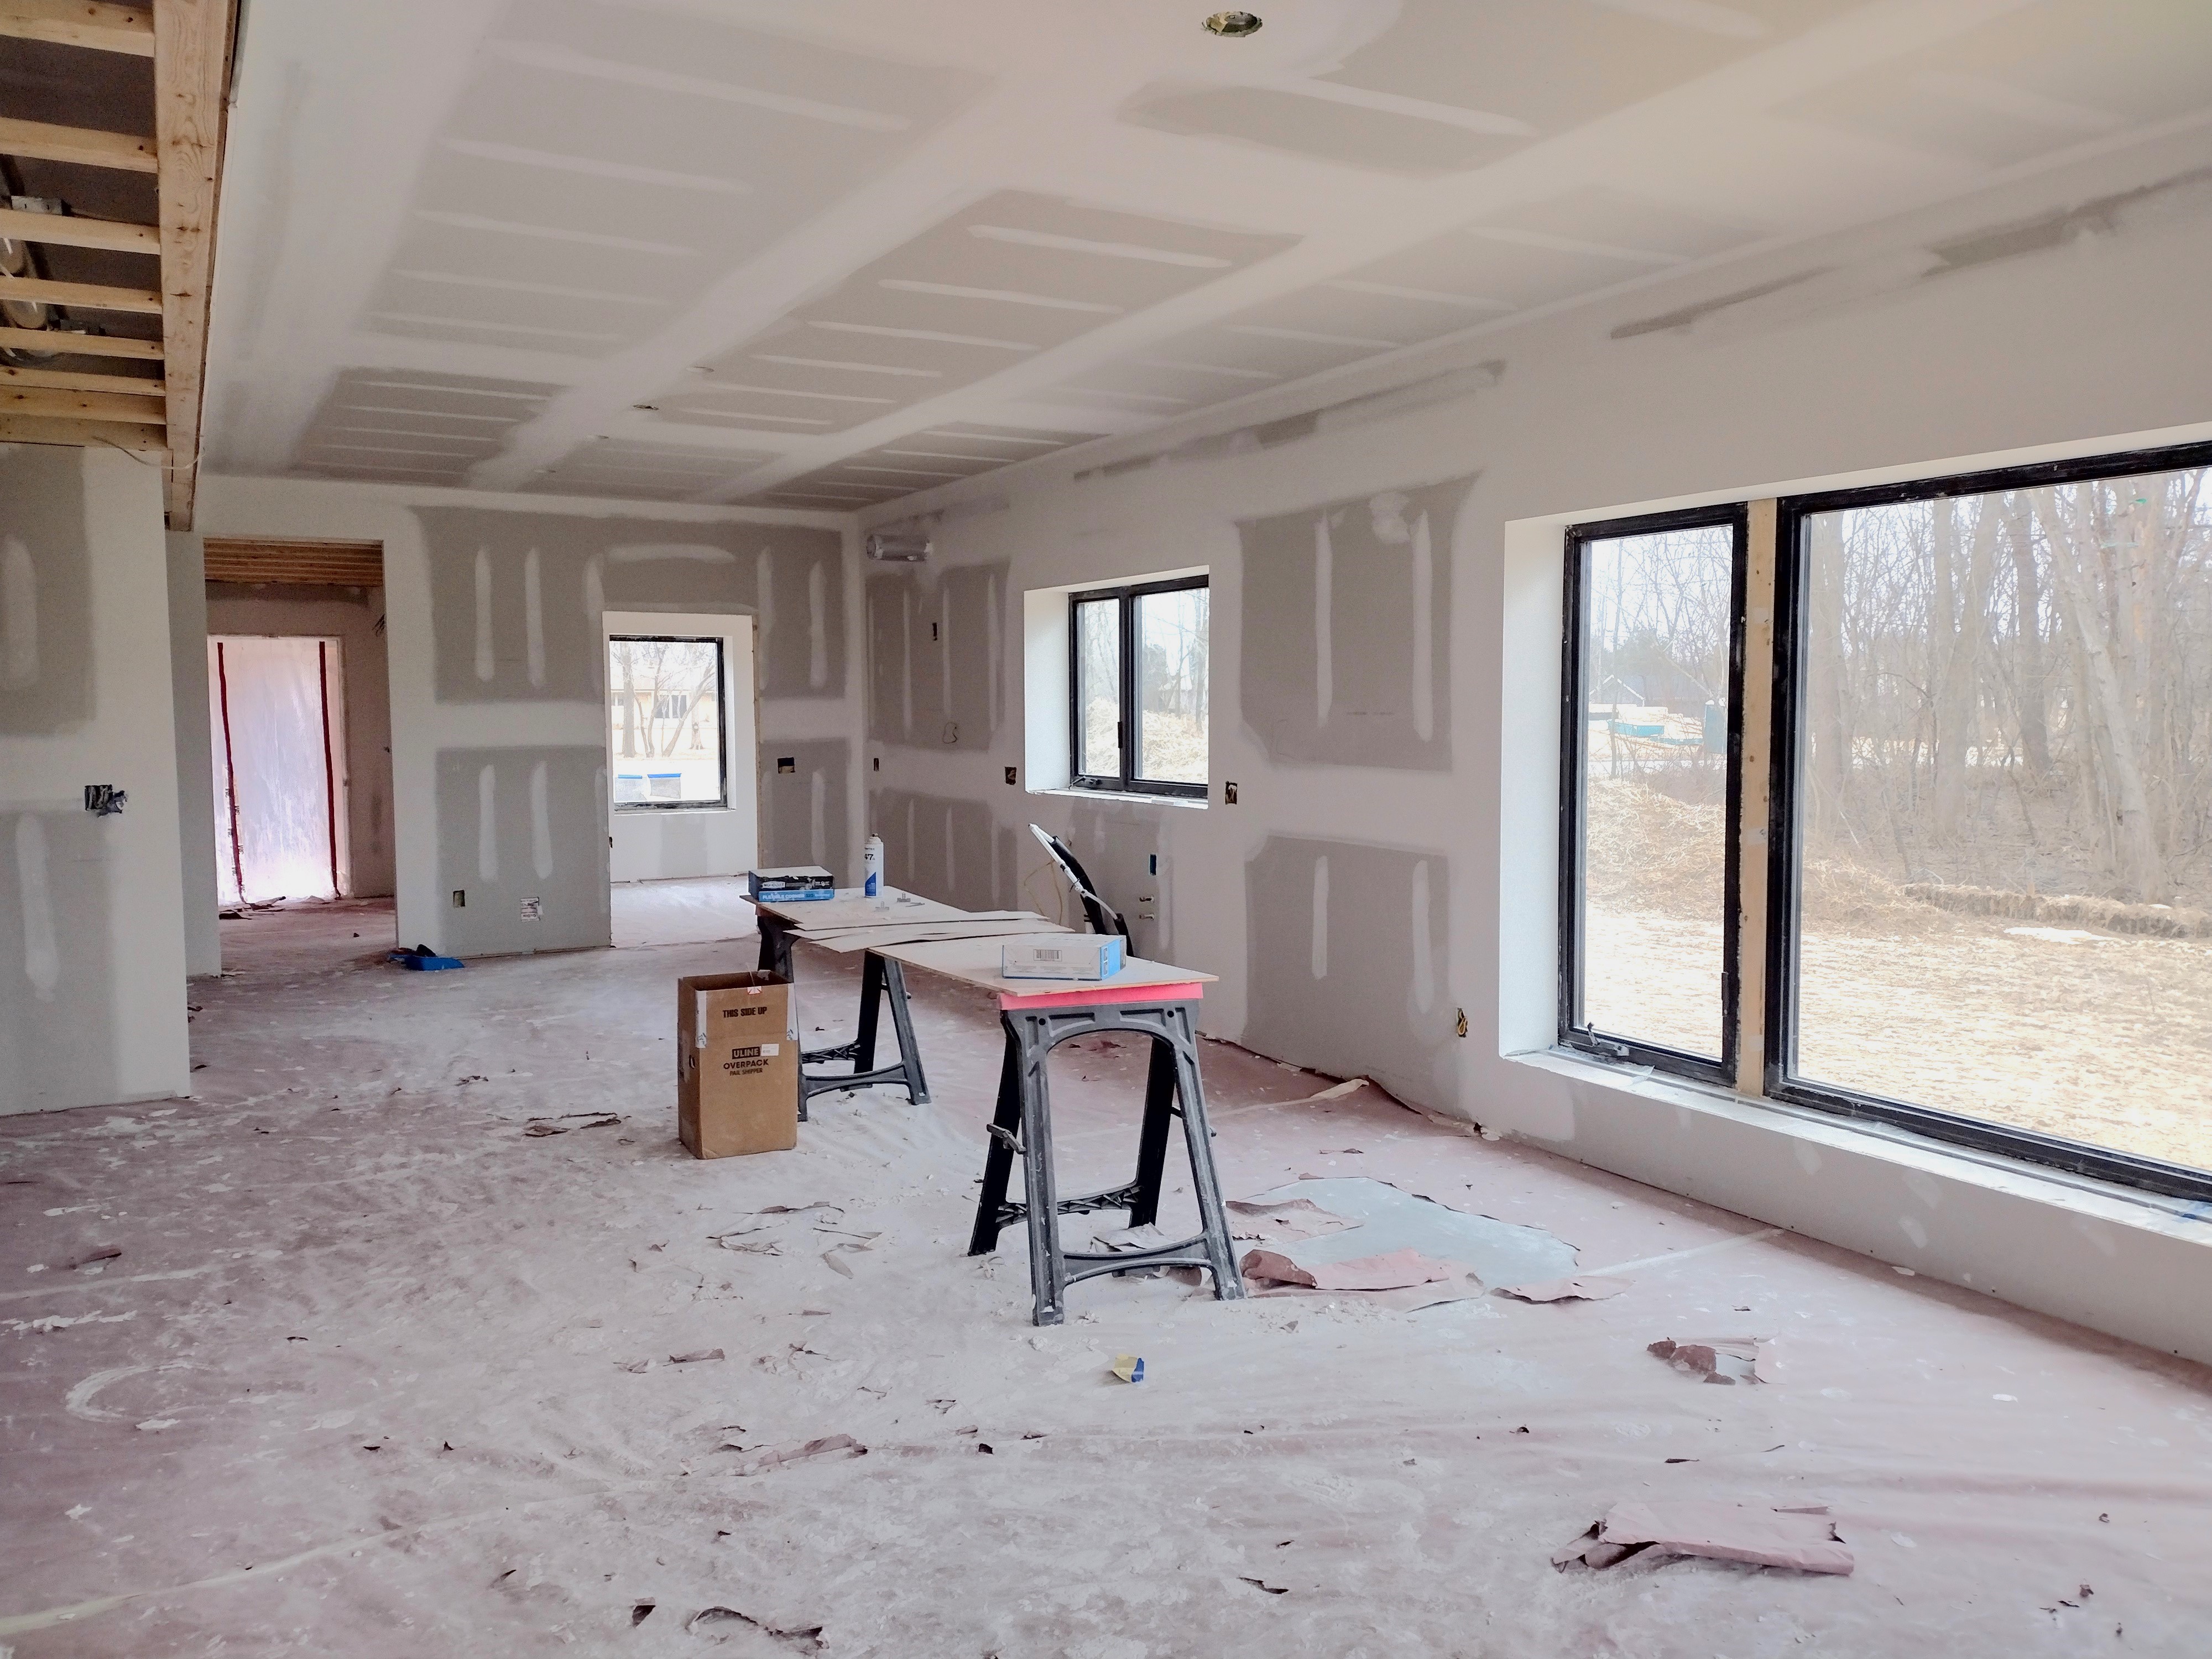
A few days after the insulation was completed, the drywallers came back and installed the 12 inch strips at the top of the walls, under the windows, and at the window jambs. Next, the finish crew arrived and had everything taped and mudded in just a few days. A third crew sprayed texture and paint. What a good feeling it was to pull up the mess and move on!

This phase of work generated some waste, but nothing we couldn’t handle in small batches. The drywall company assured me that every bit of scrap would be picked up and recycled. Not knowing what their protocol was for drywall mud boxes, I took it upon myself to flatten and cart away the cardboard for recycling. The plastic bags the mud came in went into general trash. Ditto for the sodden red rosin paper laid down to protect the slab. Very little cellulose fell to the floor—and what little—was simply tossed out the door.
