November 5-9, 2018: We got a pretty good foundation pour, but there were a few rough spots. Carpenter Lew Lama used a grinder to smooth out the top of the wall for the sill plate and leveled a few areas with a cement patching compound called Rocktite.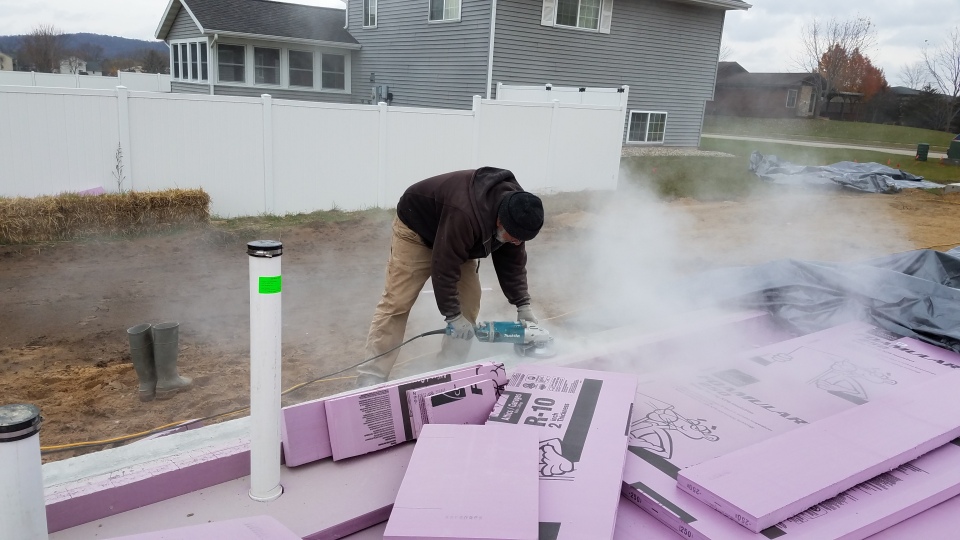
Our next step was to lay down the vapor barrier. I selected Tu-Tuf #4, a sturdy, tear-resistant white polyethylene that handled easily. We sealed seams and penetrations with 3M 8067 tape—an extremely sticky and tenacious product that earned my confidence. 
The vapor barrier is to do double duty as an air barrier. We ran the sheet long over the foundation wall, where it was bedded into a bead of Chem-Link M-1, a low VOC sealant. Later, it will be taped to the exterior wall for a continuous barrier against air, moisture and bugs.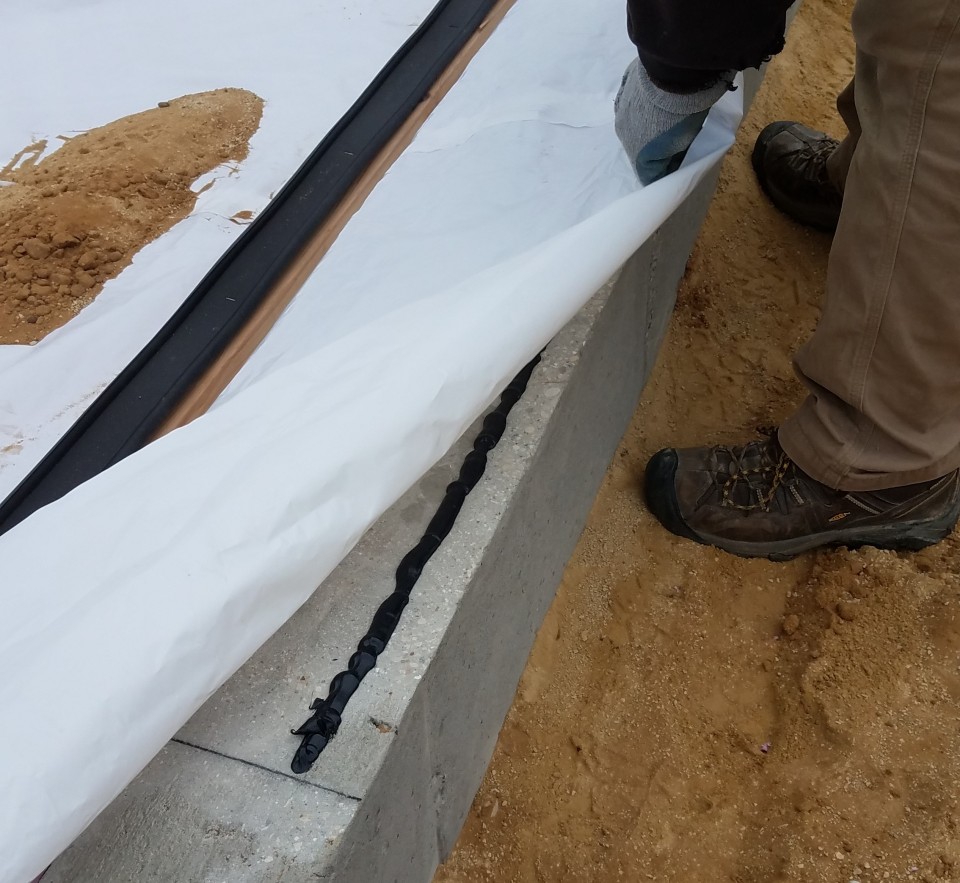
We then laid out and cut the sill plates to length. I chose western red cedar instead of the usual pressure-treated southern yellow pine. The building code requires that any wood in contact with masonry (like a concrete wall) be treated with preservatives or be naturally decay-resistant. Cedar is more expensive, but eliminates any concern about inhaling chemical-laden dust, residue on the skin, or leaching into the soil. Pressure treated wood comes with an environmental cost, and disposal is a problem—-the only option is landfill. The cedar I ordered from the lumber yard (from Idaho), was a joy to work with—dry and straight.
So far, the product I’m most excited about using is Conservation Technology’s EPDM gasket we stapled under the sill plate. It’s a super-robust alternative to the thin “sill sealer” (closed cell foam) used almost universally in residential construction to seal the air gap between an uneven foundation and a wily wood plate. It was fast, easy, and effective. We overlapped the ends about 1” at plate seams for a continuous seal. It compressed to 3/16”, providing a capillary break to any moisture rising up through the foundation wall. We secured the sill plates with Tapcon screws—just a few per board to hold the assembly in place for now.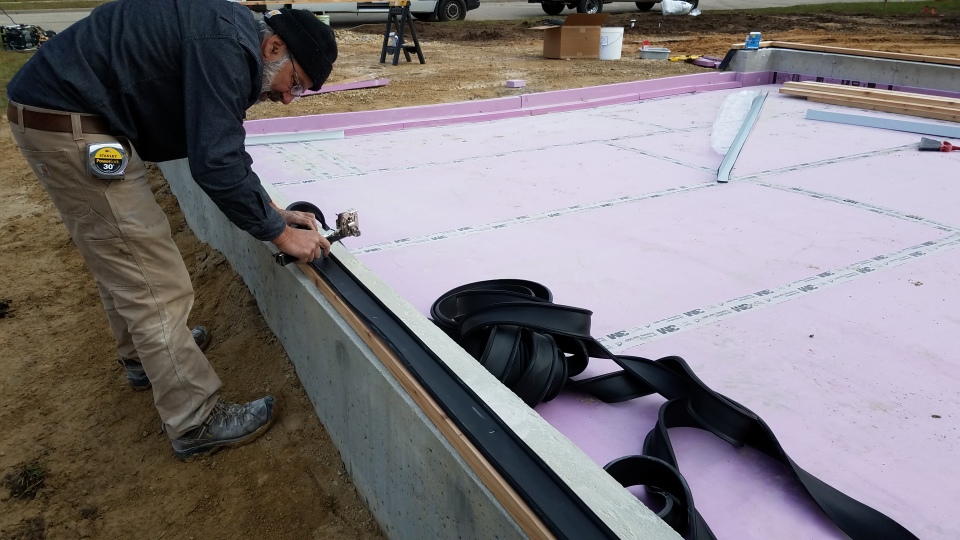
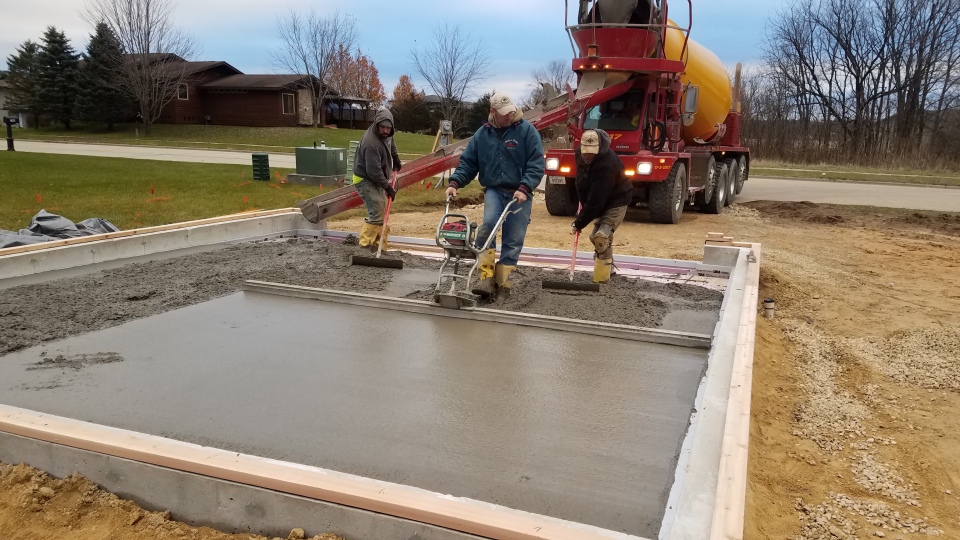
Finally, we were ready for the excitement of big trucks and the smell of wet concrete. Contractor Josh Spurley of JMS Concrete in Spring Green arrived with his crew to pour the garage slab and the next day, the house slab. 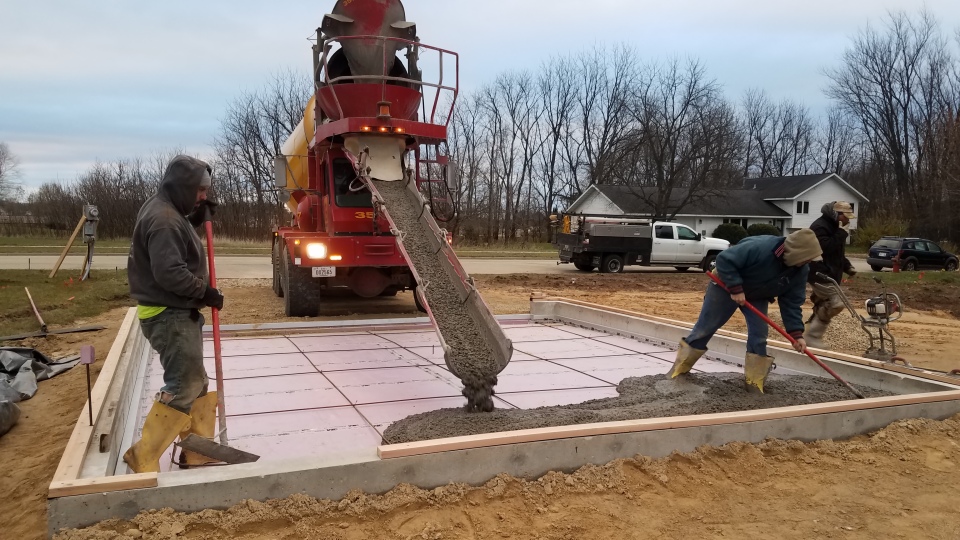
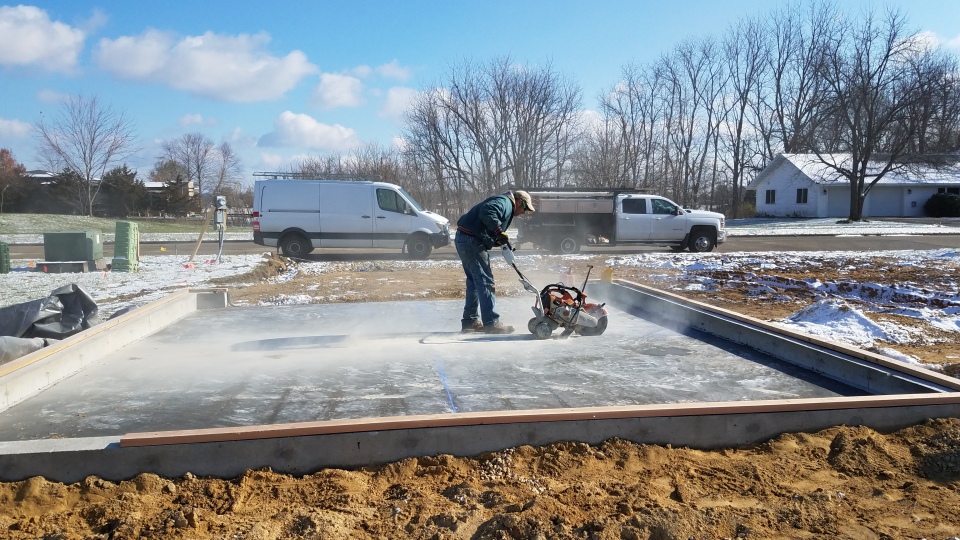
The following day they came back to saw control joints. Curing tarps were secured and with great pride and relief, the first POEMHOME is officially out of the ground!
